Importing Contacts
Before proceeding with importing contacts ensure that there are no duplicate contacts on your import file and the data is clean (meaning no extra characters or spaces etc.).
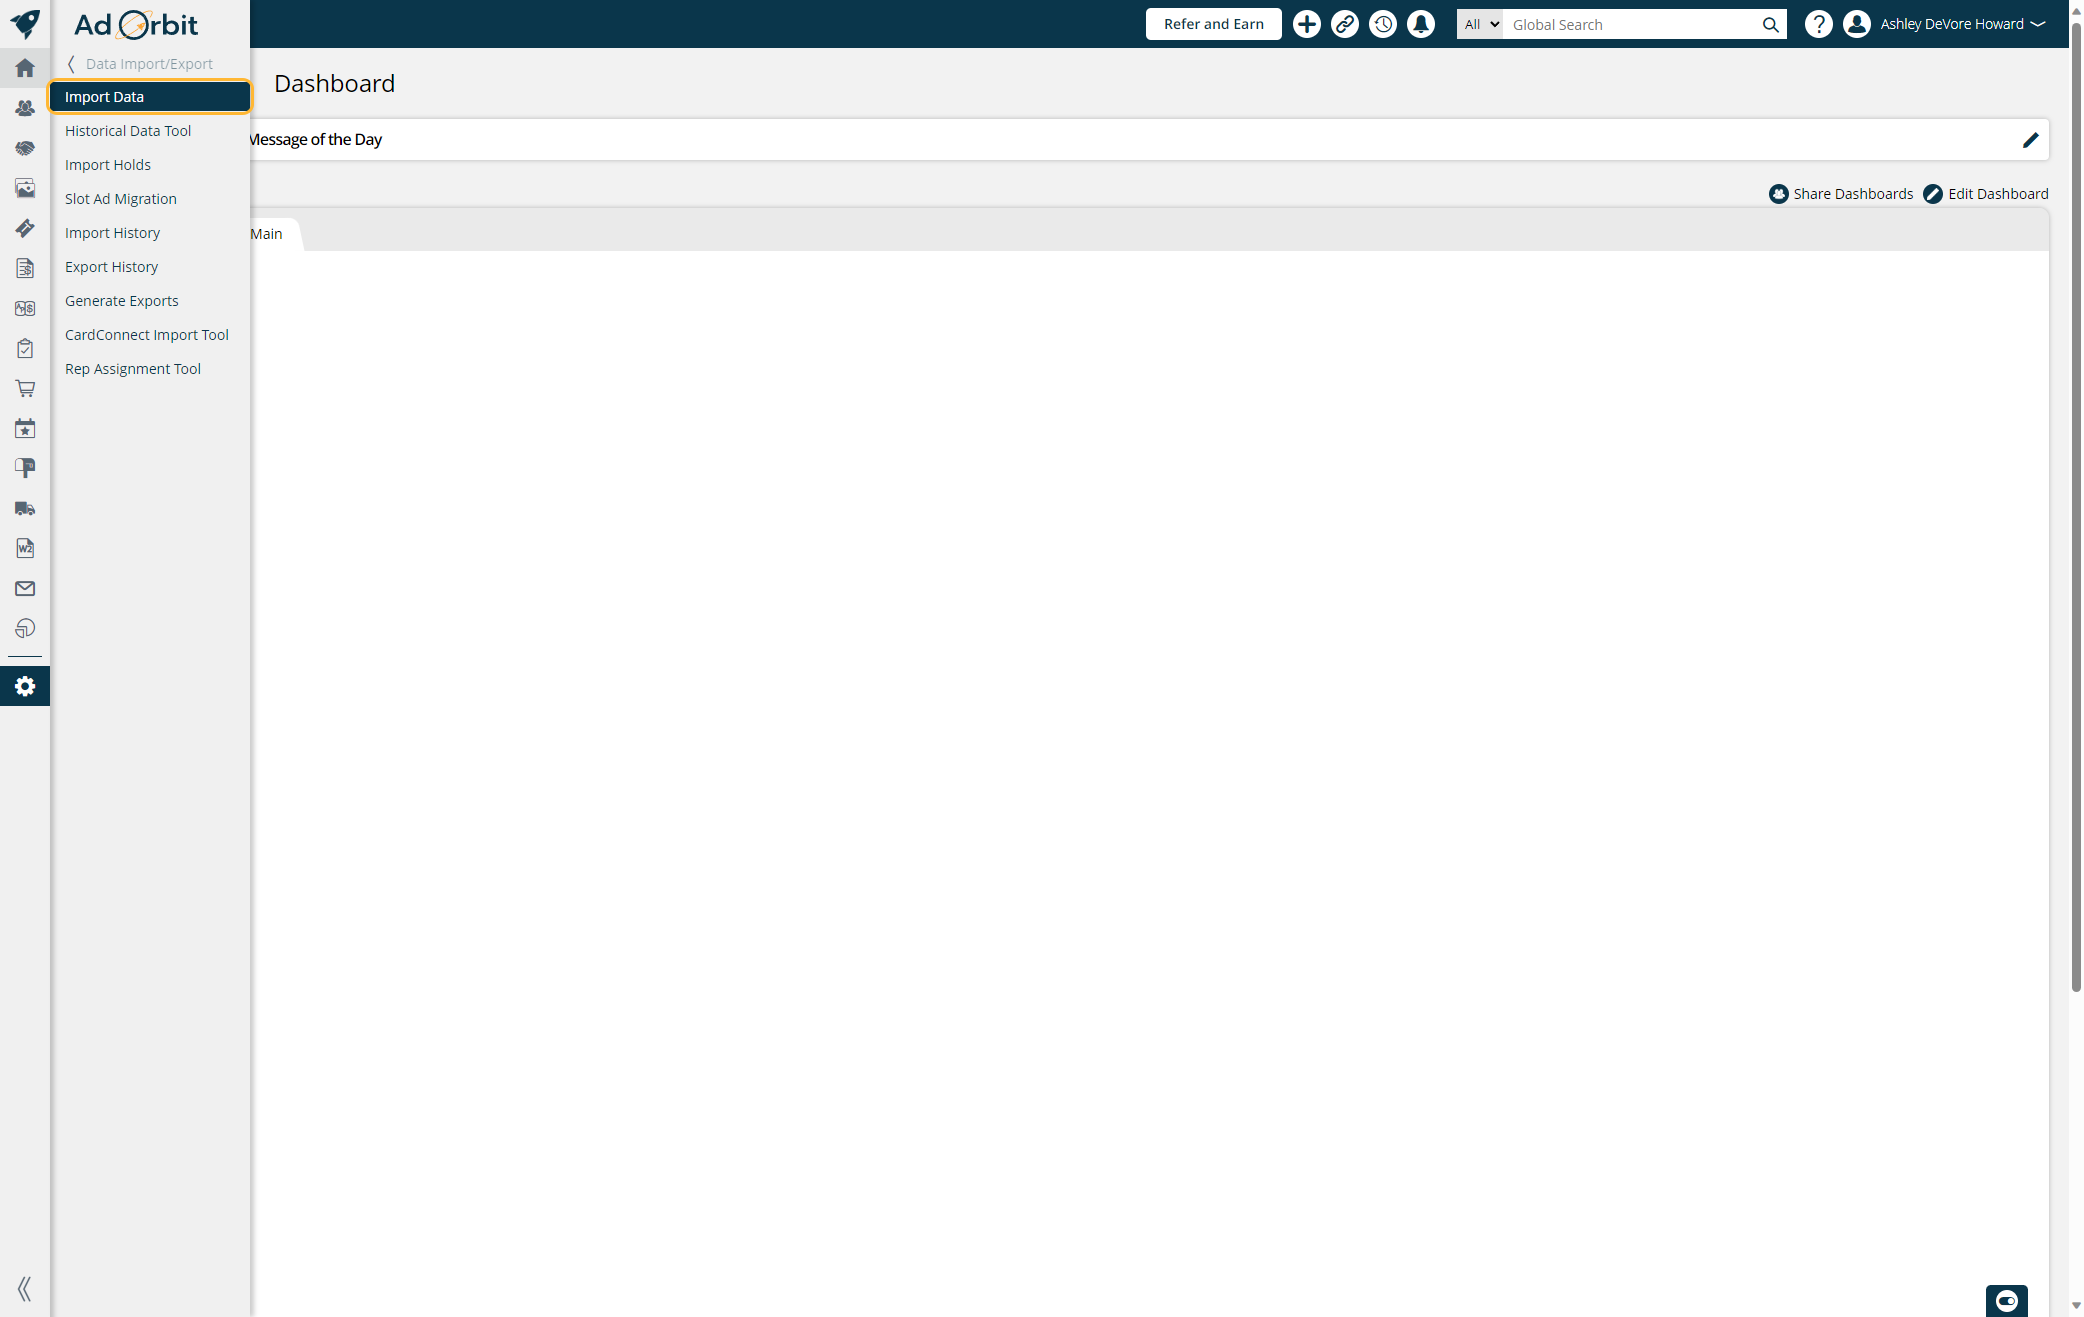
Go to Settings > Data Import/Export > Import Data. You need the 'Import' User Permission to access this page.
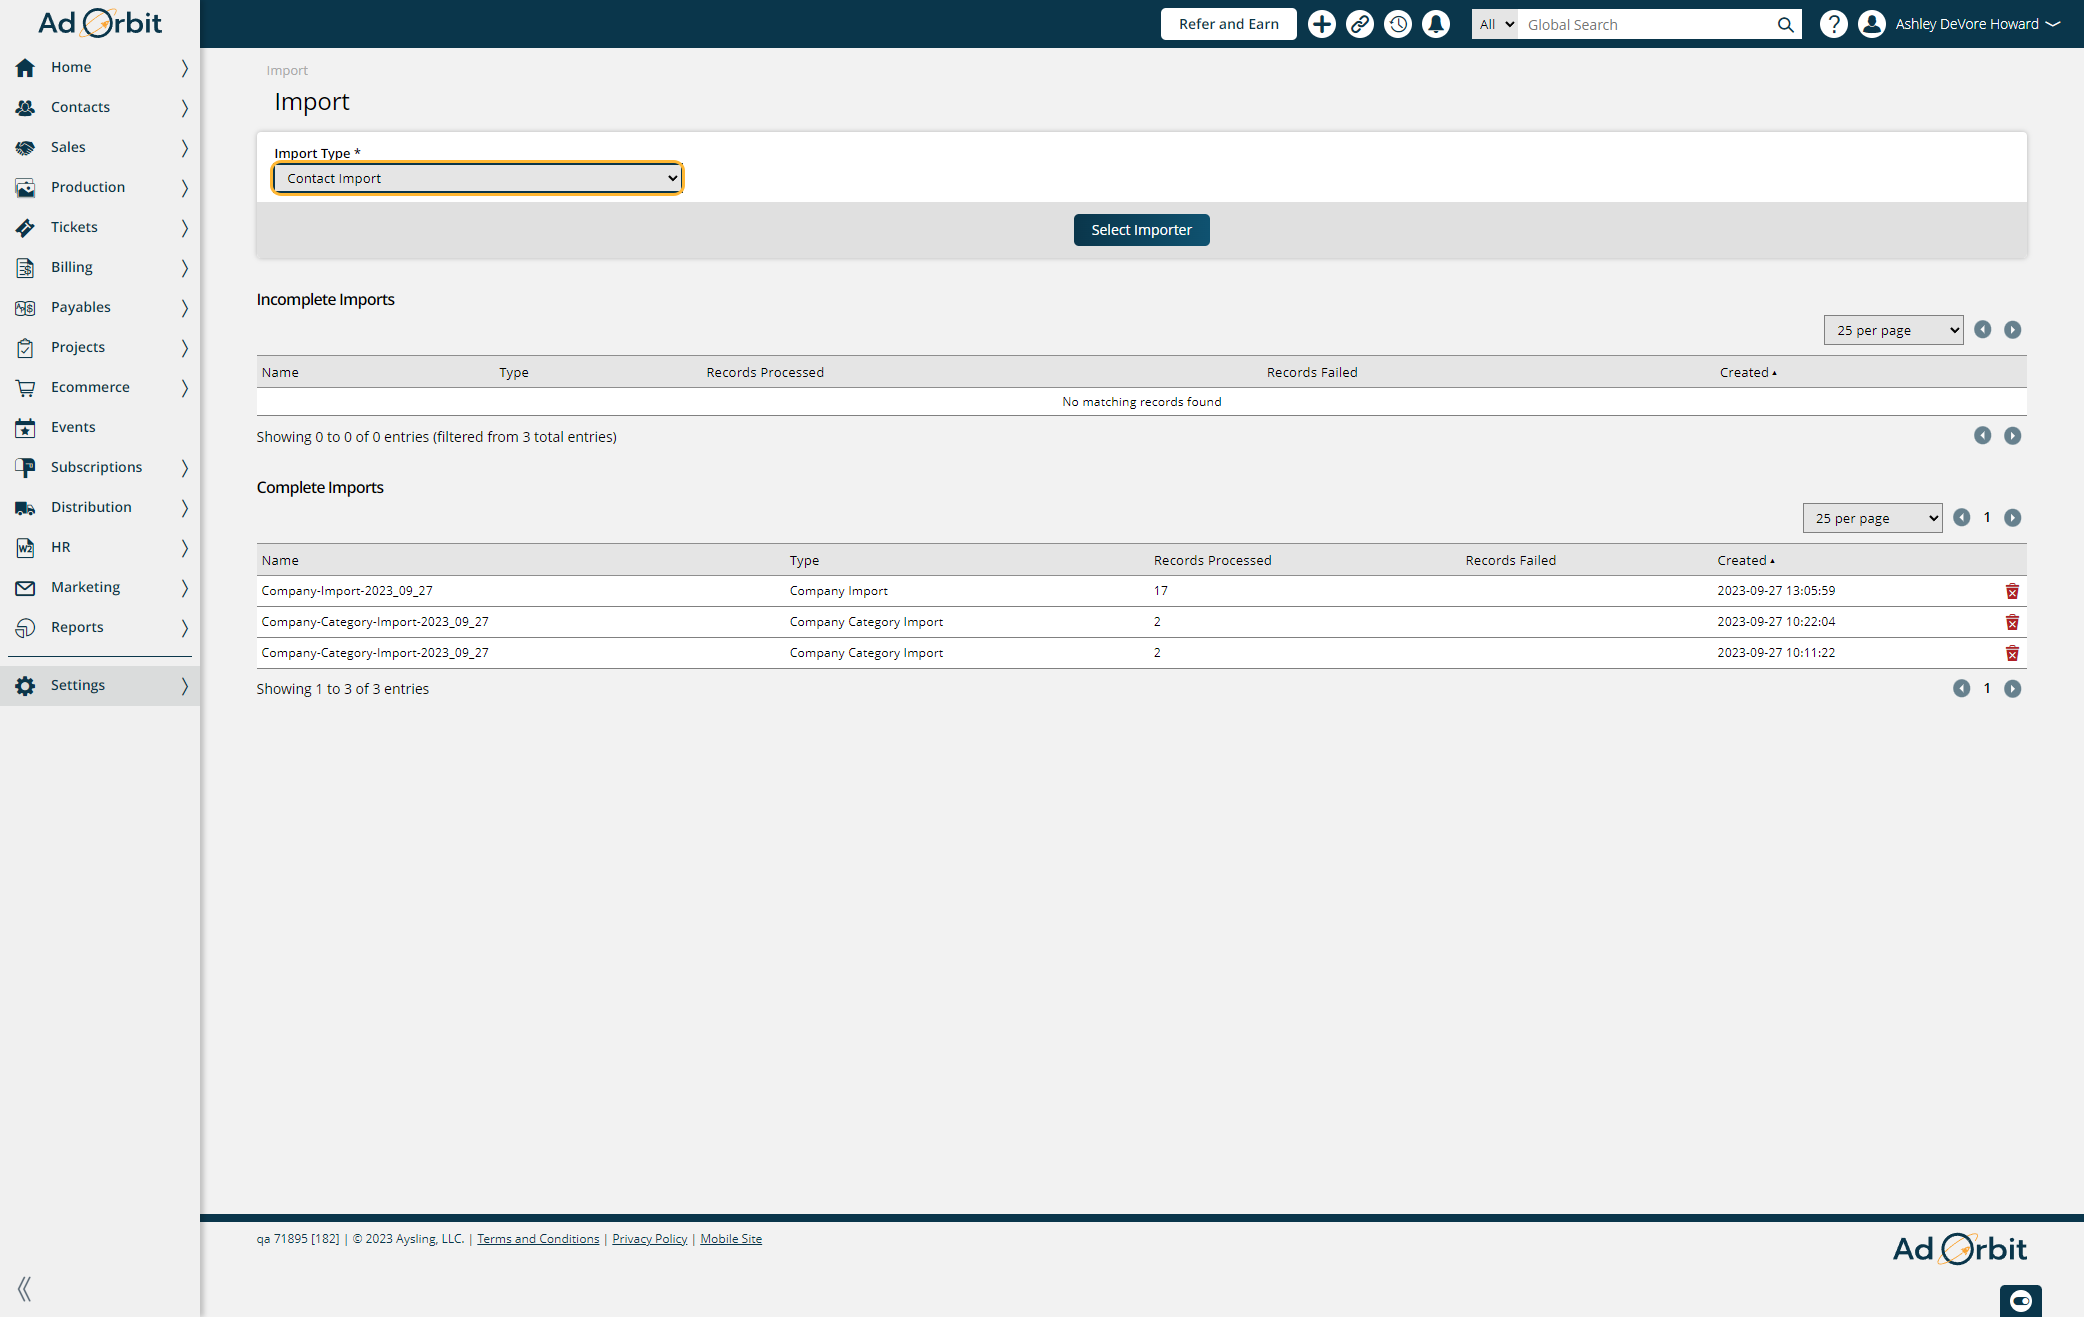
Click on Contact Import from Import Type
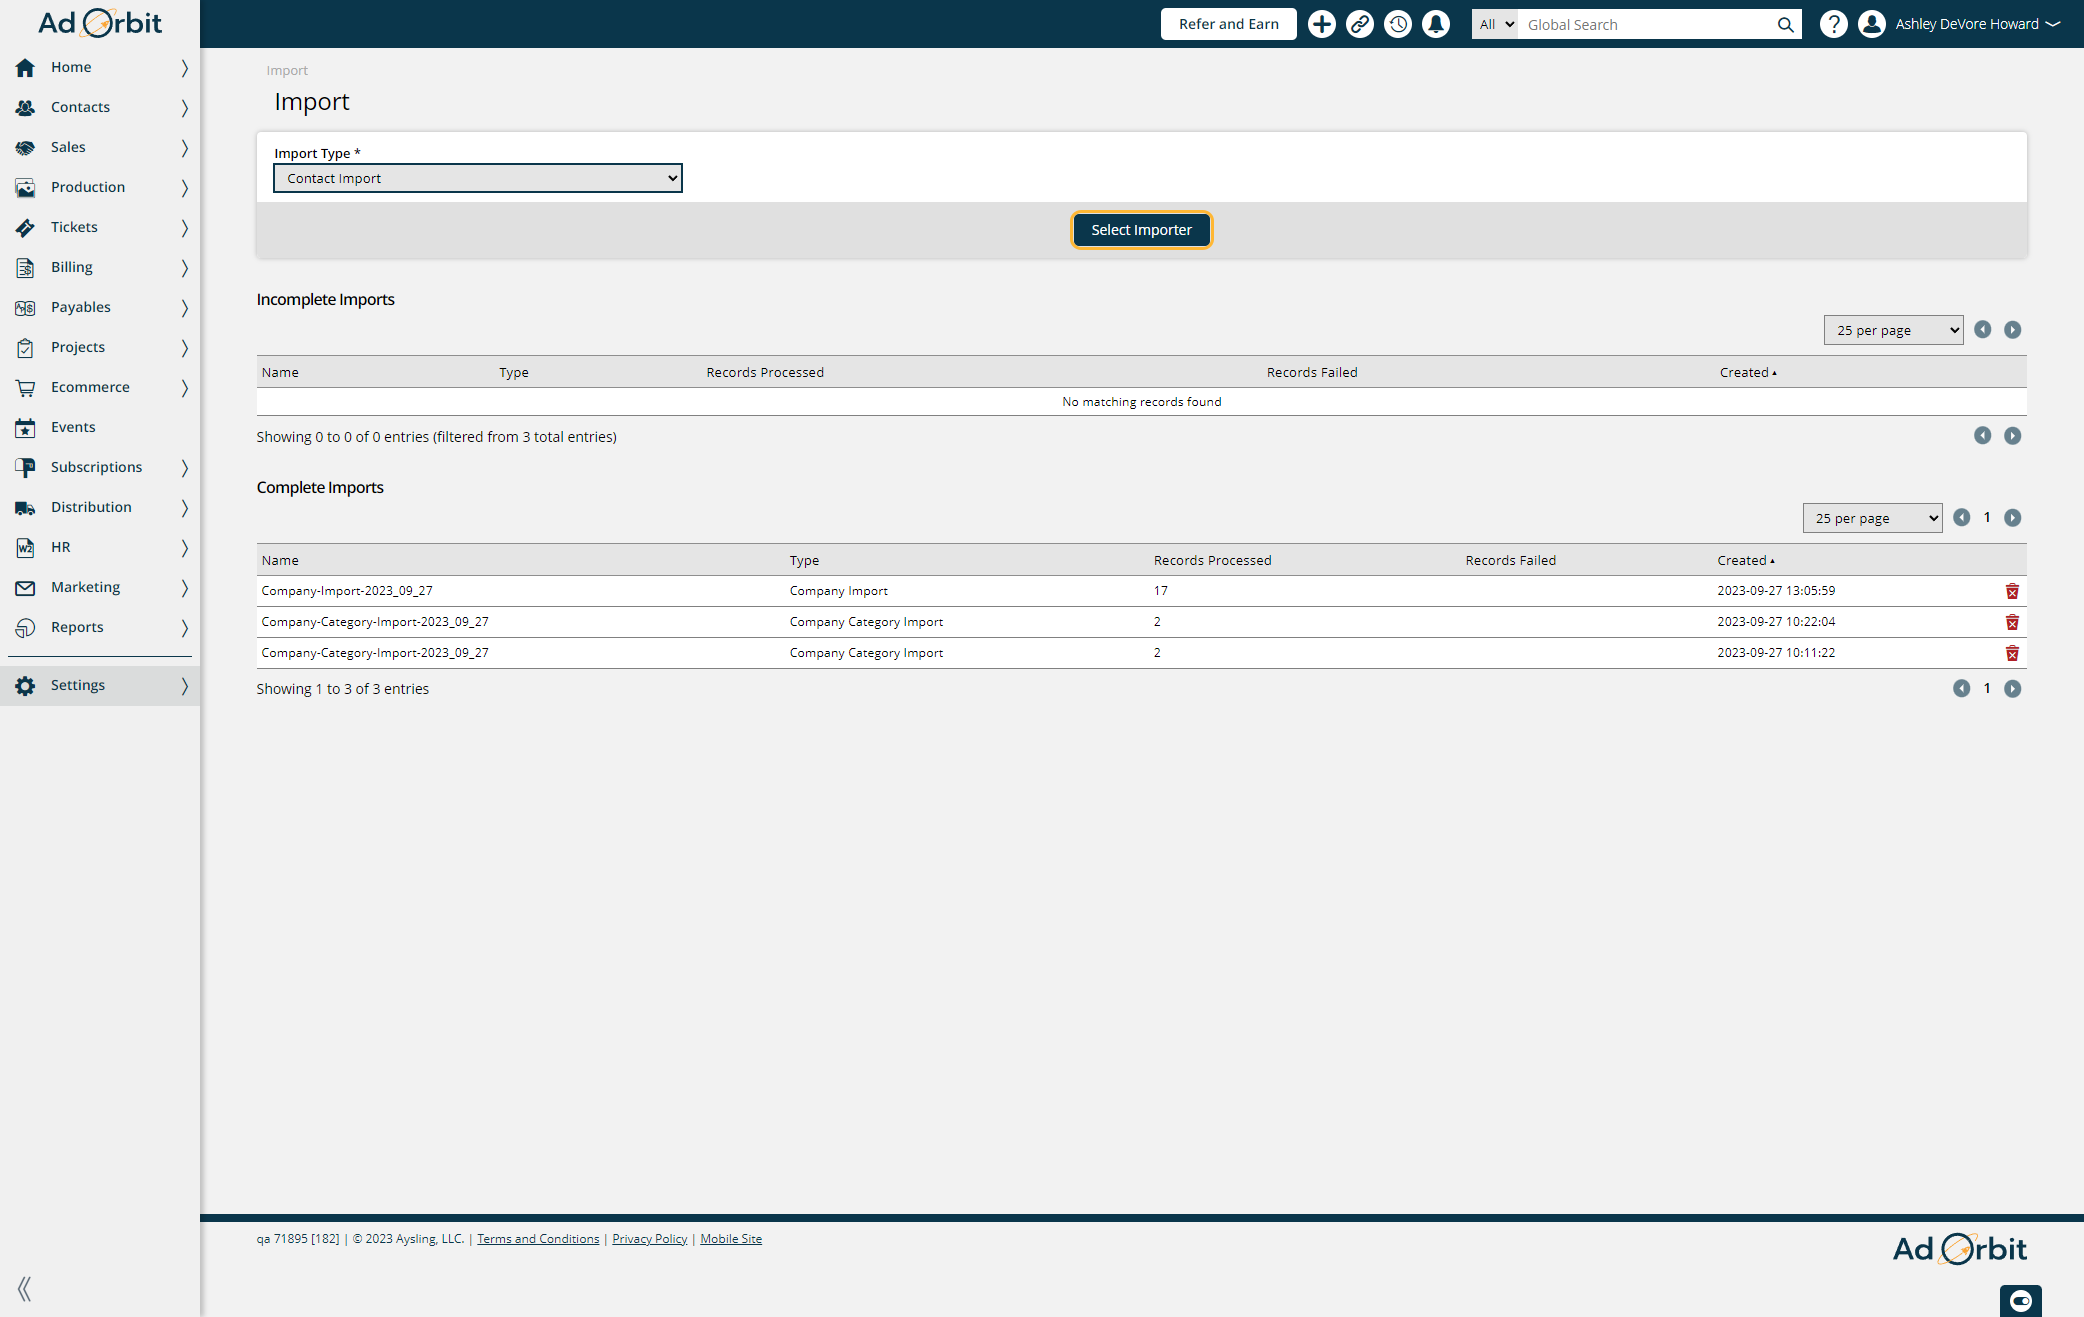
Click on Select Importer
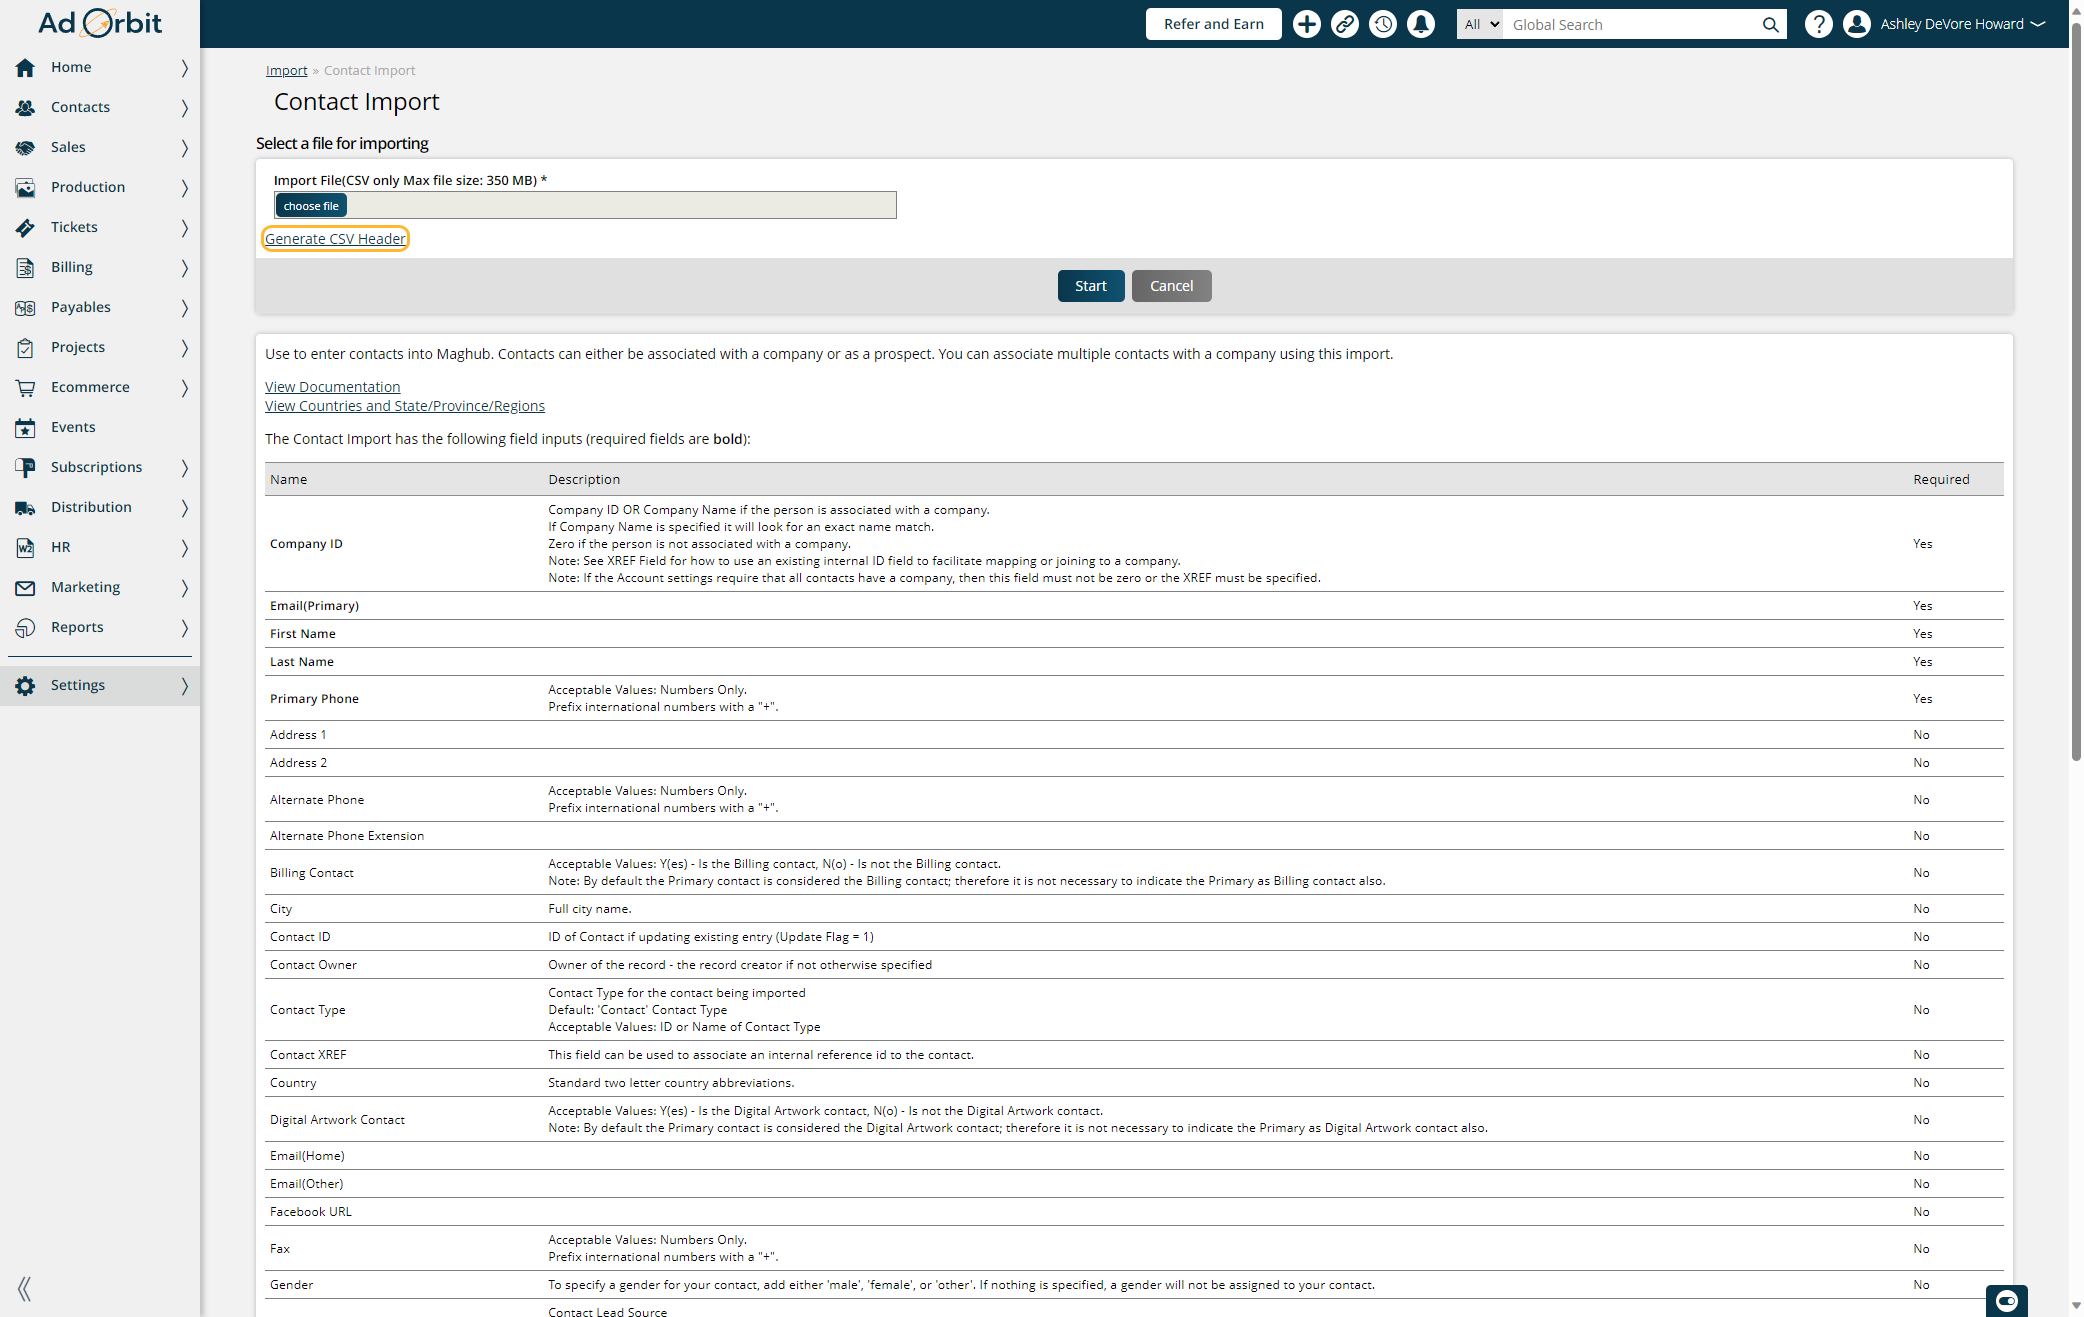
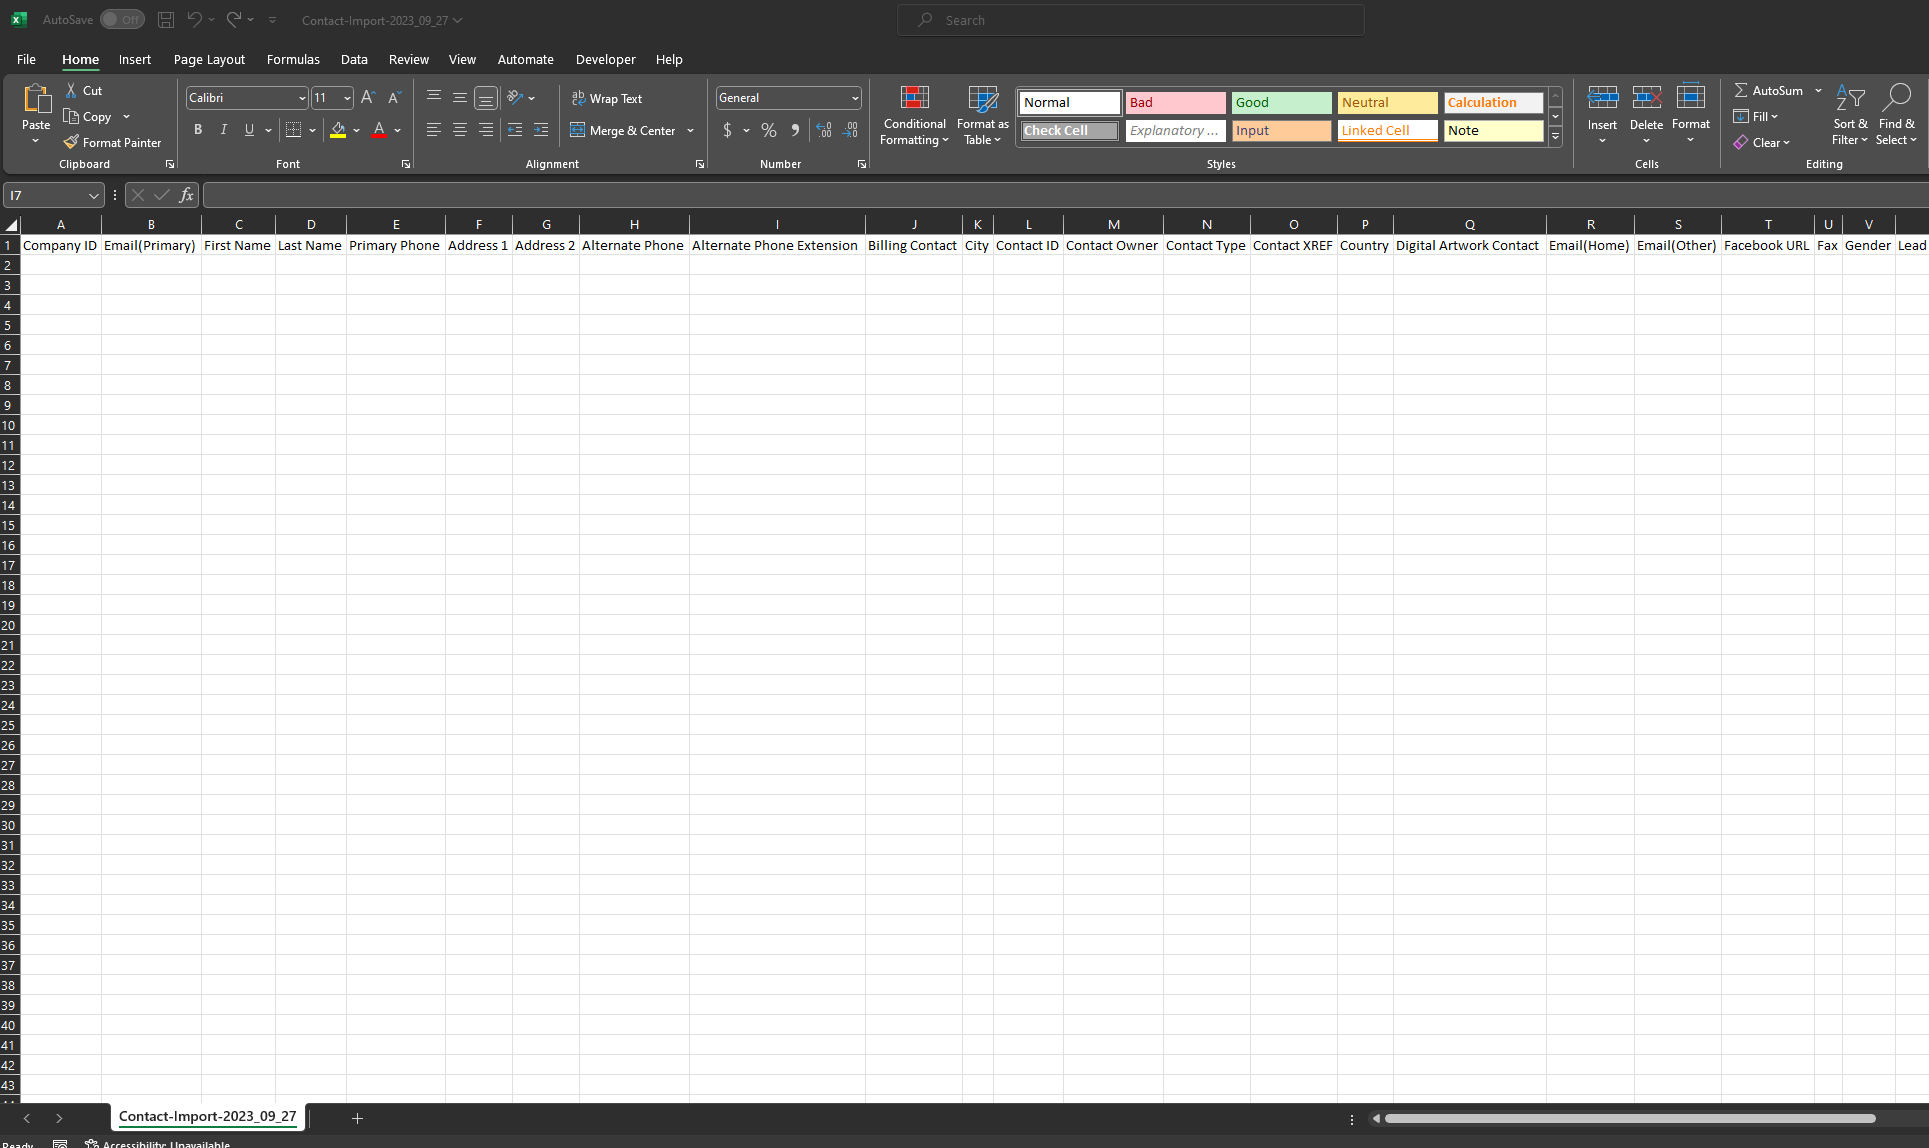
Click on Generate CSV Header. This is going to give you the CSV file that you need to put your data on in order to import.
Contact Import CSV File
Required Fields
Company ID - The ID or name of the company the contact is associated with. If Company Name is specified it will look for an exact name match.
Zero if the person is not associated with a company.
Note: See XREF Field to place the company XREF that was on your company import. If you did not use XREFs on your company import disregard.
If you are using the XREF field, the XREF will be used over the Company ID
If the system configurations require that all contacts have a company, then this field must not be zero or the XREF must be specified.
Email(Primary) - This is where you put the contacts primary email address.
Note: If you do not have an email for the contact, you will use the Default Contact Email which is located in your system configurations. Settings > System Configurations > contacts. This is also referred to as the "placeholder" email.
First Name - Contact First name. If you do not have a contact first name then you will need to use your Default Contact First Name which is located in your system configurations. Settings > System Configurations > contacts.
Last Name - Contact Last name. If you do not have a contact last name then you will need to use your Default Contact Last Name which is located in your system configurations. Settings > System Configurations > contacts.
Primary Phone - Primary phone number of the contact. Numbers only in this field.
Note: If you do not have a phone number for the contact you will use the Default Contact Phone Number which is located in your system configurations. Settings > System Configurations > contacts.
Note: Prefix international numbers with a "+".
Notes:
If you have the system configuration Require Lead Source For New Contact set to yes you will need to fill out the Lead Source for each contact. To view what lead sources you have in your system navigate to Settings > Contacts > Lead Sources. You can add lead sources here.
We always recommend using the XREF field when importing. This will ensure correct mapping when you import contacts and connect the contacts to their respective company. Otherwise the only item the system will map will be the company name and if there are any typos or duplicate companies there is potential for error.
All companies must have a primary contact however you can import other contacts such as billing, artwork etc. You can select what type each contact is by using the fields below:
Primary Contact: Acceptable Values: Y(es) - Is the primary contact. N(o) - Is not the primary contact.
Print Artwork Contact: Acceptable Values: Y(es) - Is the Print Artwork contact, N(o) - Is not the Print Artwork contact.
Note: By default the Primary contact is considered the Print Artwork contact; therefore it is not necessary to indicate the Primary as Print Artwork contact also.
Digital Artwork Contact :Acceptable Values: Y(es) - Is the Digital Artwork contact, N(o) - Is not the Digital Artwork contact.
Note: By default the Primary contact is considered the Digital Artwork contact; therefore it is not necessary to indicate the Primary as Digital Artwork contact also.
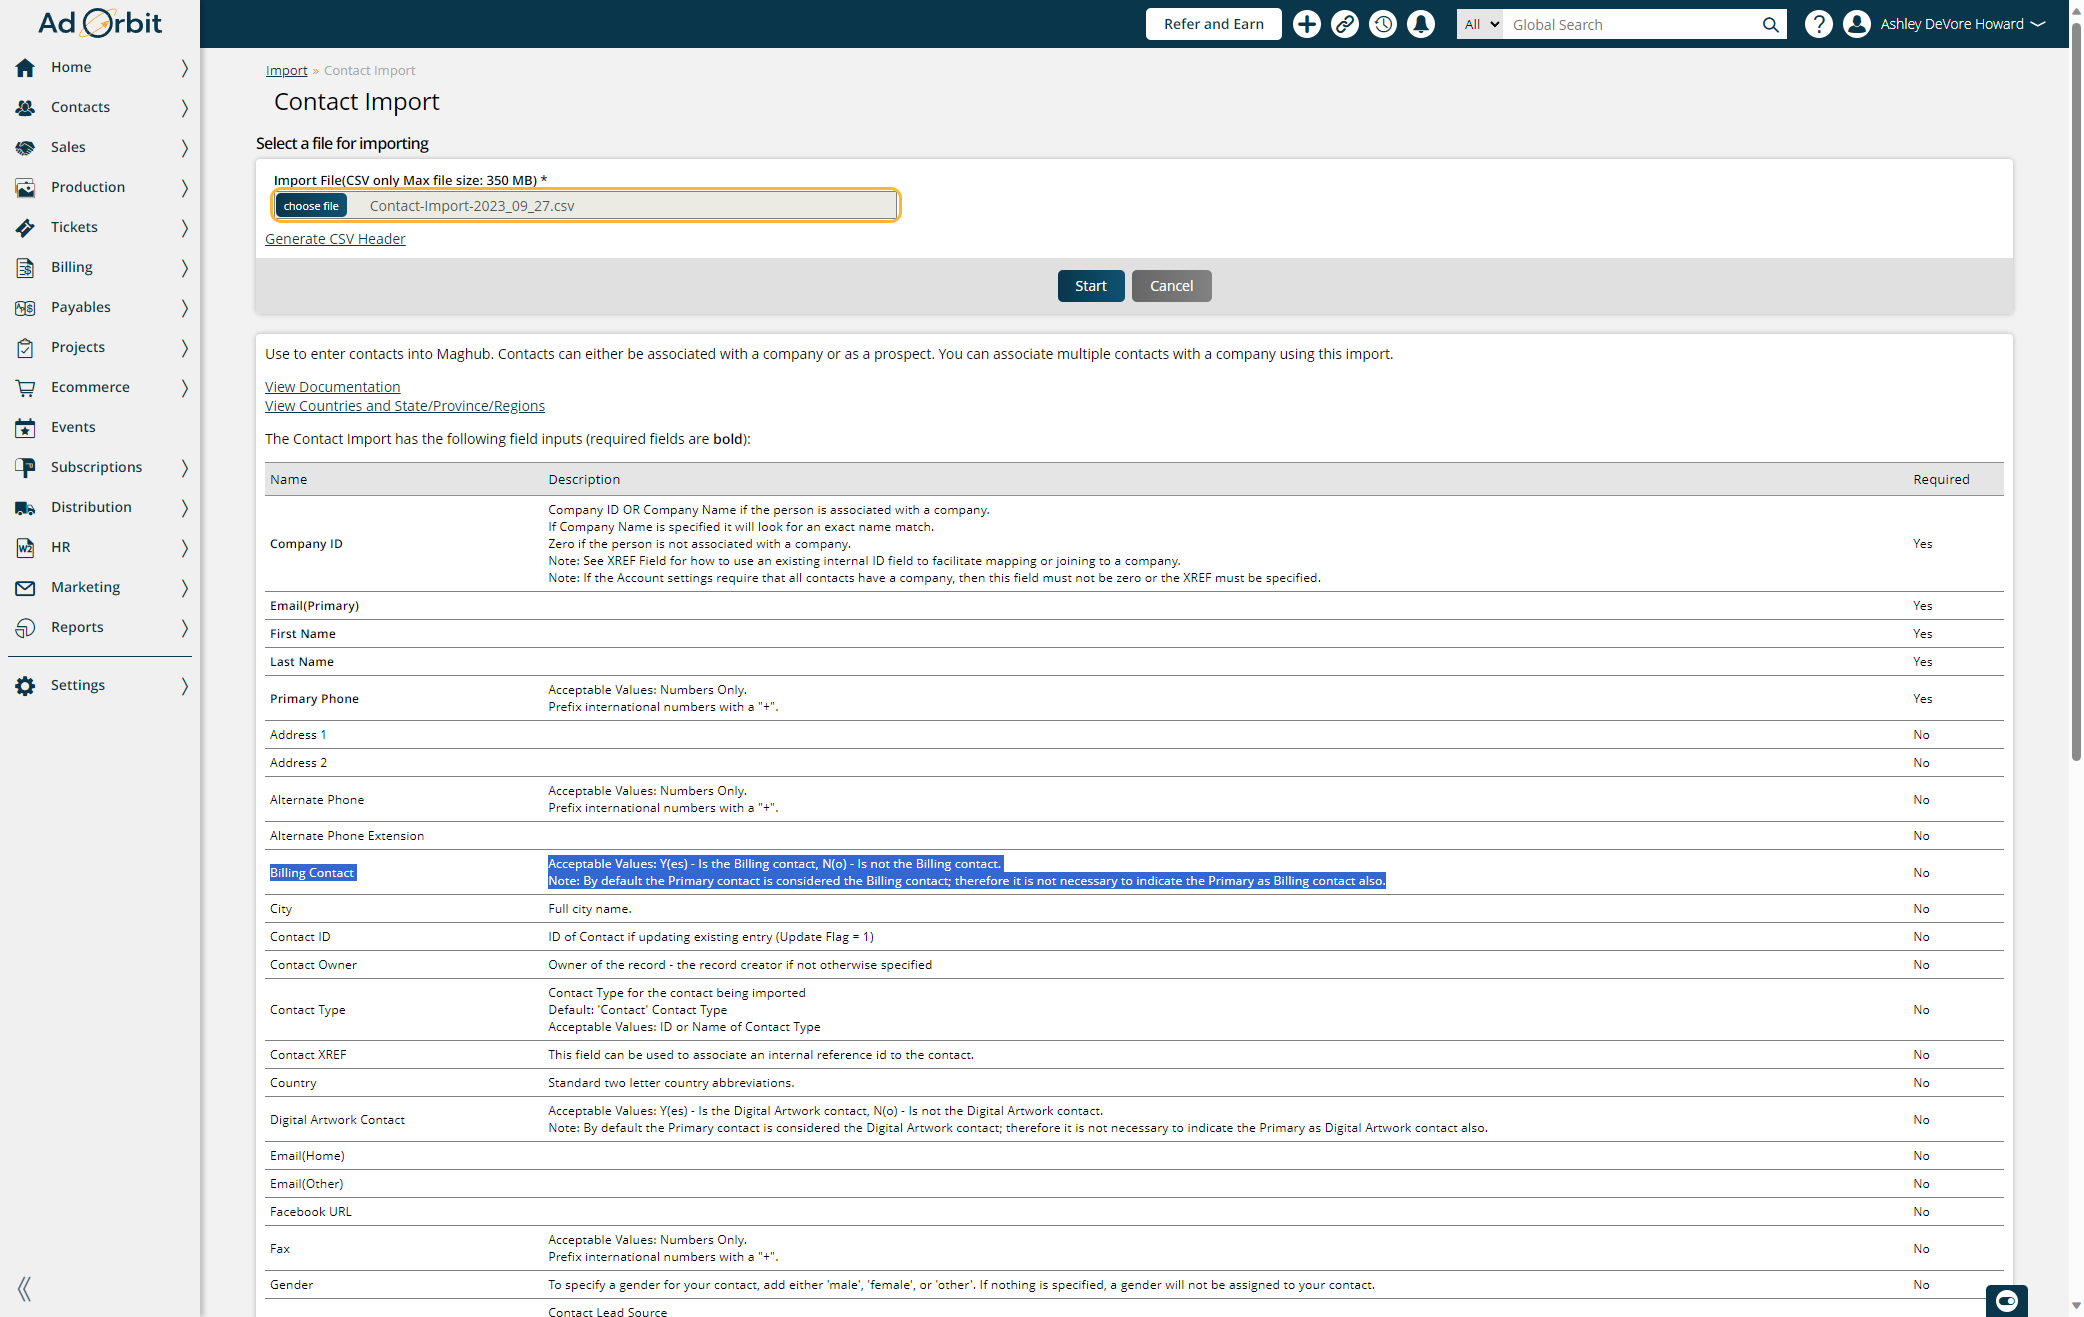
Billing Contact: Acceptable Values: Y(es) - Is the Billing contact, N(o) - Is not the Billing contact.
Note: By default the Primary contact is considered the Billing contact; therefore it is not necessary to indicate the Primary as Billing contact also.
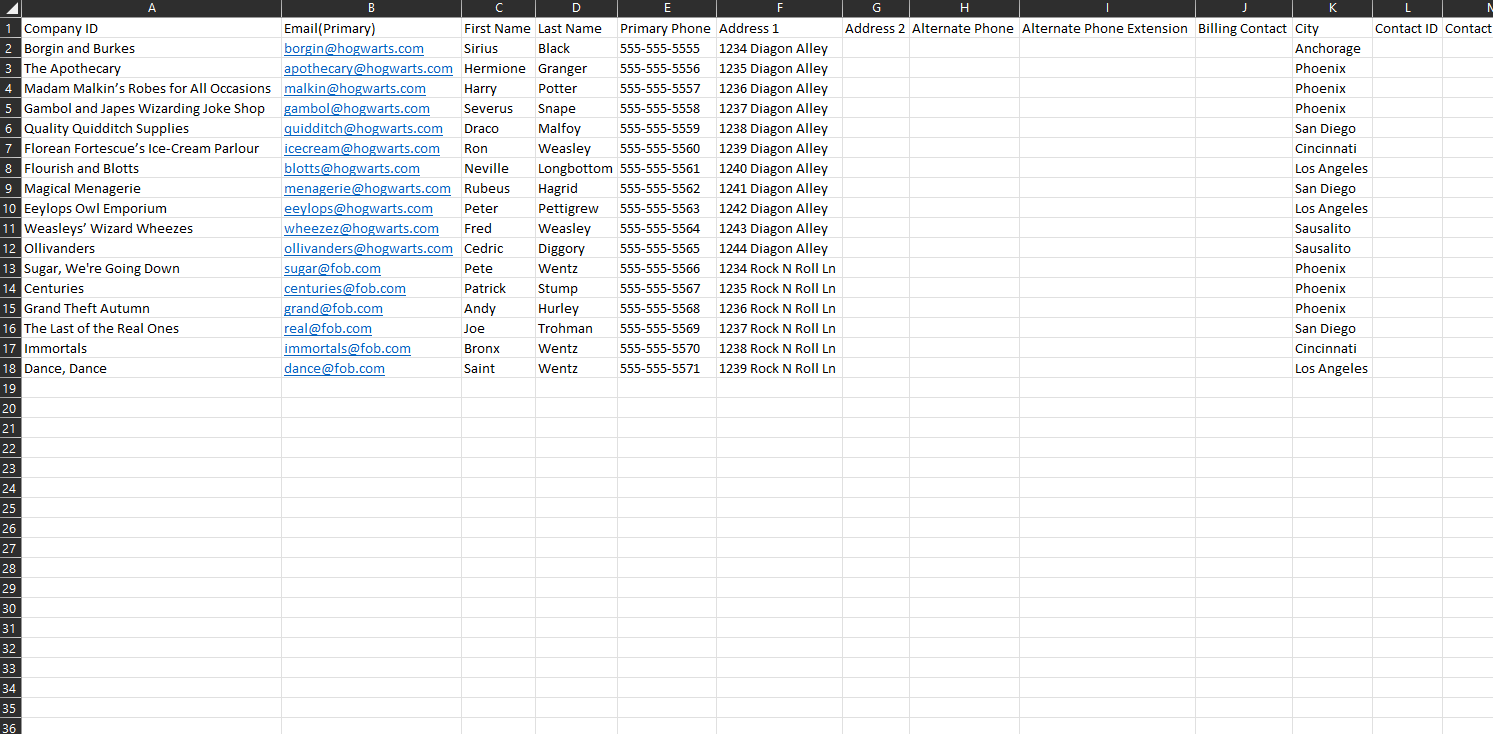
Sample Data
After you have filled the data out on the CSV header it is now time to import. Navigate back to the import section by going to Settings > Data Import/Export > Import Data and select the Contact import. Choose your file to import.
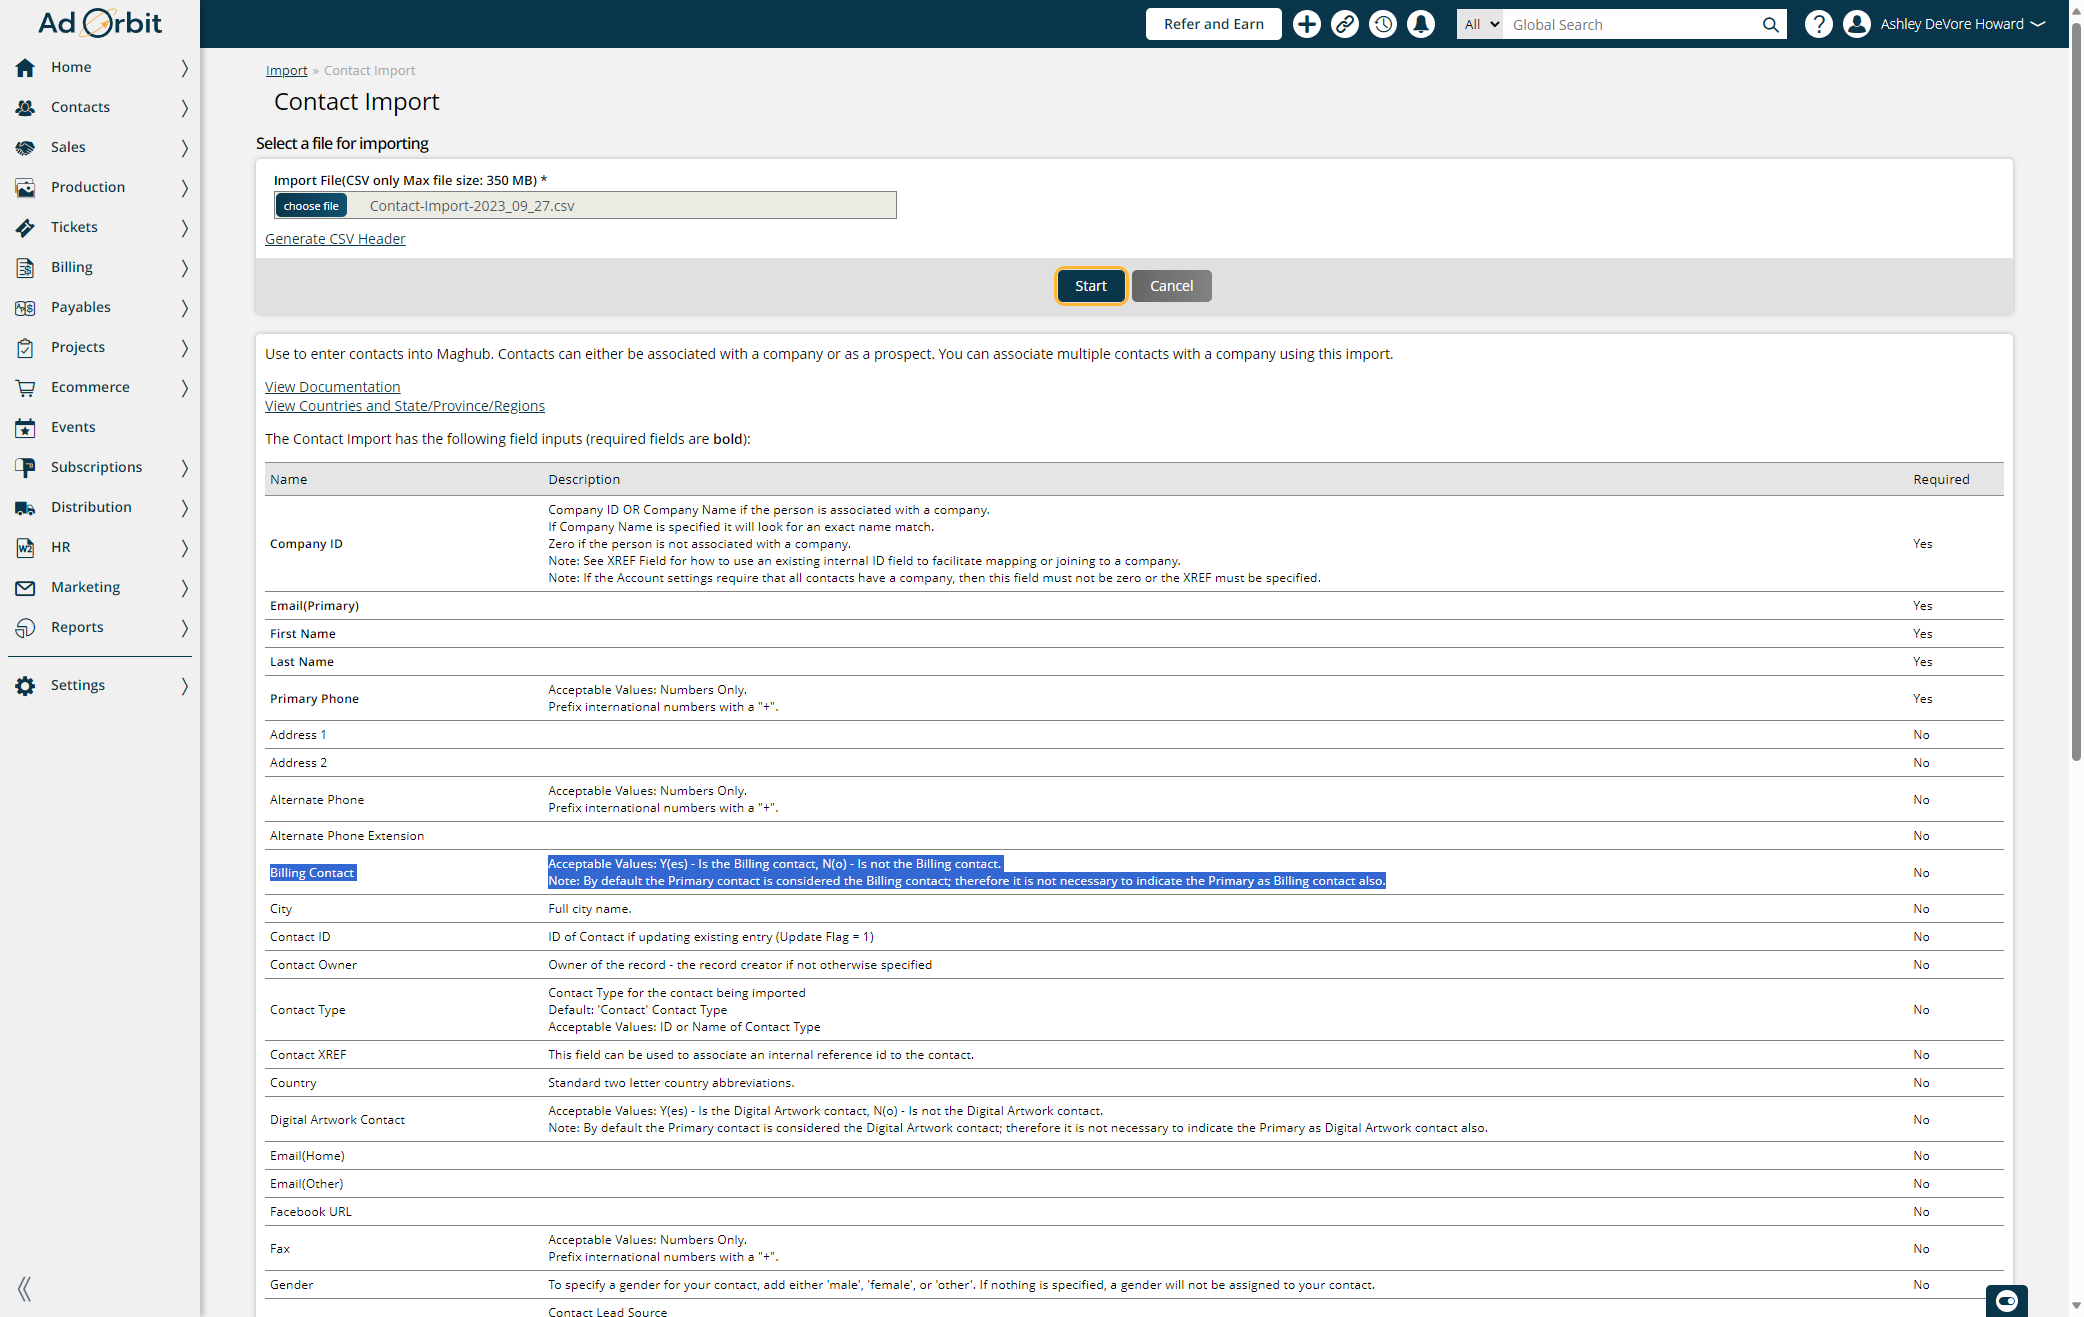
Once you have selected the file you want to import click on start.
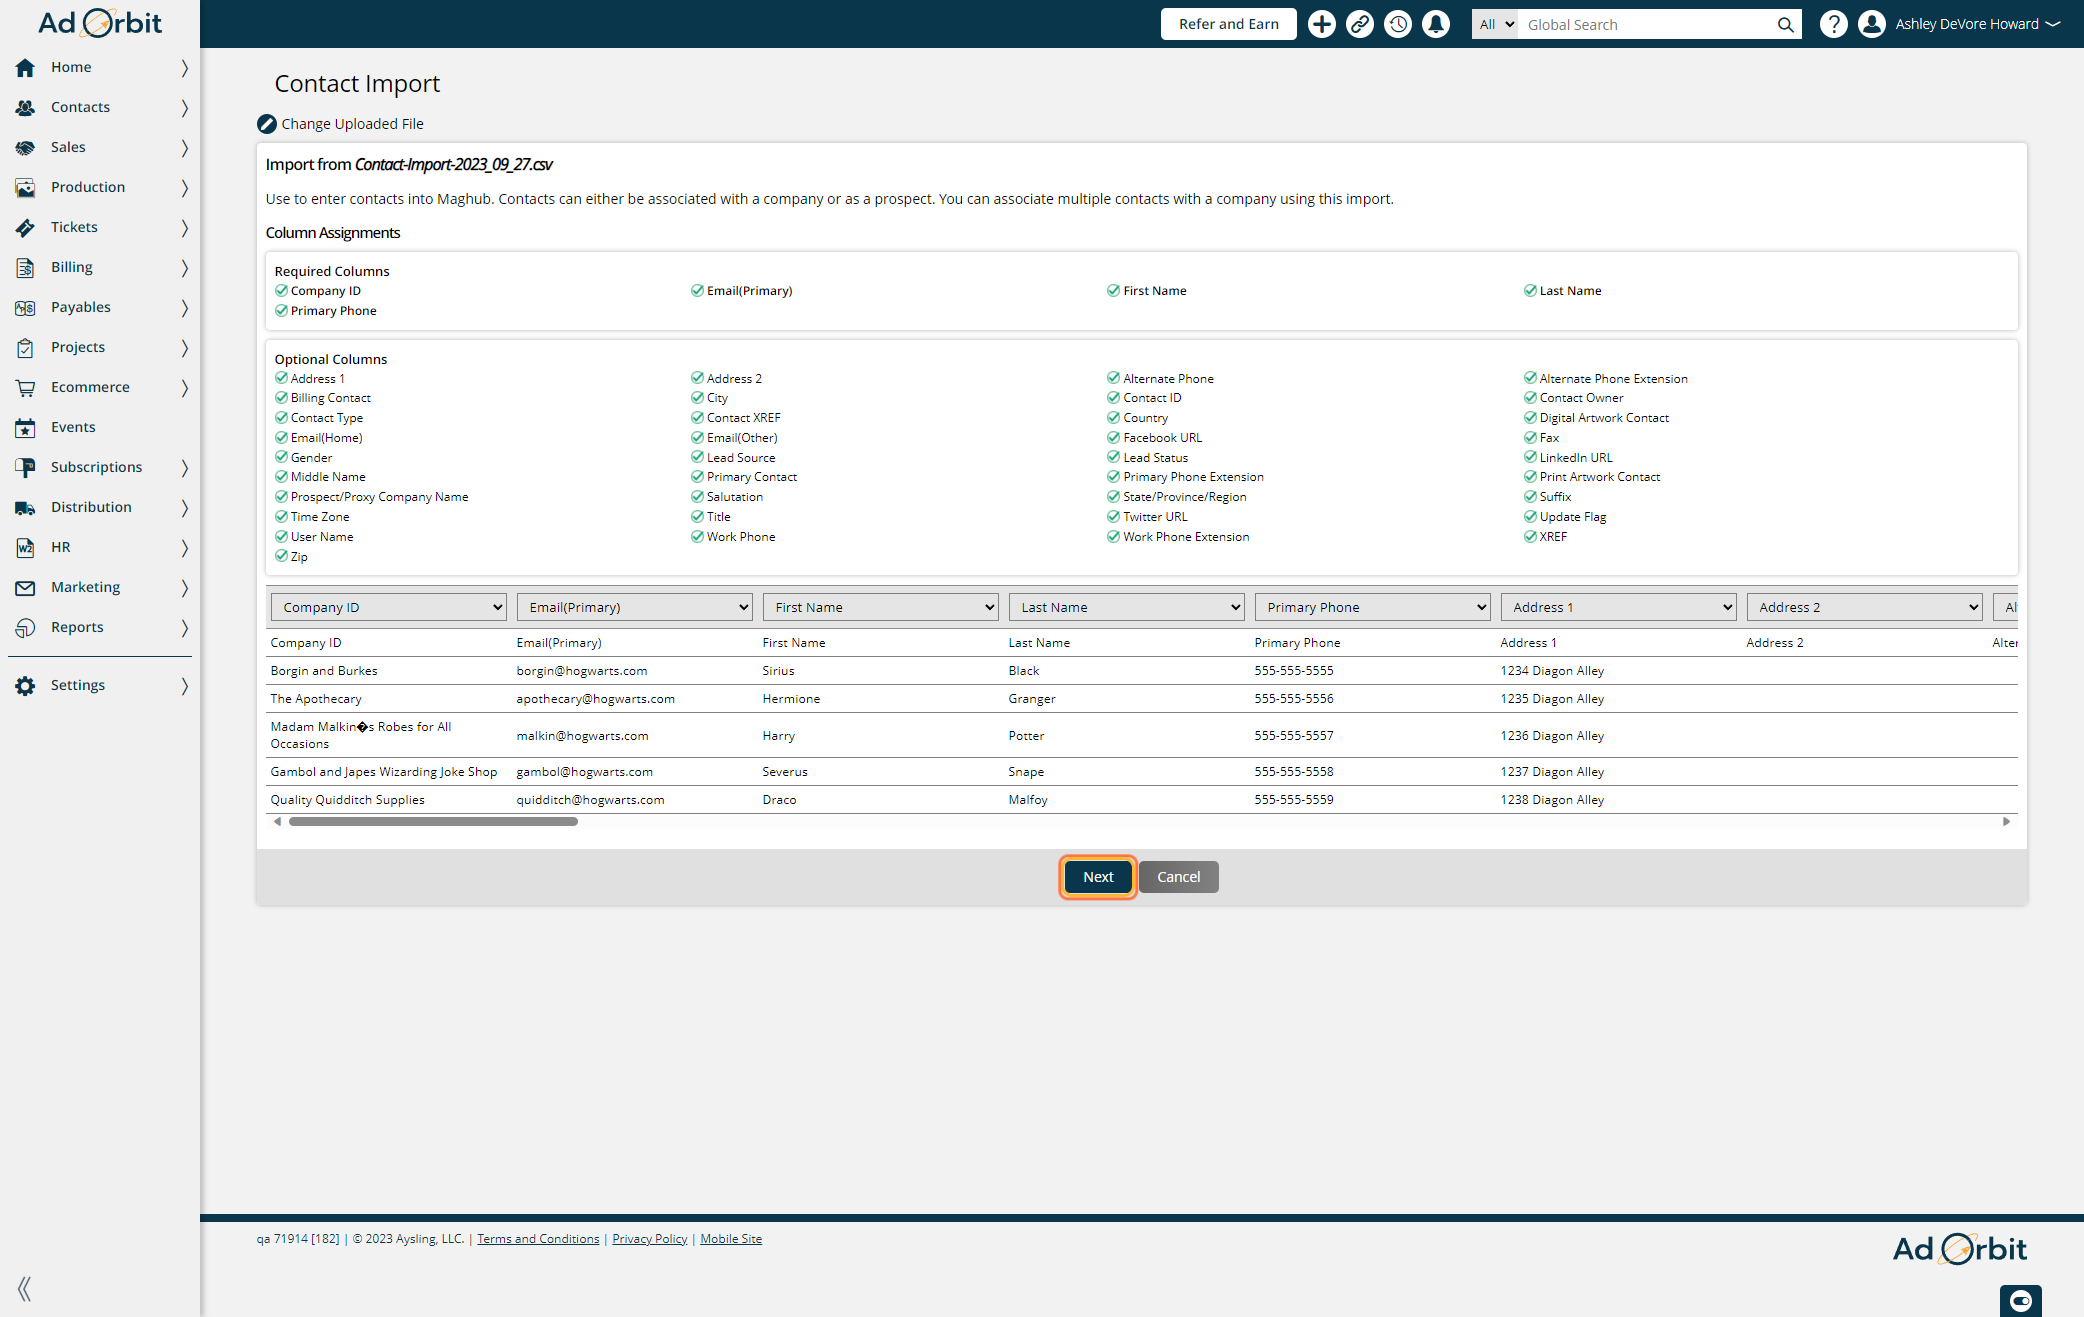
After you select start you will see some of your data populate in the table. Ensure that the data matches the headers.
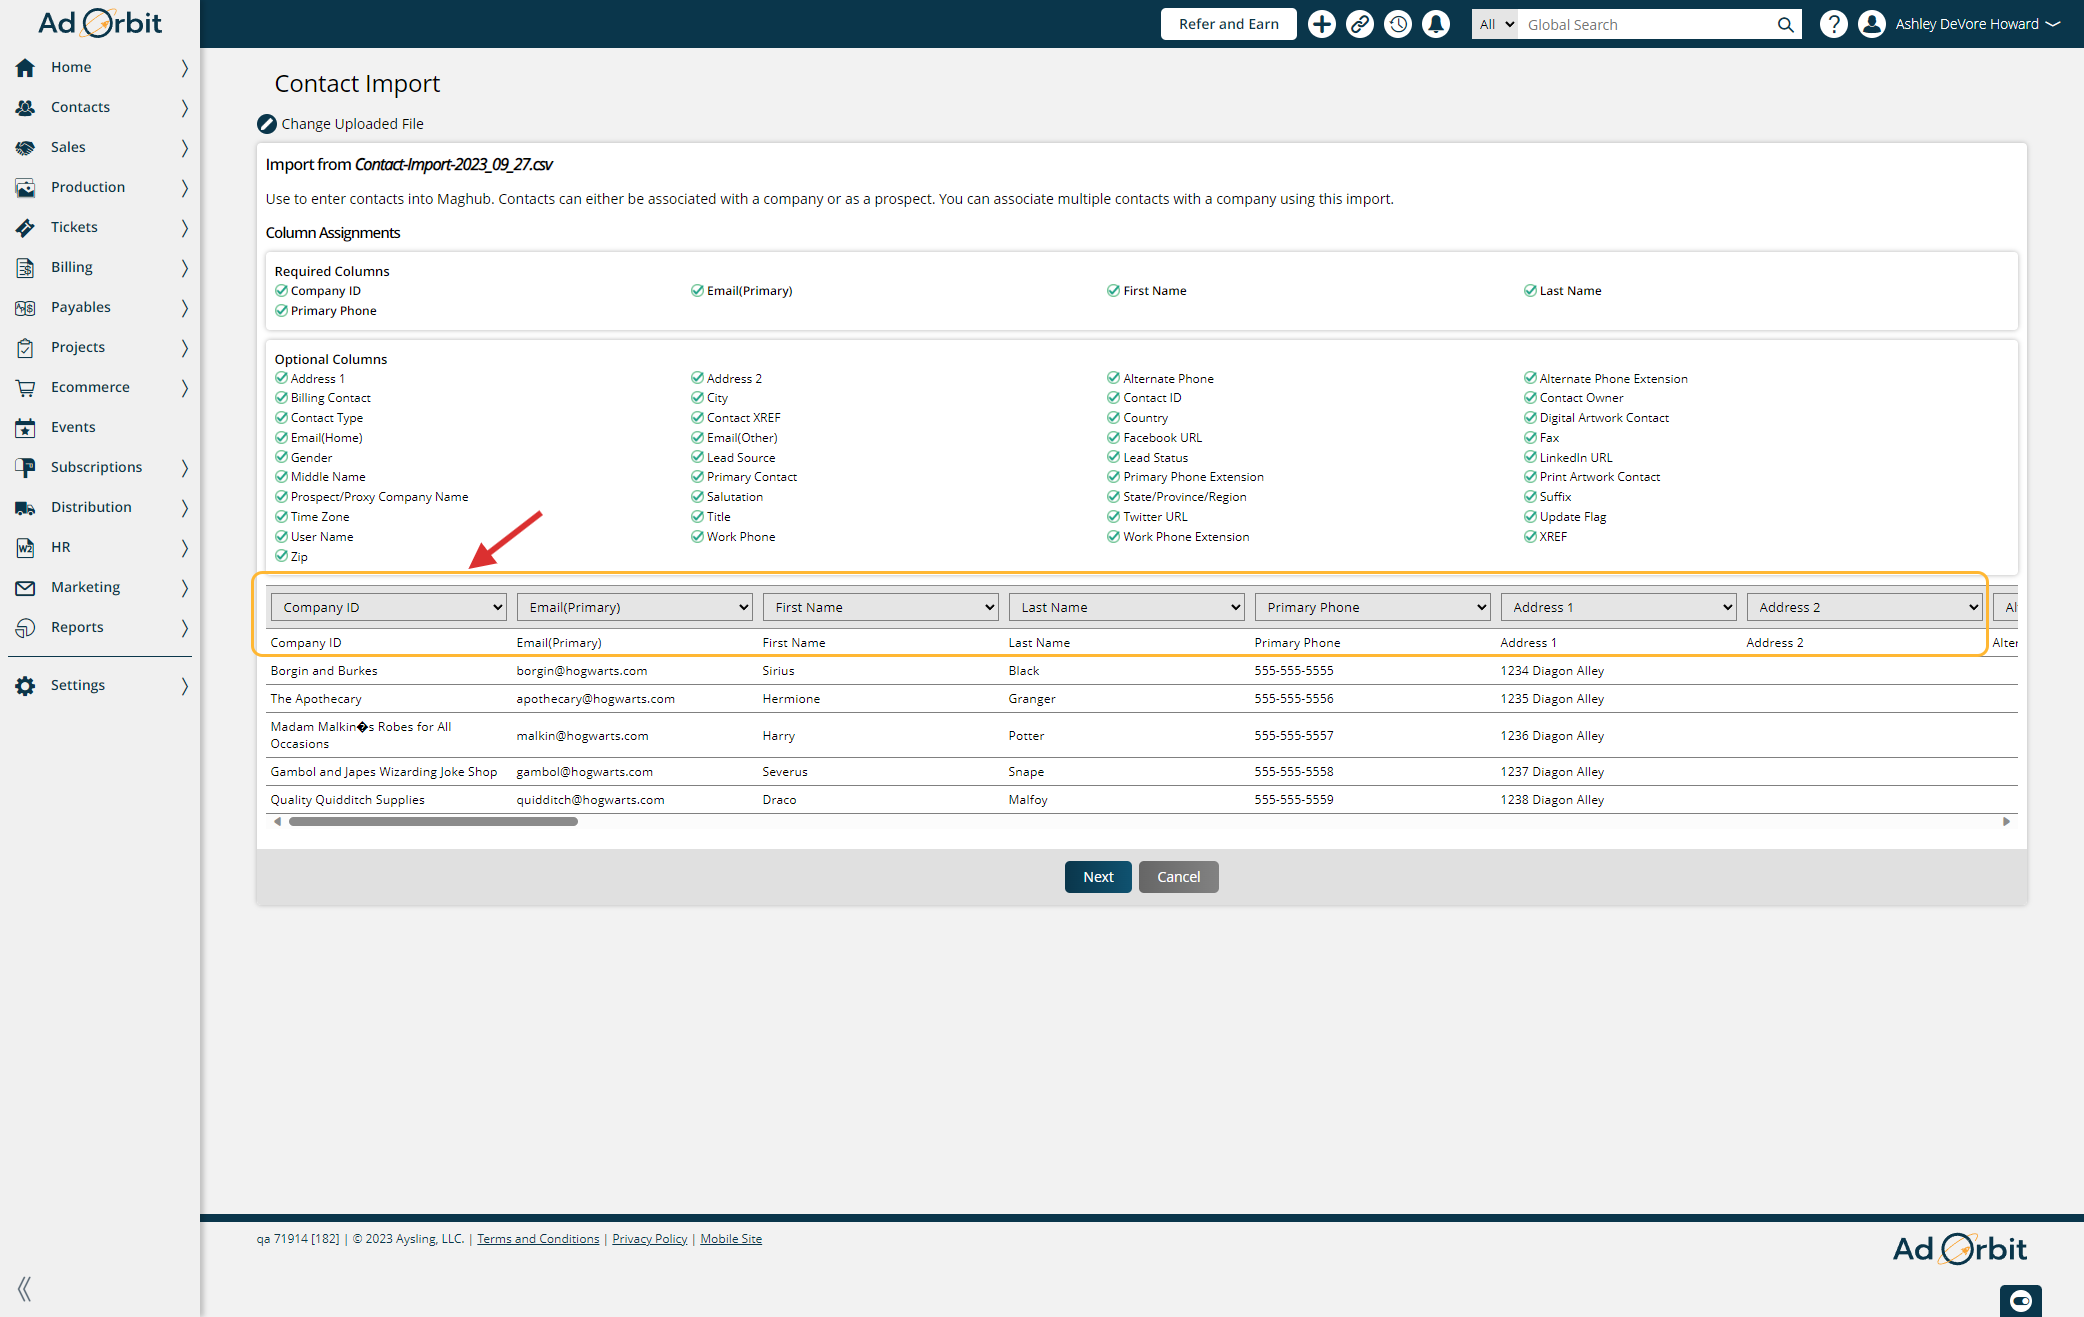
After you have verified that your data is populating correctly select next.
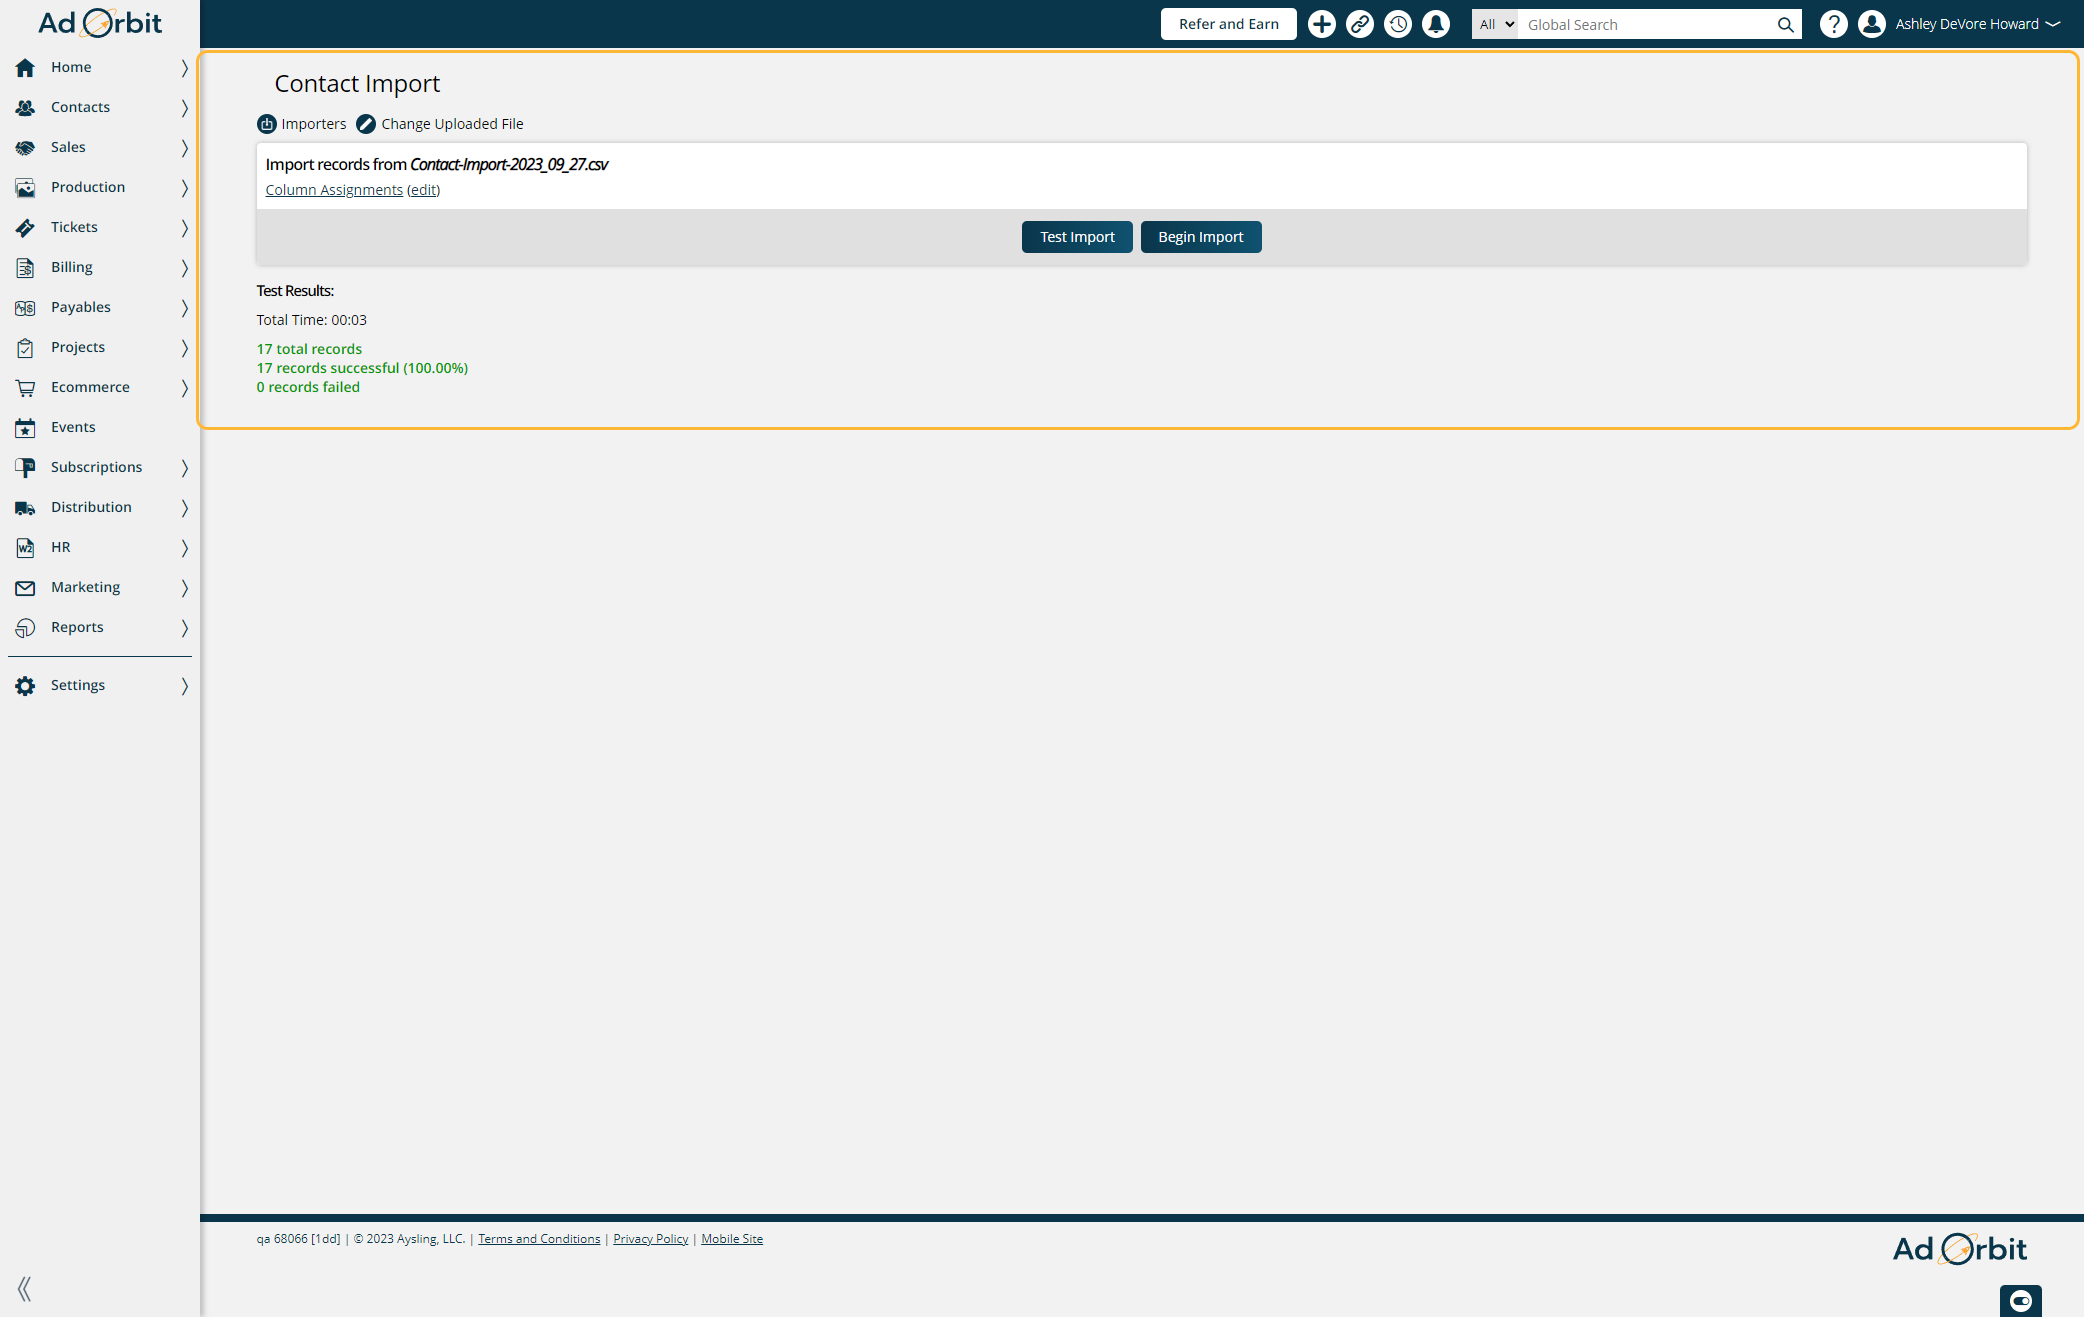
Before you begin your import, you are going to want to run a test import. The test import is run to see if your data import csv file will populate any errors.
If your test import has any errors these will populate in the highlighted area and you will be able to download the error report to fix the errors.
Receiving the Error Files:
When you download the error files, you will get two separate sheets:
"Errors" Sheet: This sheet contains a list of all the specific errors found during the data processing. It identifies the exact issues with your data in a detailed format.
"Failed Records" Sheet: This sheet contains the entire dataset, but only for the records that have failed validation or encountered issues.
Which Sheet to Focus On:
For this particular step, you should only focus on the "Errors" sheet. This sheet gives you the specific details of the errors that need attention.
Fixing the Errors:
Once you have identified the errors in the "Errors" sheet, go back to your original CSV file. You will need to fix the issues directly in that file based on the errors you’ve found.
The "Errors" sheet may show you things like missing data, incorrect formatting, or mismatched fields.
After fixing the errors in your original CSV file based on the details from the "Errors" sheet, you should be able to re-upload or re-process your corrected file, ensuring that it now passes validation without errors.
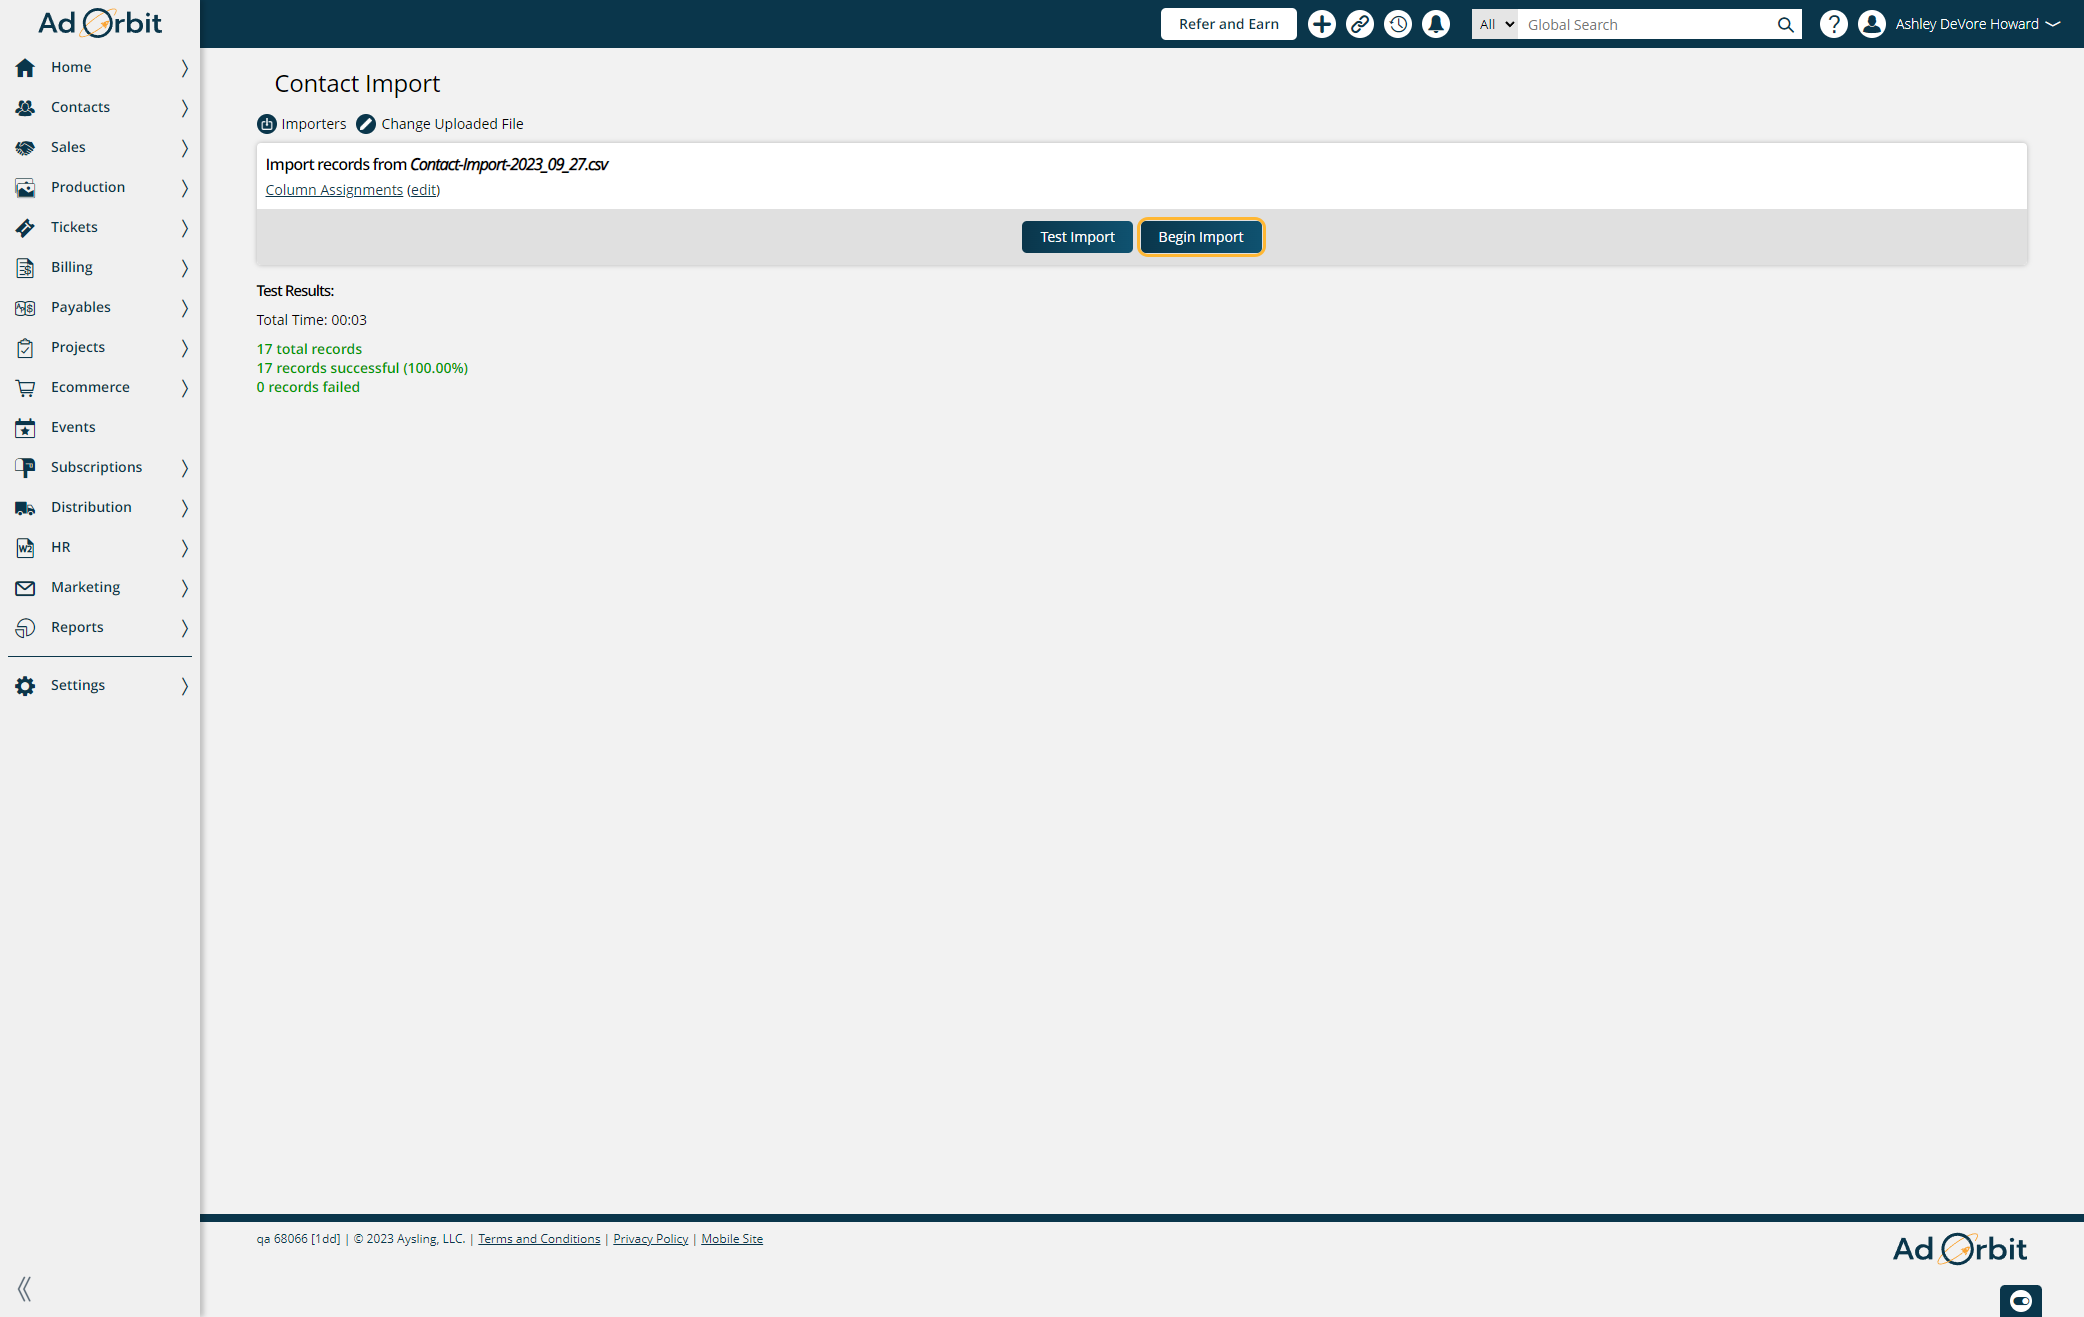
If your test import was successful you can proceed by selecting Begin Import.
After your official import finishes processing you will be able to see if there are any errors. If you see any errors populate follow the steps below:
Receiving the Error Files:
When you download the error files after processing your actual import (not the test round), you will receive two separate sheets:
"Errors" Sheet: This sheet lists all the specific errors found during the import process. It will show you what went wrong with each record based on the system’s validation checks.
"Failed Records" Sheet: This sheet contains all the records from your dataset that have failed during the import process.
Which Sheet to Focus On for the Next Step:
For this step, you will need to focus on both the "Errors" sheet and the "Failed Records" sheet. Here’s why:
Errors Sheet: This sheet will give you detailed information about the specific errors for each record. It will tell you the exact nature of the problem (e.g., missing fields, incorrect data types, formatting issues, etc.).
Failed Records Sheet: This sheet, on the other hand, shows you the complete set of records that failed during the import. It’s useful because you can directly view and isolate just the failed data. This makes it much easier to identify and correct the exact set of records that need attention.
Fixing the Errors:
Once you've identified the errors in both sheets:
Start by reviewing the "Failed Records" sheet to focus solely on the records that have issues. This narrows down the dataset and allows you to focus only on the problematic records.
Cross-reference the data in the "Errors" sheet to see the specifics of what is wrong with each record. For example, if an error in the "Errors" sheet states that a certain field is empty or formatted incorrectly, you can go to the corresponding record in the "Failed Records" sheet and fix the issue directly in that record.
Fix the errors in the failed records file based on the information from the errors sheet. You will be adjusting the fields or correcting data to make sure all errors are resolved.
Re-importing the Corrected Data:
Once you've corrected the errors, you can re-import the corrected dataset back into the system. After the import, if there are still any issues or errors left, they will populate again in the error files. This is the normal process — you’ll continue to review and fix the errors in the same manner:
Download the error files.
Focus on both the "Errors" and "Failed Records" sheets again.
Correct the issues in the Failed Records file.
Re-import the updated file.
Repeat this process until there are no errors remaining.
Verify your import was successful.
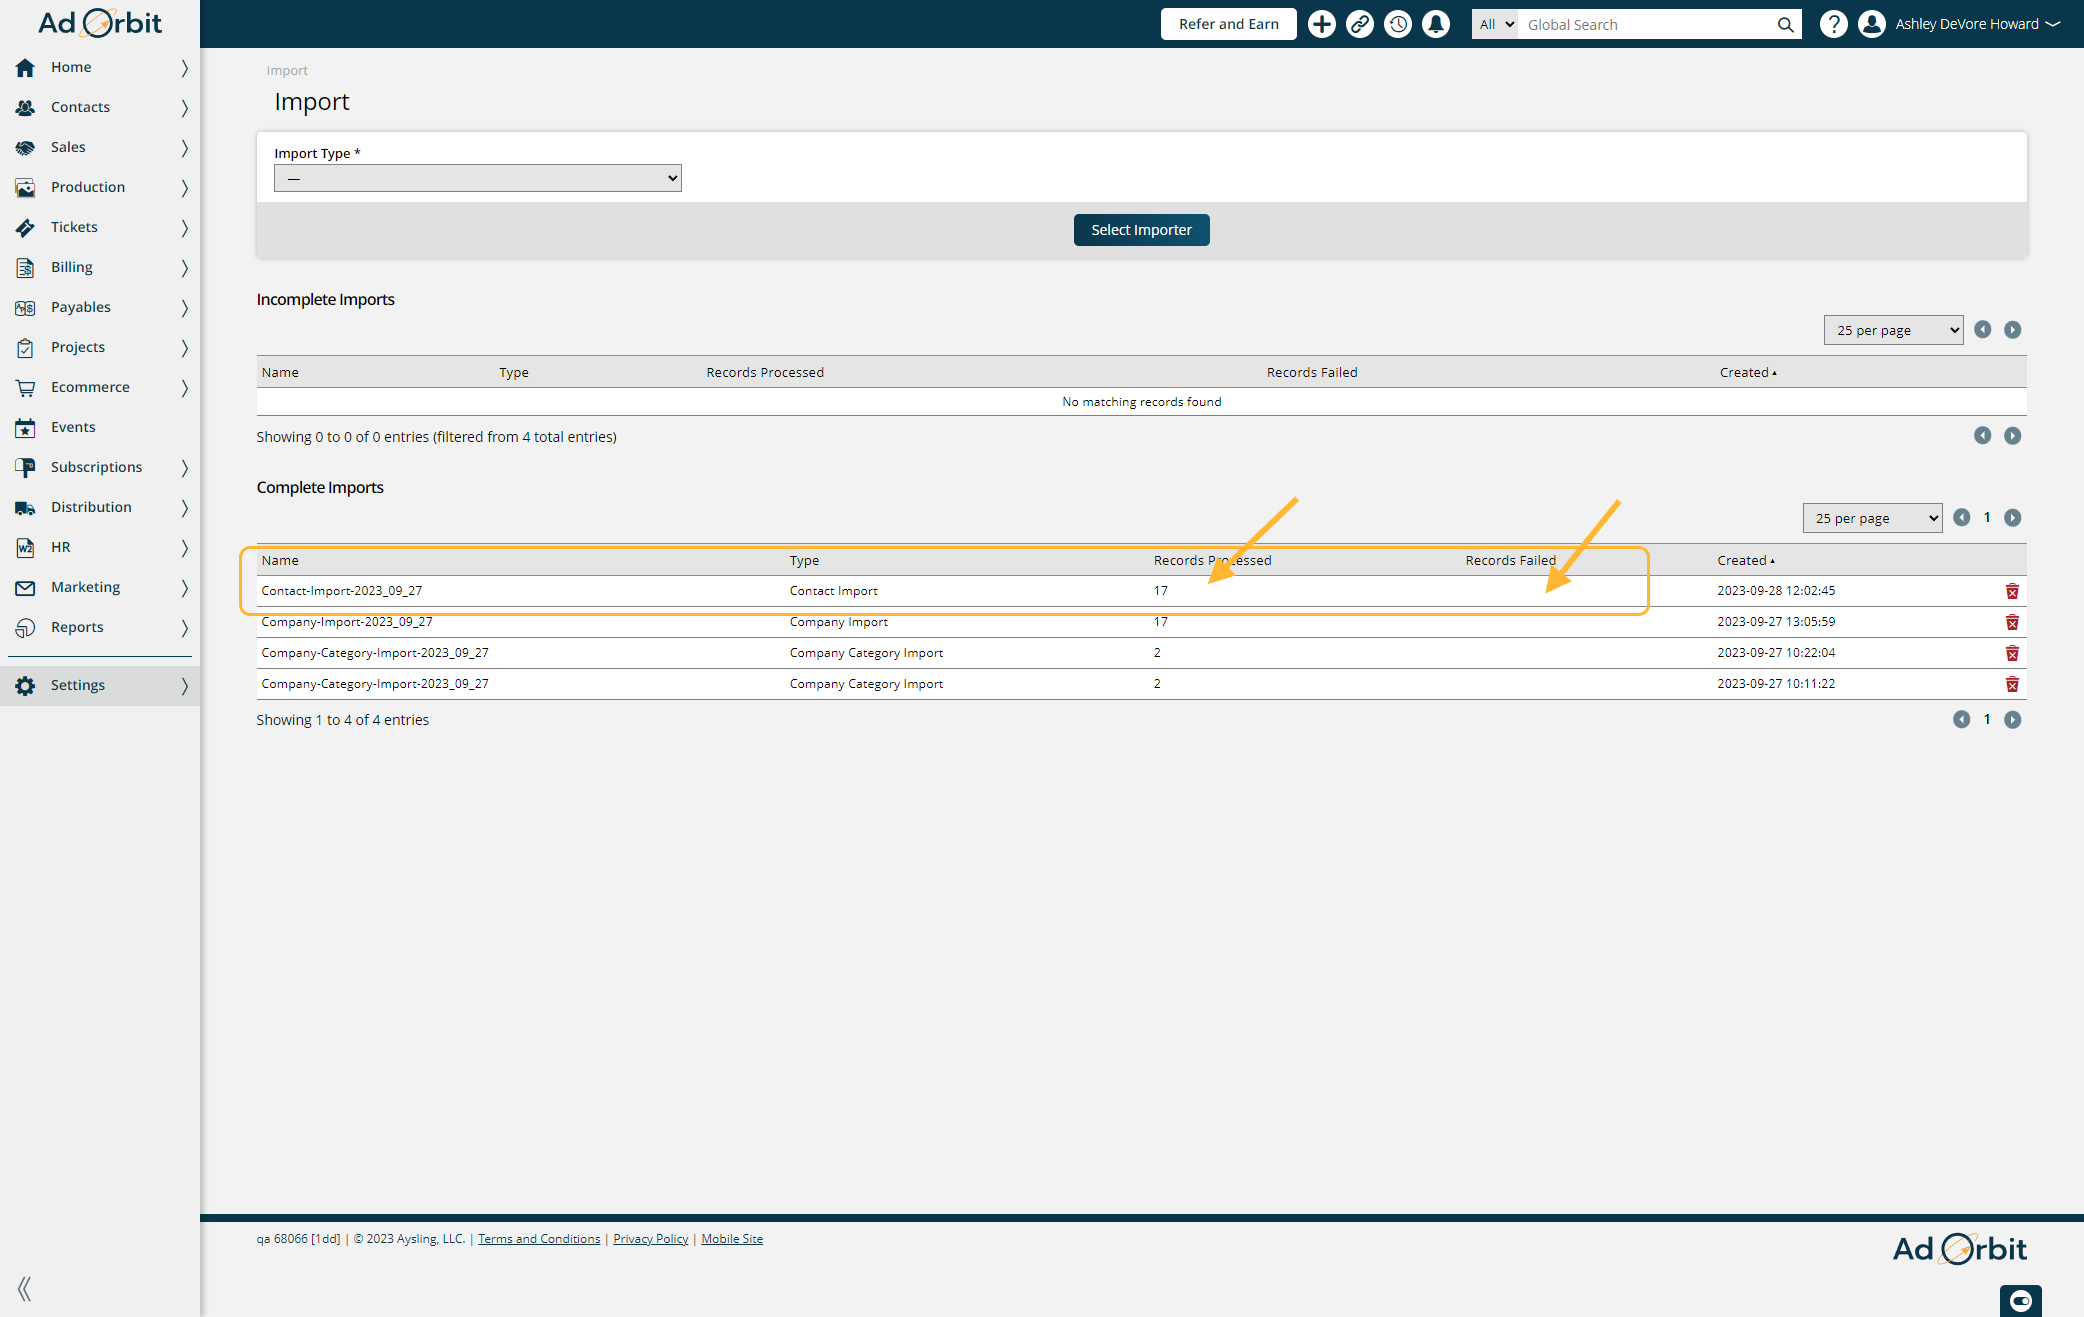
Now that your data has been successfully imported you will need to validate the data. Validating the data means that you will check to make sure the imported data mapped correctly into the system.
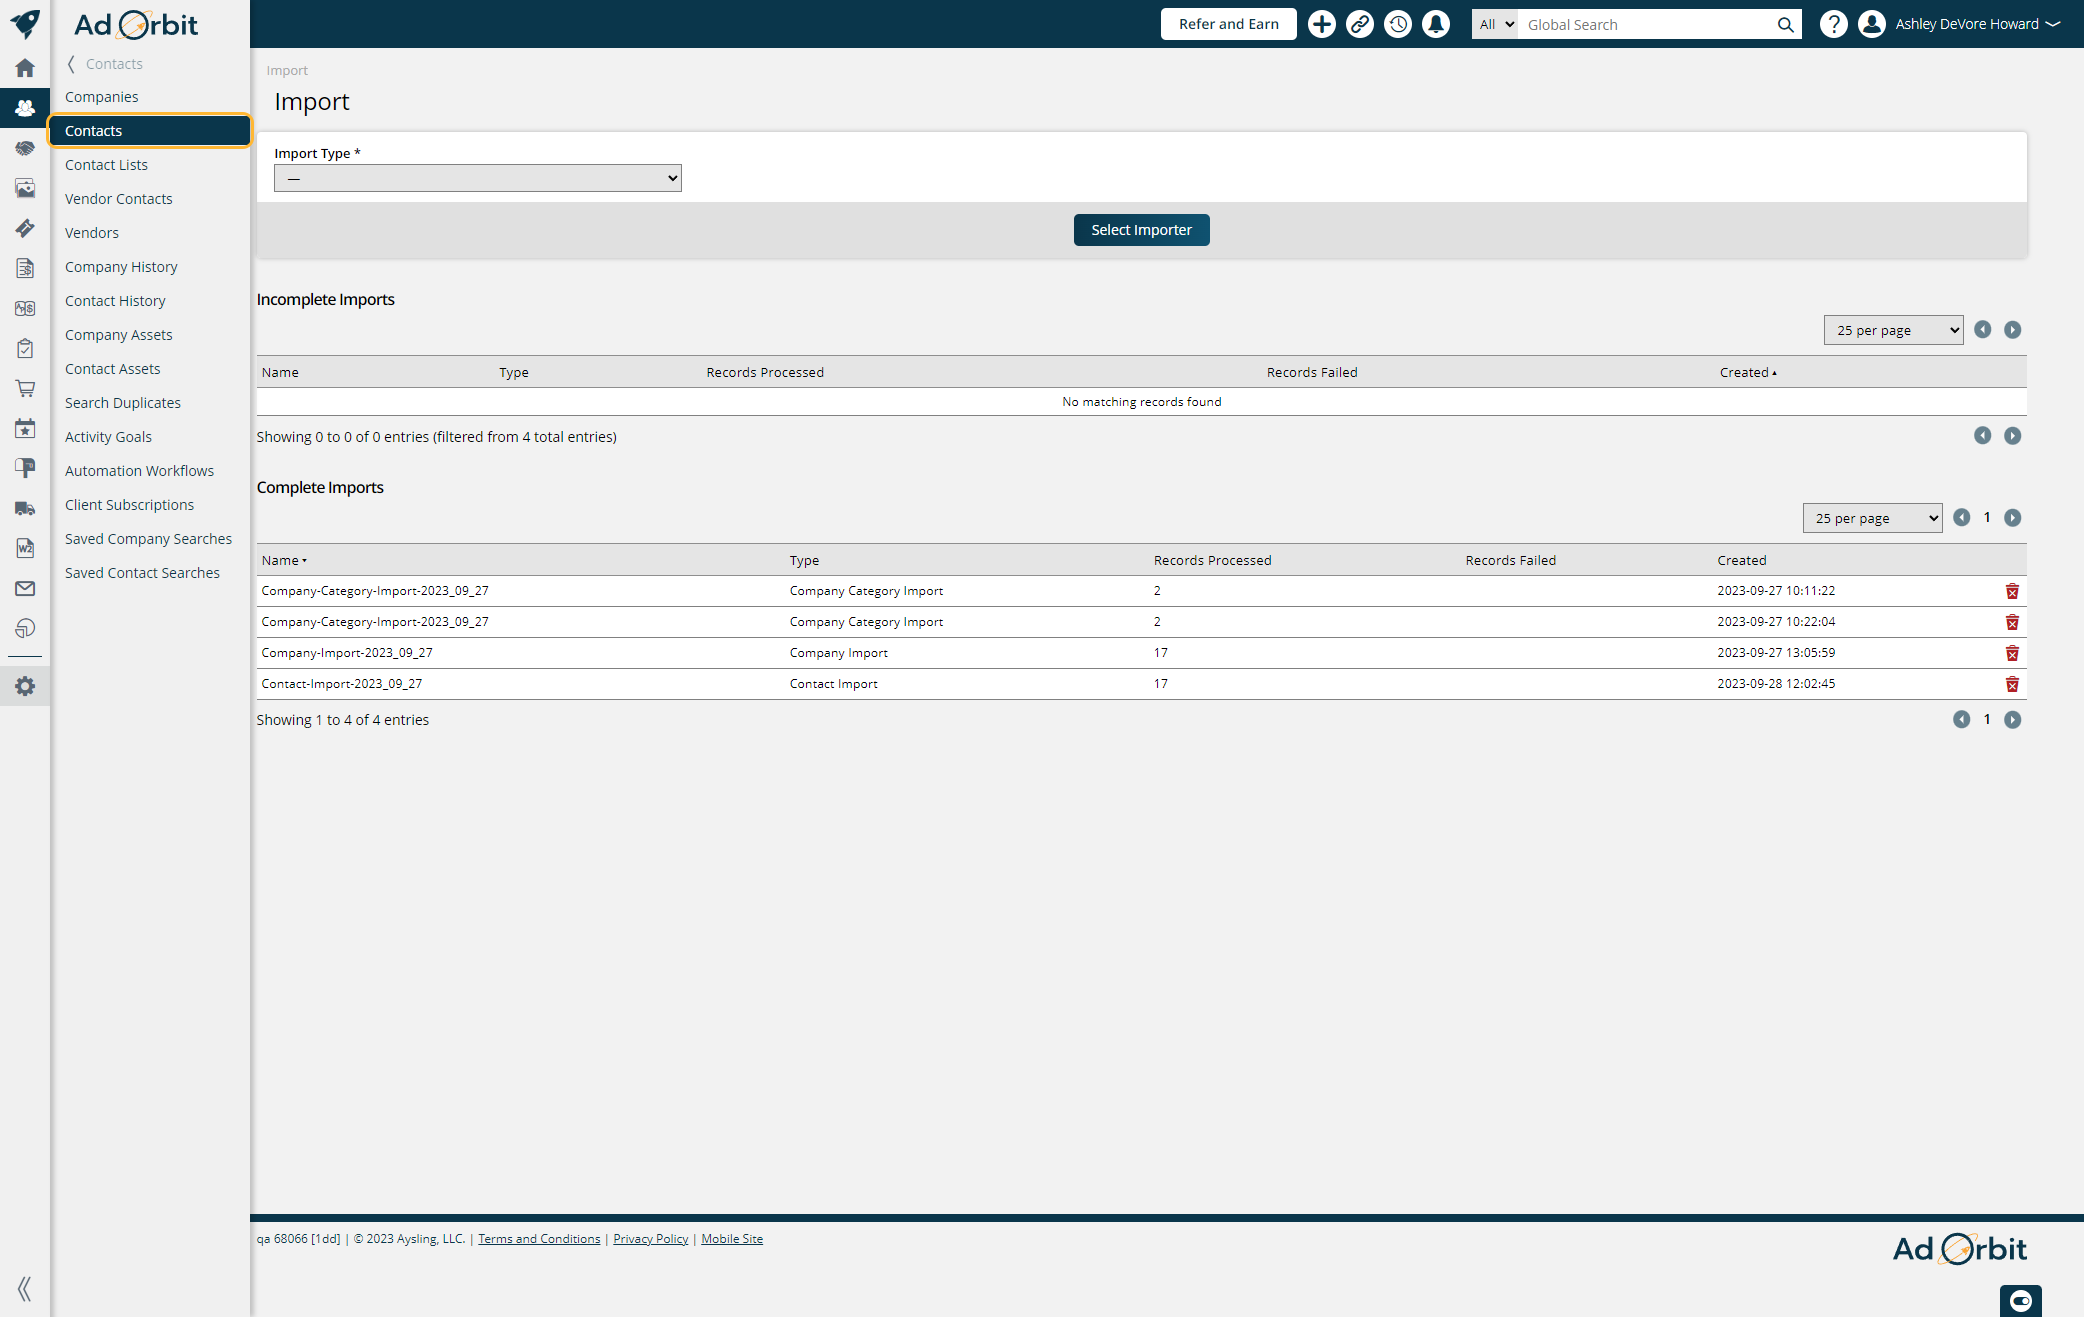
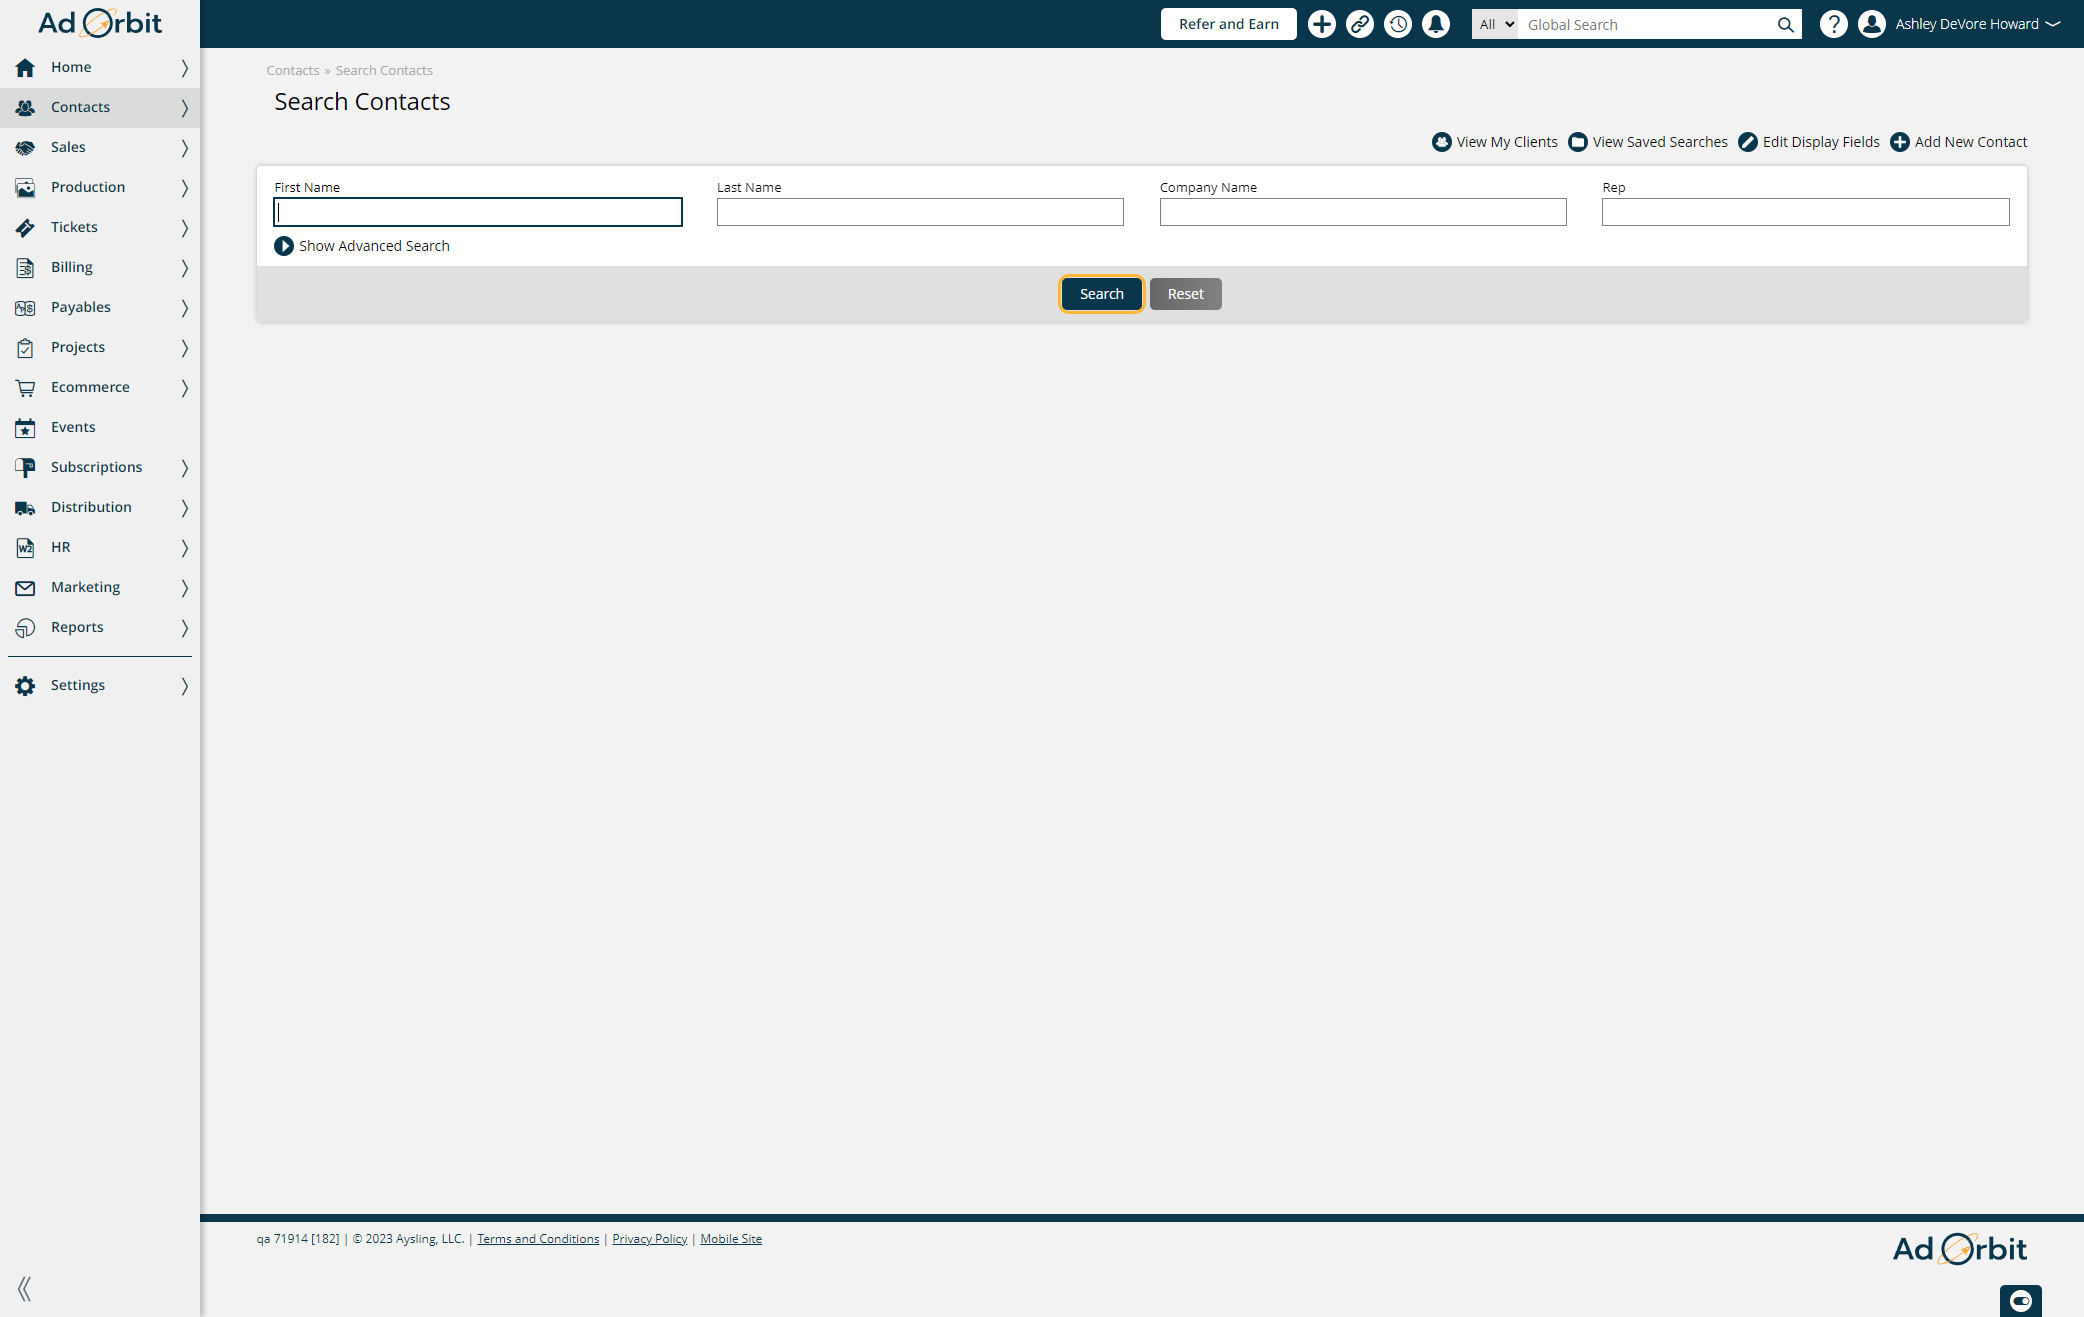
Go to Contacts > Contacts. Click on Search.
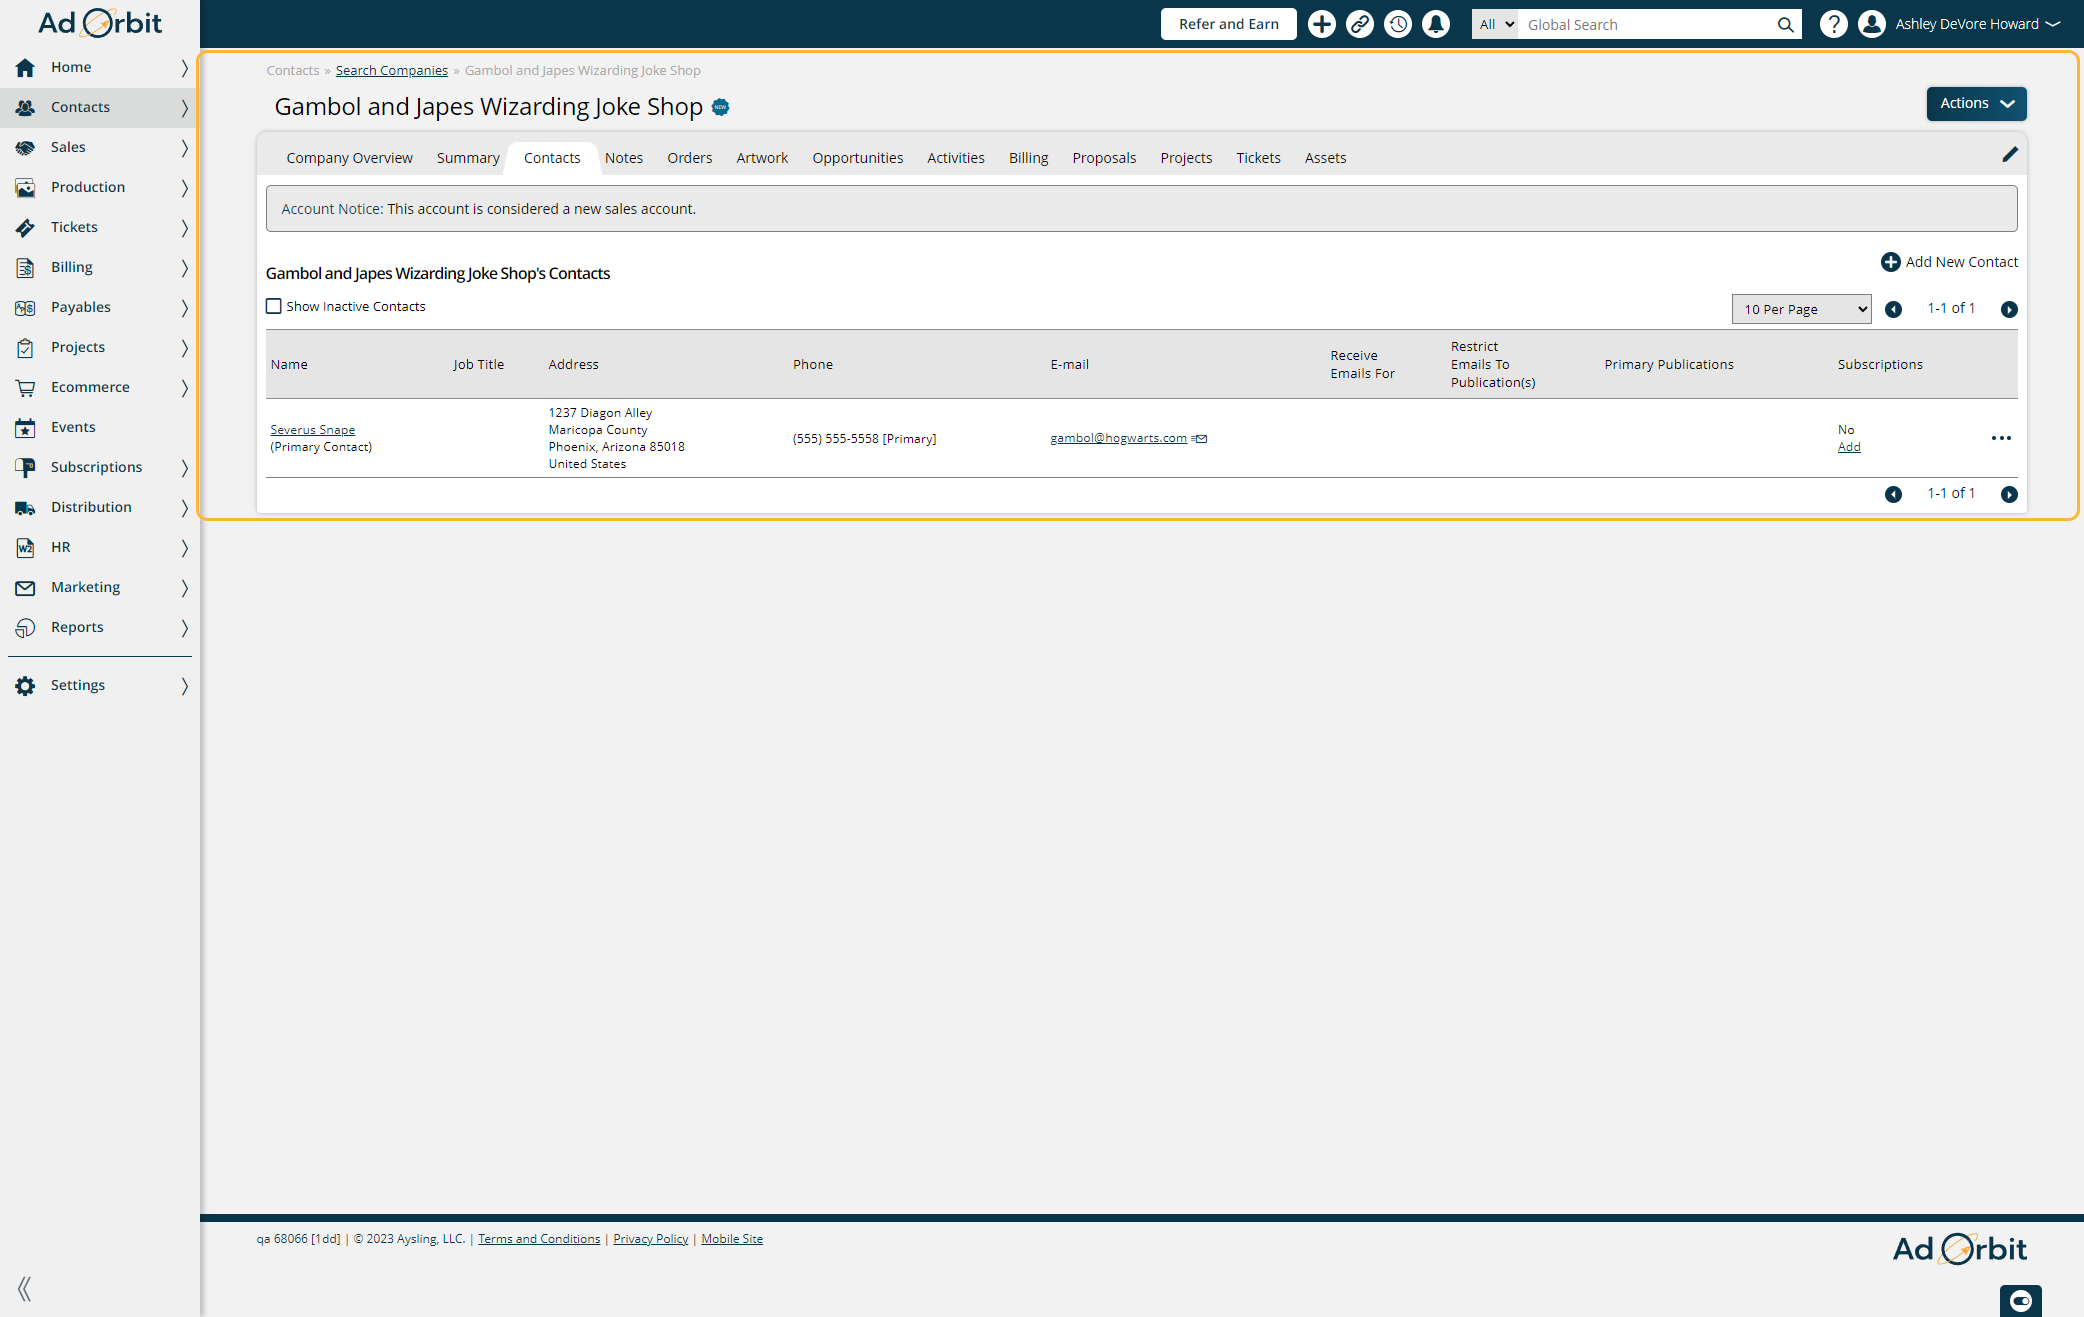
Check the contacts that were imported into the system. Ensure that they mapped to the correct company and are listed as the correct kind of contact ex: primary, billing etc.
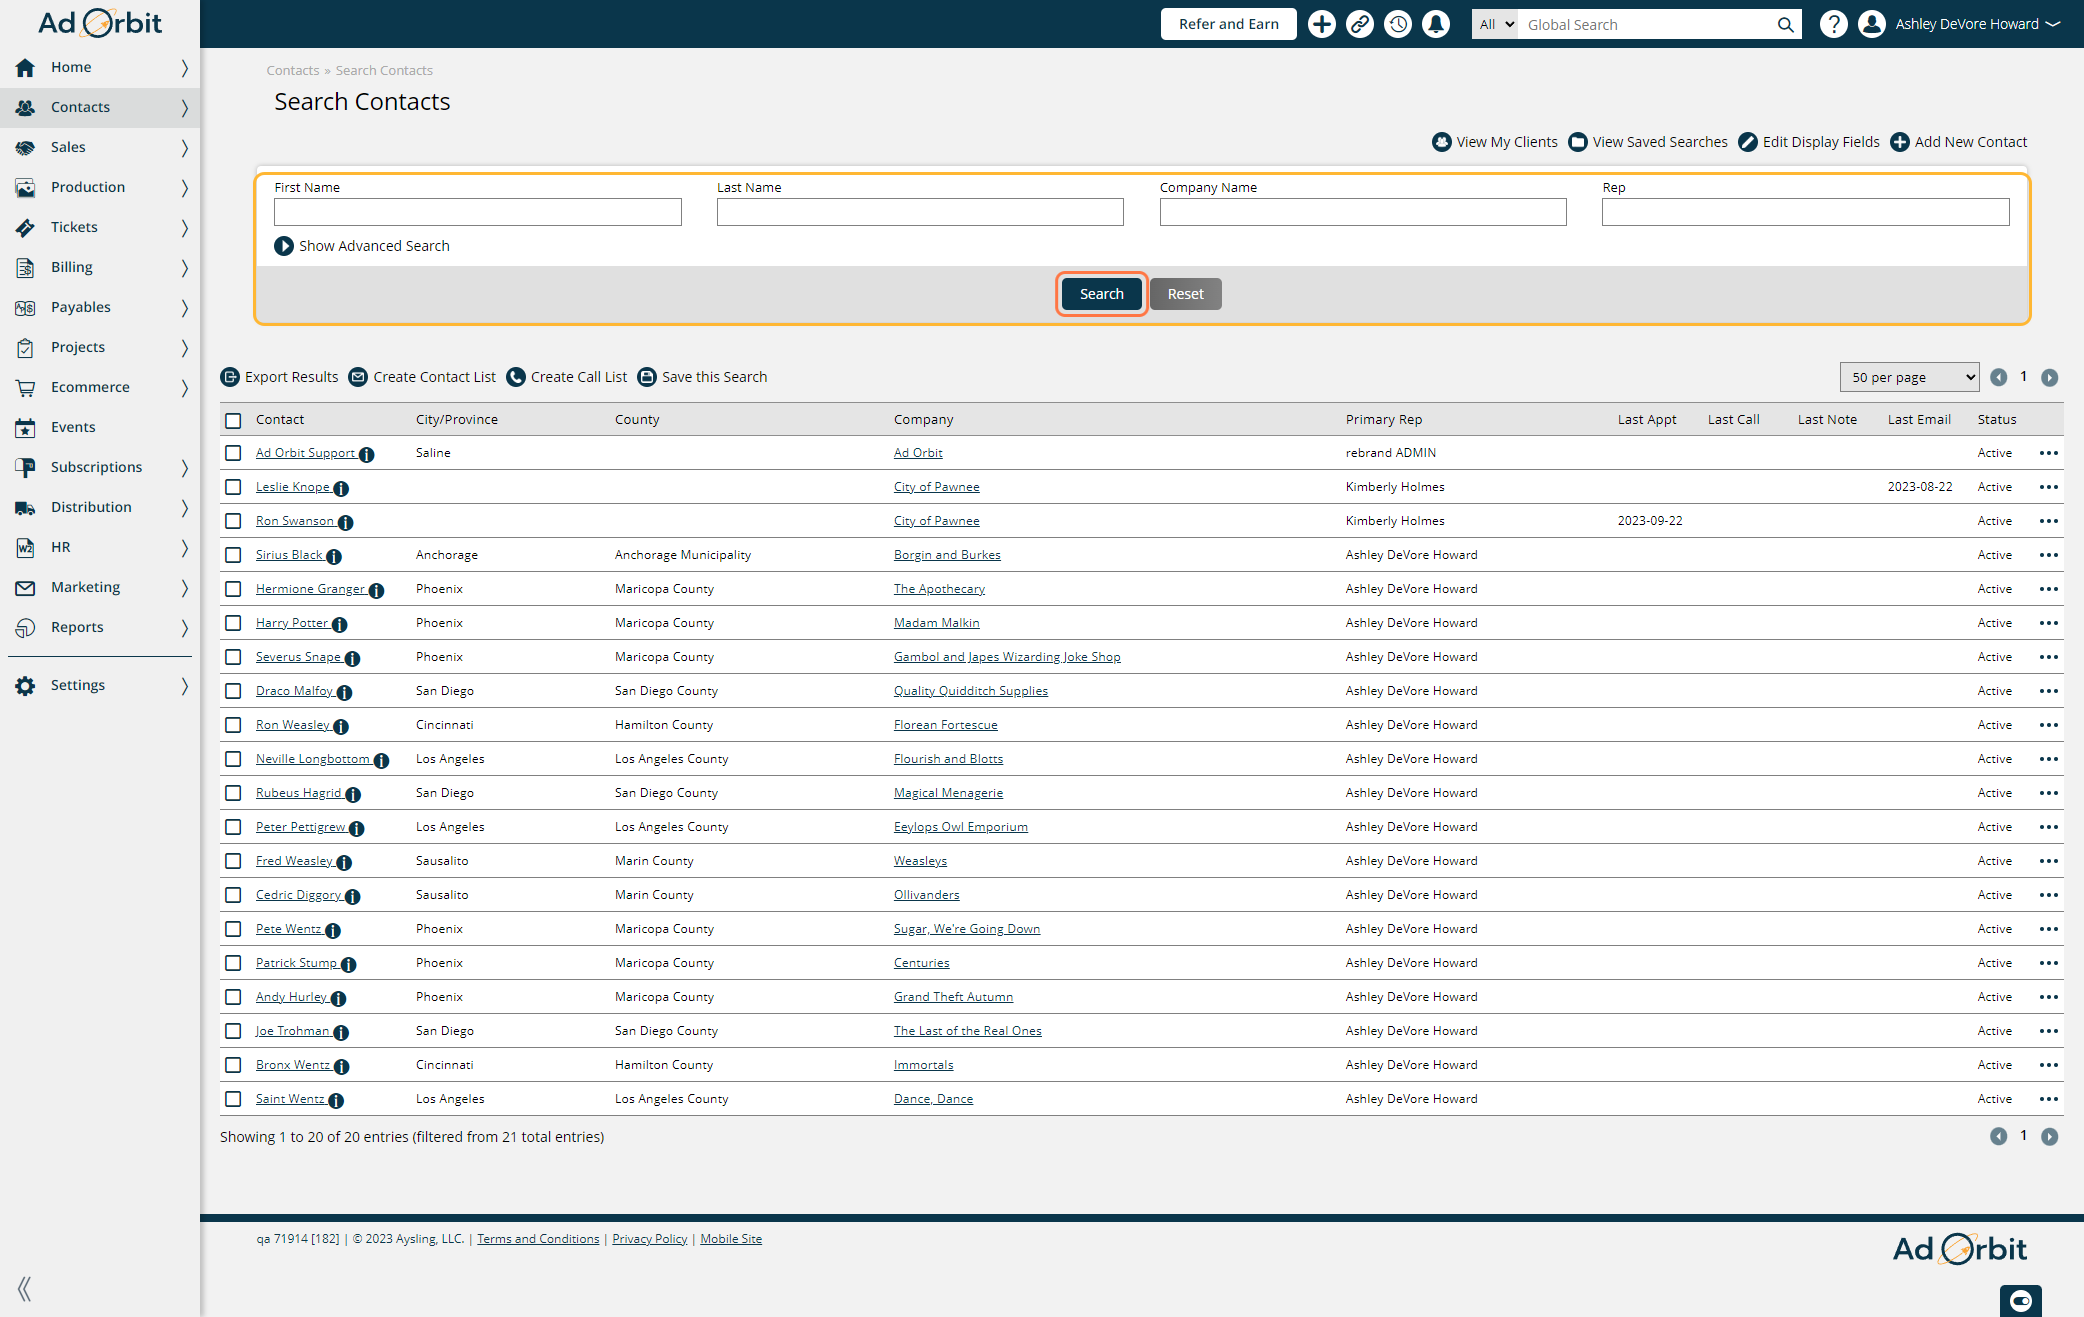
You can also go to the company page and verify contacts that way as well. After you have verified that the data that was imported was correct the validation has been completed!
New 4/24/2025