Broadstreet Integration Setup
Broadstreet is a platform that allows you to manage your advertisements, with a focus on publishers who use direct sales. When you integrate your Broadstreet account, you can sync your system line items to Broadstreet campaigns, and system assets to Broadstreet advertisements. Read through the document below to learn how to set up the integration.
Set Up
To start using the Broadstreet integration you must have the Module enabled, permission to access the Broadstreet set up page, and an active Broadstreet account. If you do not have the Broadstreet module enabled, please contact our support team.
Once the Broadstreet module is enabled in your site, you will need the User Permission ‘Broadstreet’ under the Administration – Integrations section. The permission will give you the ability to access the Broadstreet set up page under Settings > Integrations > Broadstreet > Setup.
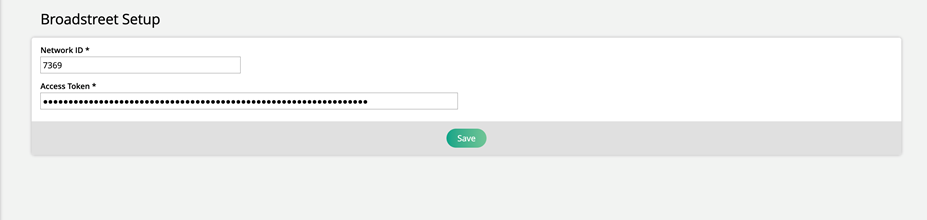
On the Broadstreet set up page, you will need to enter your Broadstreet Network ID and Access Token in order to connect the two systems. To find these, log in to your Broadstreet account.
The Network ID is found on your Broadstreet home page.

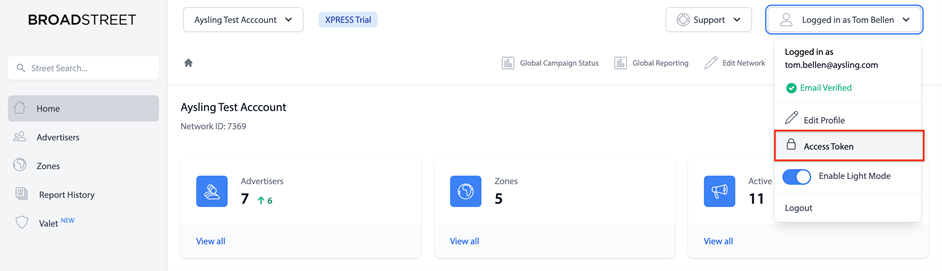
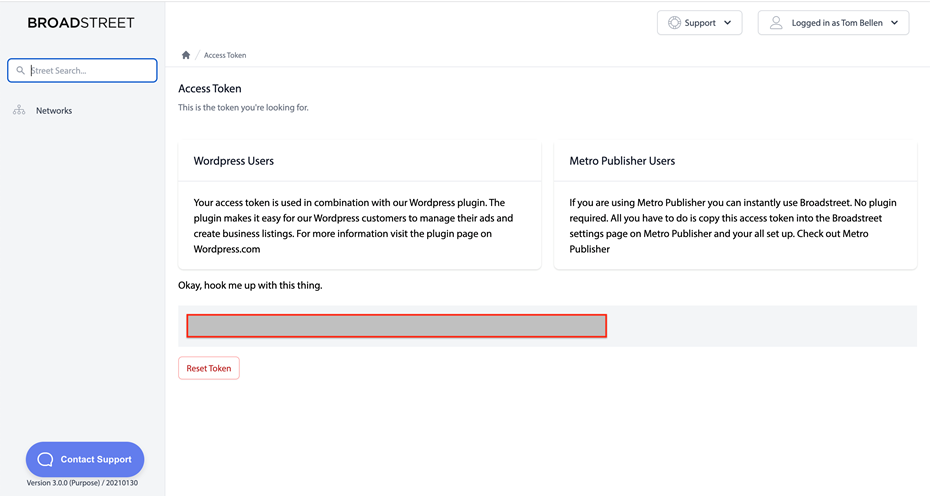
The Access Token can be found by clicking on your username in the top right corner, and choosing Access Token from the dropdown.
Enter the Network ID and Access Token on your Broadstreet set up page in the system, and click save. You should see a success message, confirming that the systems were connected.
Now that Ad Orbit and Broadstreet are connected, you will want to review and set up your ad sizes, channels, and products to sync between the two systems.
Overview
System ad sizes are equivalent to Broadstreet zones, and system Targeted Display or Reserved digital media products are sent into Broadstreet as campaigns. When setting up a Targeted Display or Reserved product within the system, you are required to set ad sizes that can be used on the product. When that Targeted Display or Reserved product is on an order within the system that has been fully approved, that line item will show up in your Broadstreet account as a campaign. Then, on the ticket for the line item in the system, if you assign an asset to an ad size, that asset will come into Broadstreet and will be automatically assigned to the Broadstreet zone that is mapped to that ad size. Read below to learn how to set up your ad sizes and products within the system to sync to Broadstreet zones and campaigns.
Mapping Broadstreet Zones
There are two possible ways to map your system items to Broadstreet zones. The first is a one-to-one connection that uses the system ad sizes. The second allows you to map a single system channel to multiple Broadstreet zones. Regardless of which option you choose, once ad sizes or channels are mapped to zones, when assigning an asset on a ticket for a line item synced to Broadstreet, the asset will come into Broadstreet and will be automatically assigned to the mapped Broadstreet zone.
Option 1 – One ad size for each zone:
If you wish to map your ad sizes to a single Broadstreet zone each, go to the Settings > Products > Rate Card & Ad Setup page, and click on the Sizes tab. Here, you will see a button to ‘Sync Broadstreet Zones’. When you first connect the systems, you will need to click this button. Once synced, your Broadstreet zones can be mapped to your digital ad sizes.
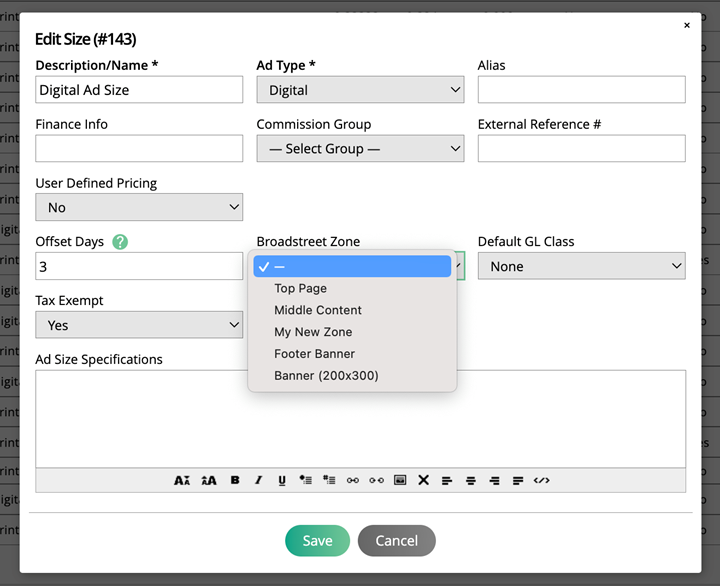
Edit or add a digital ad size, and in the popup, you will see a dropdown for ‘Broadstreet Zone’. Here, you will be able to choose from all your existing zones in Broadstreet to map to the ad size.
Option 2 – One channel mapped to multiple zones:
If you wish to map a single channel to multiple Broadstreet zones, you’ll first need to enable a setting. Go to Settings > Integrations > Broadstreet and check the ‘Allow mapping channels to multiple Broadstreet zones’ box. Save the changes.
Once the setting is enabled, go to the Settings > Products > Rate Card & Ad Setup page, and click on the Positions/Channels tab. Here, you will see a button to ‘Sync Broadstreet Zones’. When you first connect the systems, you will need to click this button. Once synced, your Broadstreet zones can be mapped to your digital channels.
The next step is to click the ‘Broadstreet Zone Mapping’ button. This will redirect you to a new page where each zone can be mapped to a specific publication from your system. When you’ve mapped your zones to publications, you can return to the Rate Card & Ad Setup page.
This mapping page can also be accessed by going to Settings > Integrations > Broadstreet > Zone Mapping.

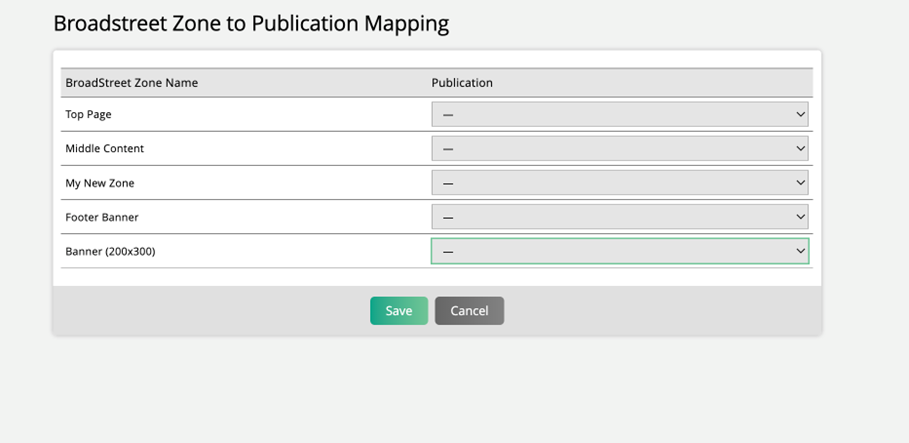
Edit or add a digital channel, and in the popup, you will see a dropdown for ‘Broadstreet Zone’. It will be a multi-select where you can choose from your existing zones in Broadstreet to map to the channel.
If a zone is not selected for a publication on the channel, then later when adding assets to a ticket synced to Broadstreet, items from that publication cannot be pushed to Broadstreet.
EXAMPLE: You have Publications A, B, and C, with the same Targeted Display product used in all the publications. This product uses your digital channel 'Main Page’. You go to the Broadstreet Zone Mapping page, and map Pub A to your ‘Zone A’ in Broadstreet, and Pub B to your ‘Zone B’. You do not map Pub C to any zones. Then, on your Main Page channel, you add Zone A and Zone B. You create a new order for your Targeted Display Product, with one line item for each of your pubs. When an asset is added to your Pub A ticket, it will show up in Broadstreet mapped to Zone A. When an asset is added to your Pub B ticket, it will show up in Broadstreet mapped to Zone B. And when an asset is added to your Pub C ticket, it will not show up in Broadstreet. It cannot be synced since no zones are mapped.
Note
Using the ‘Sync Broadstreet Zones’ button simply ensures that the zones you can choose from in the Broadstreet Zones dropdown are up to date. For instance, if you add or remove a zone in Broadstreet, you will want to update the zones you can choose from in the system.
Targeted Display, Impression, and Reserved Products
Once you have your ad sizes mapped to Broadstreet zones, you will need to create the products that will sync to Broadstreet. We currently support this for our Targeted Display, Impression, and Reserved digital media products.
Tip
Targeted Display products are flat rate items that run for a set amount of time. Reserved products are similar to slots, but they are sold within a date range, and then are scheduled for an exact date by the production team later. There is more information on both product types within the help center, or you can contact support with questions.
To set up a digital media product to get pushed to Broadstreet, go to Settings > Products > Targeted Display Products, Reserved Products, or Impression Products.
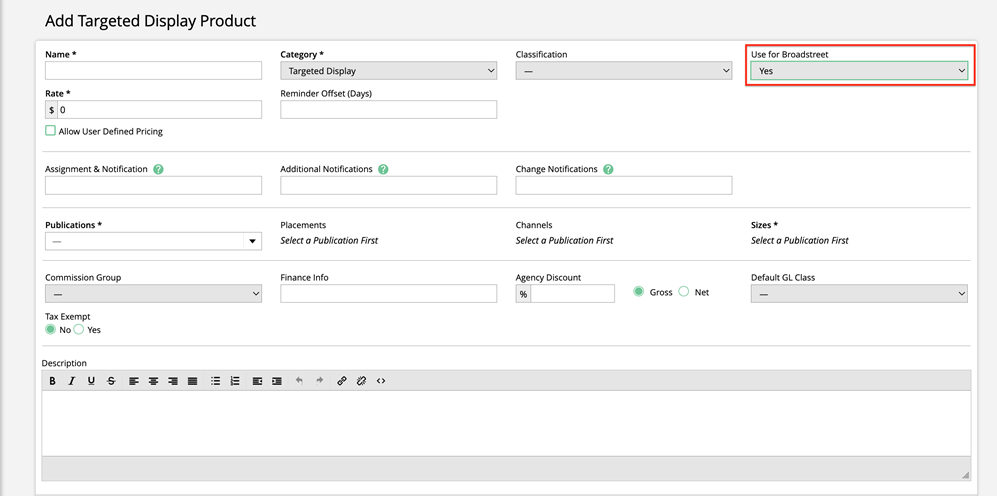
Create a new product, and make sure to set the ‘Use for Broadstreet’ field to Yes. Fill out the rest of the information like normal and click Save.
The ‘Use for Broadstreet’ field can be edited after the fact. If you change this setting, existing line items will not be affected, but newly created items will either sync to Broadstreet or not depending on how you changed the setting.
Once you have connected the systems, and reviewed your mappings and digital media products, you are ready to begin using the Broadstreet integration.
Updated 8/25/2025