Google Calendar Integration
Work can get hectic sometimes, so it’s important to stay organized. One way that the system can help streamline your busy schedule is by syncing up your Google calendar and task list with your Ad Orbit appointments and to-do's.
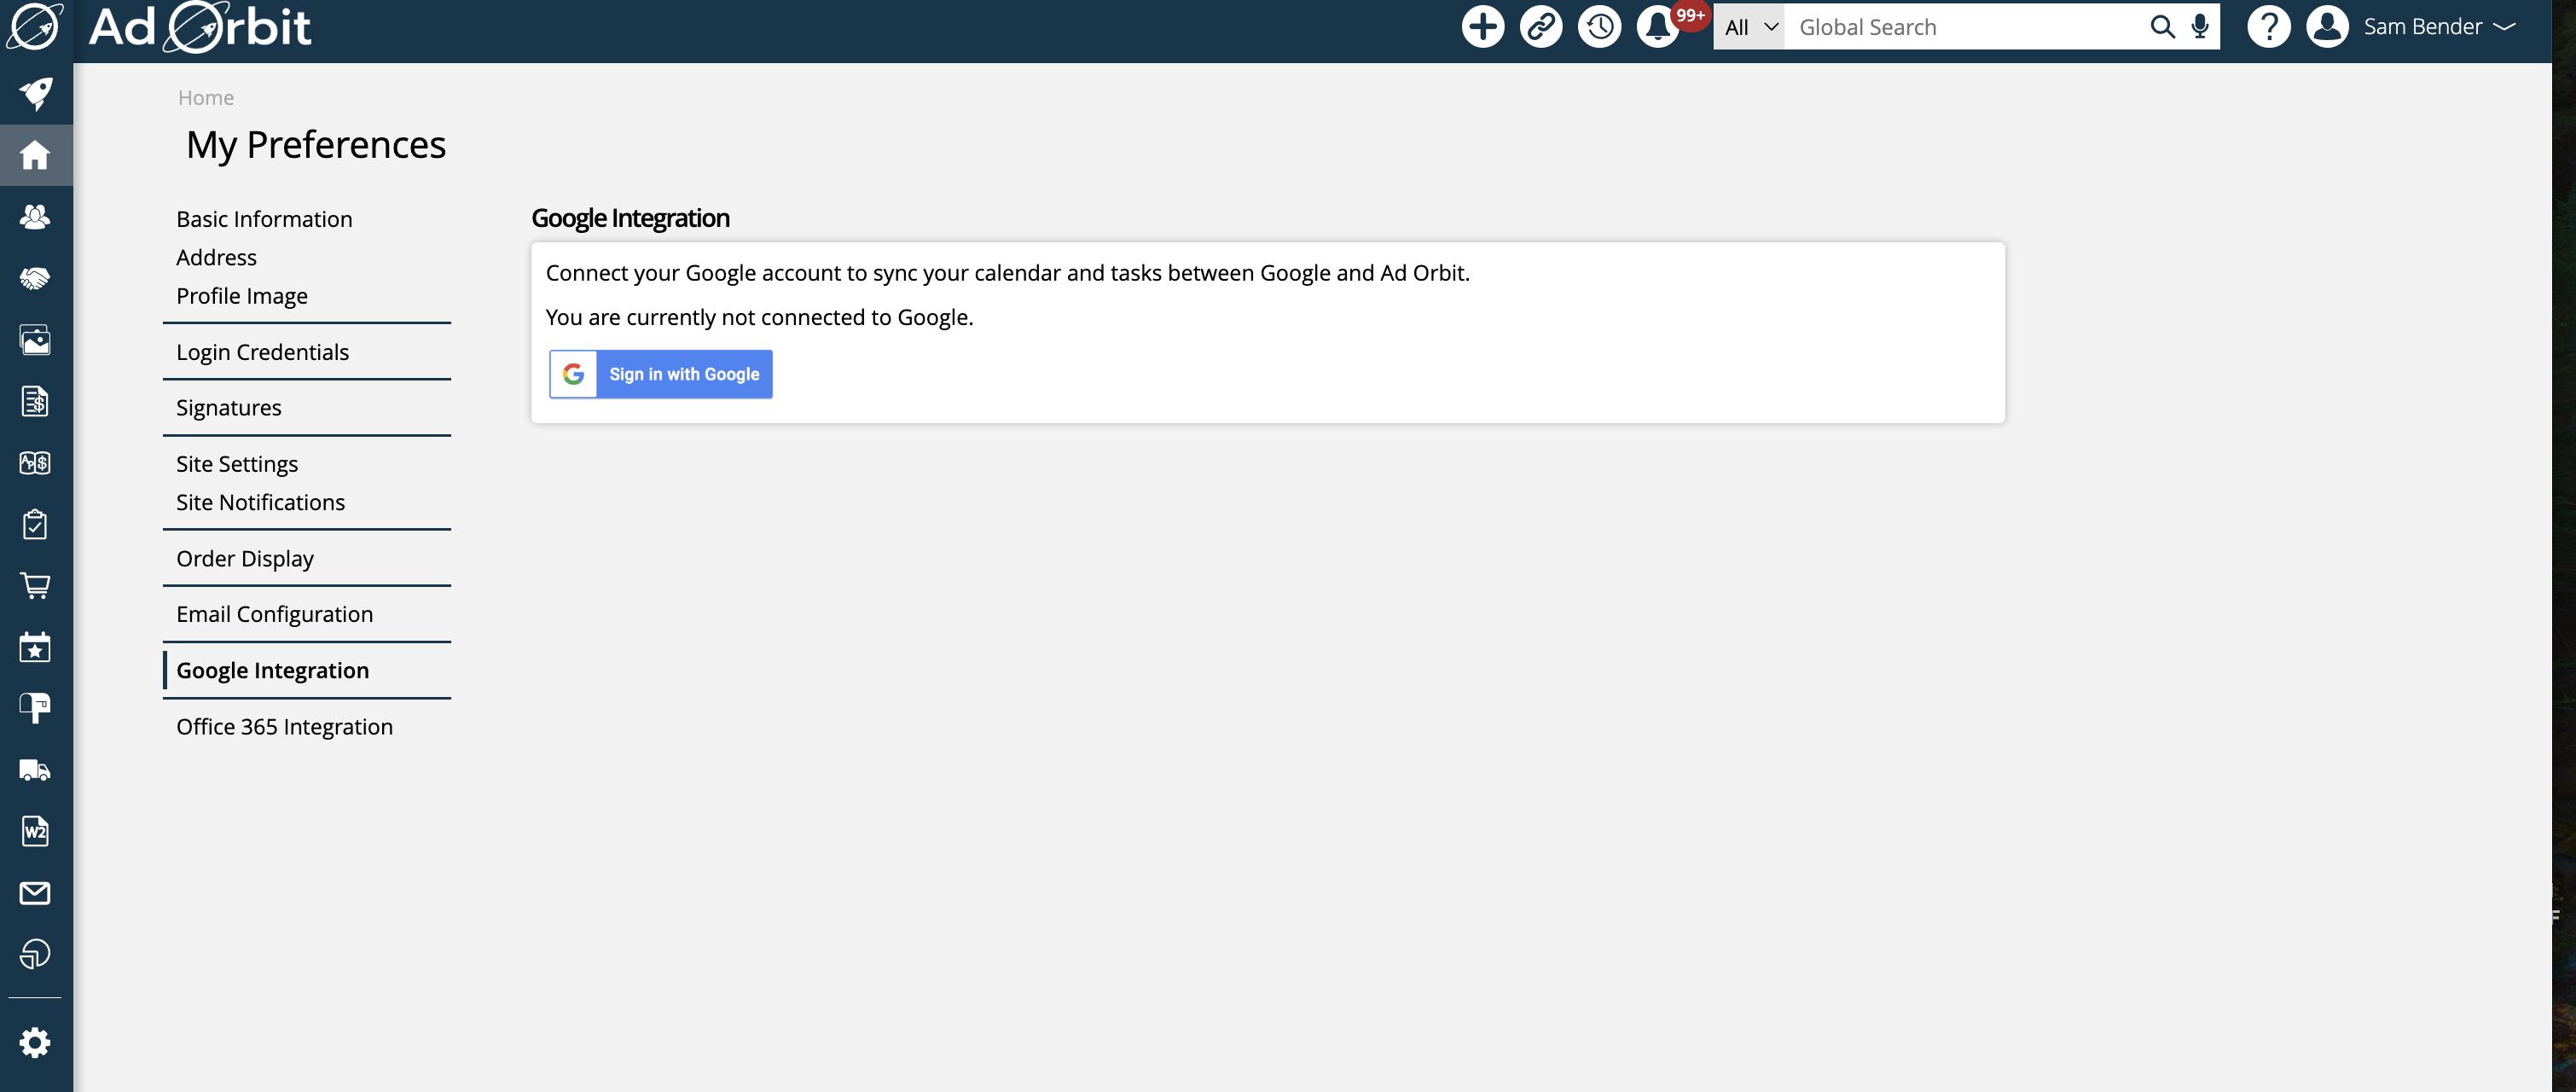
To sync the calendars, you will need to go to the My Preferences page, which you can navigate to by using the left-hand menu and going to Home > My Preferences or by hovering over your name in the upper right corner and clicking on My Preferences. Then, click on the Google Integration tab. On this page, you will click Connect, and then log in to your Google account.
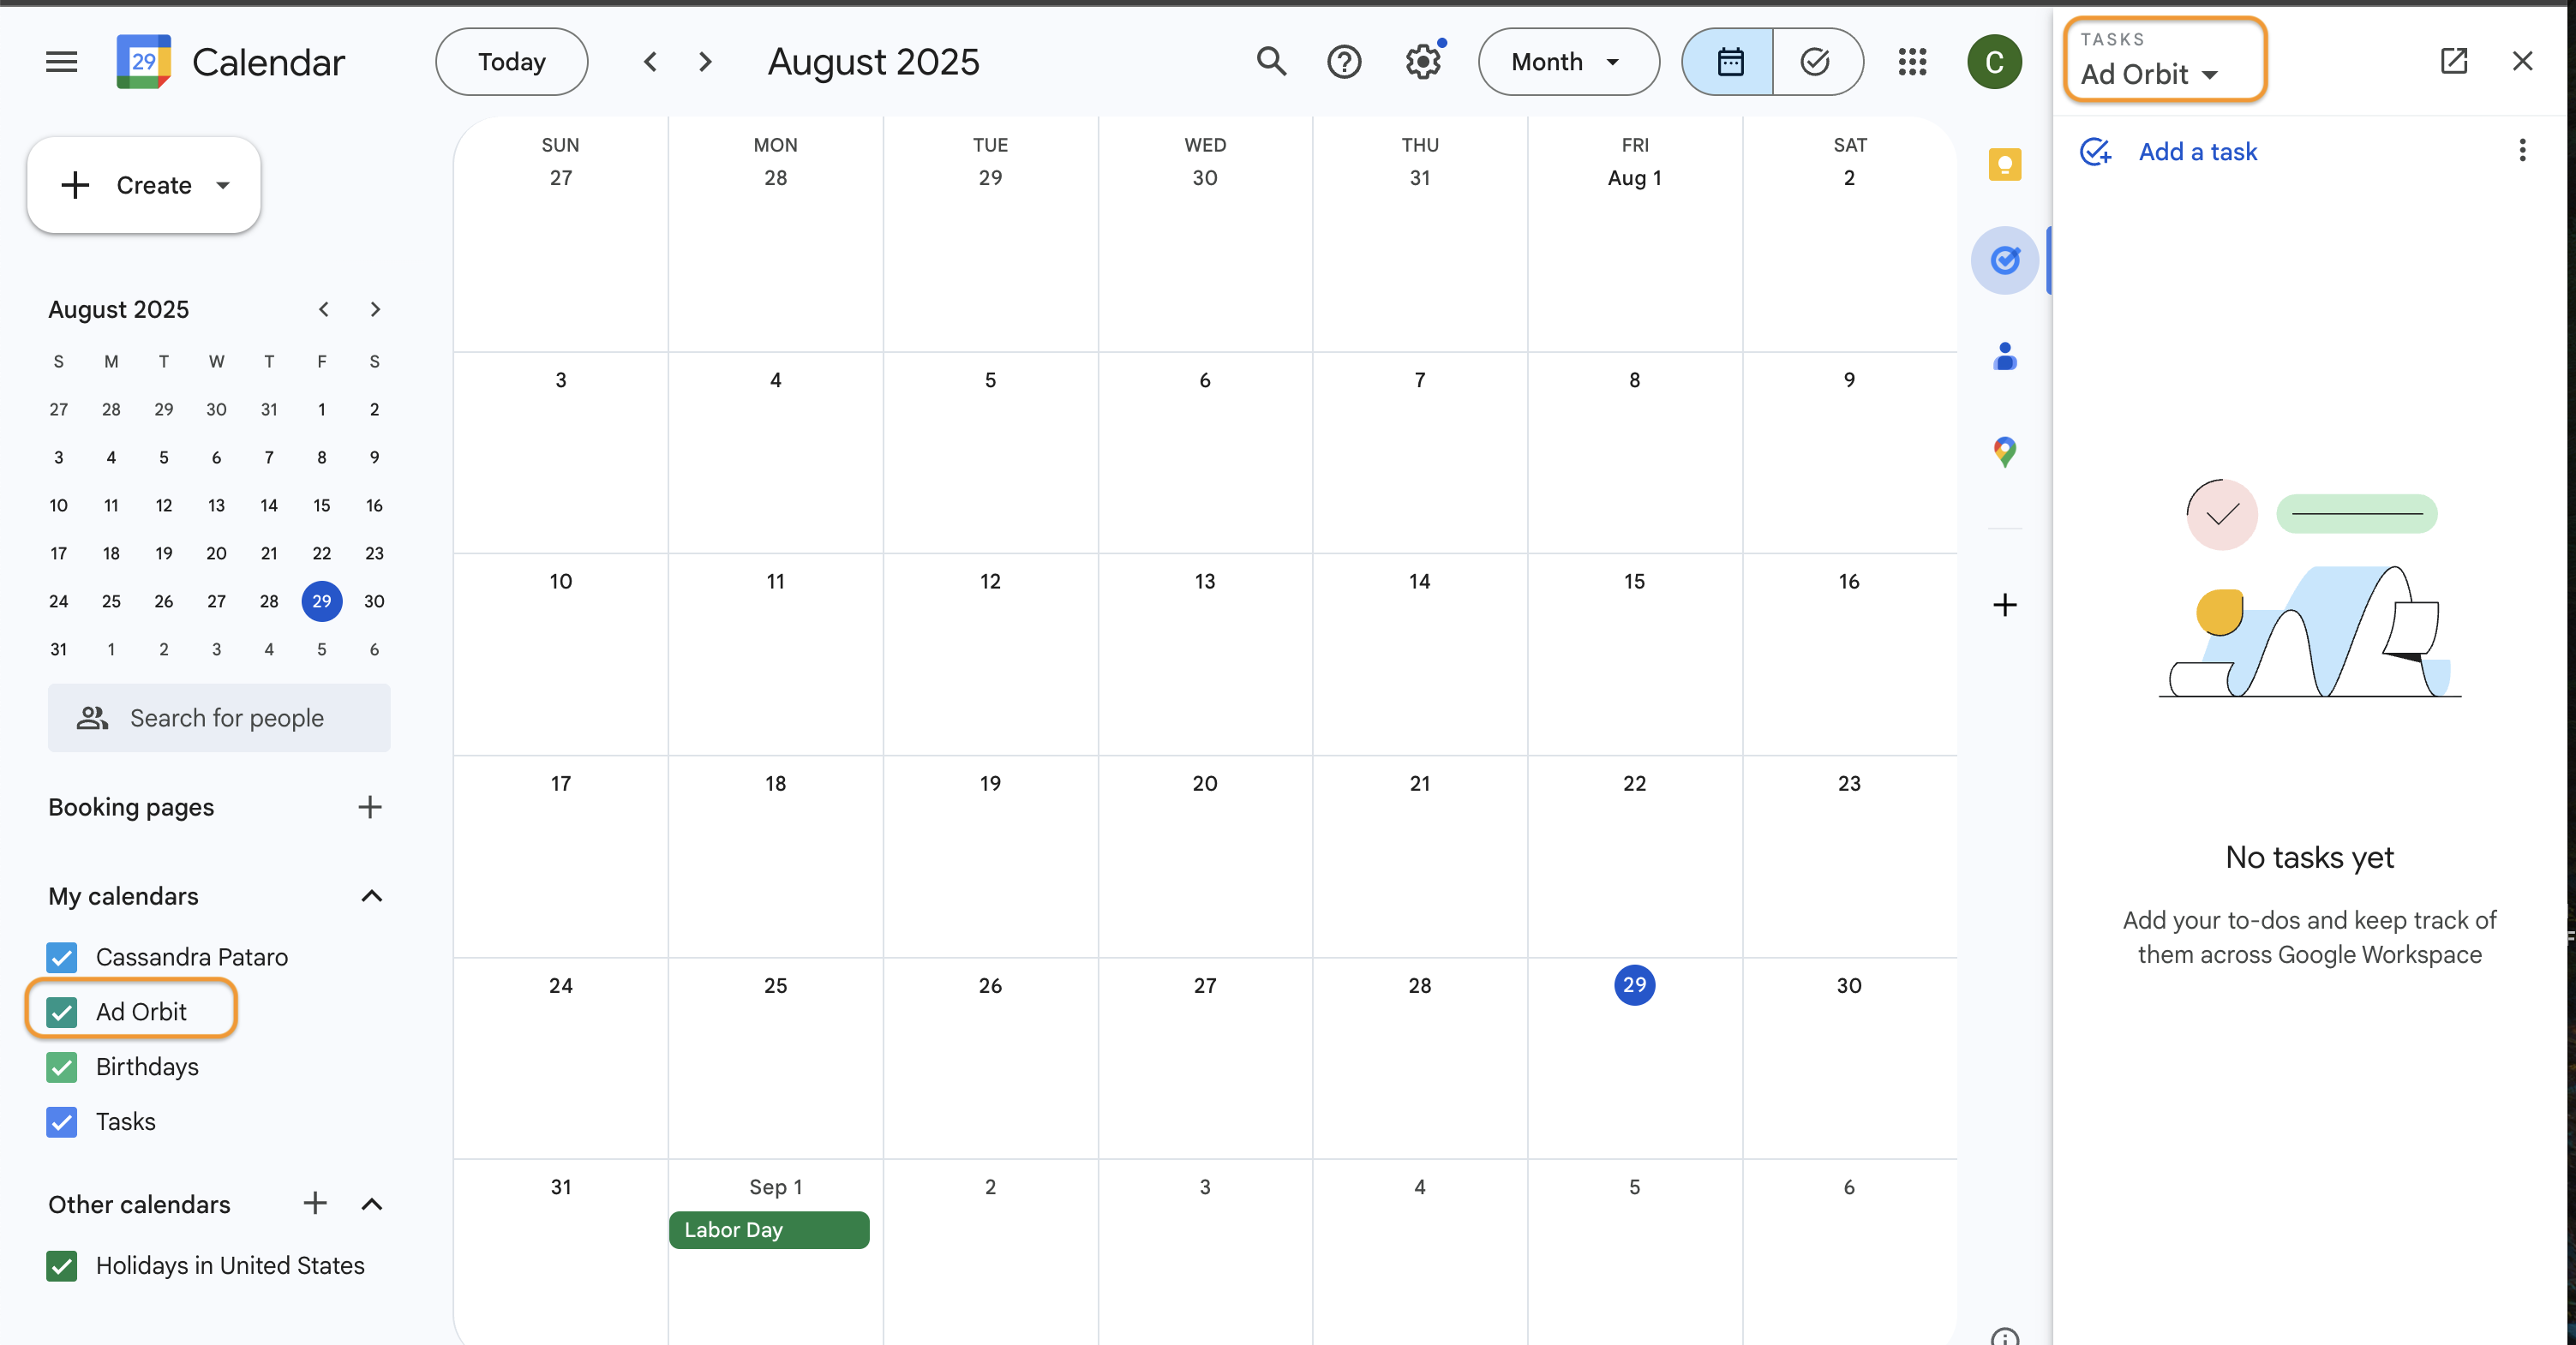
Once you have logged in and granted the app permissions within Google, a new calendar and task list will be automatically created in your Google account. The calendar and task lists will both be named 'Ad Orbit'.
Note
This process does not sync up your email account with the system, just your calendars and tasks. To view documentation on connecting your email, see the Sending Direct Emails help center page.
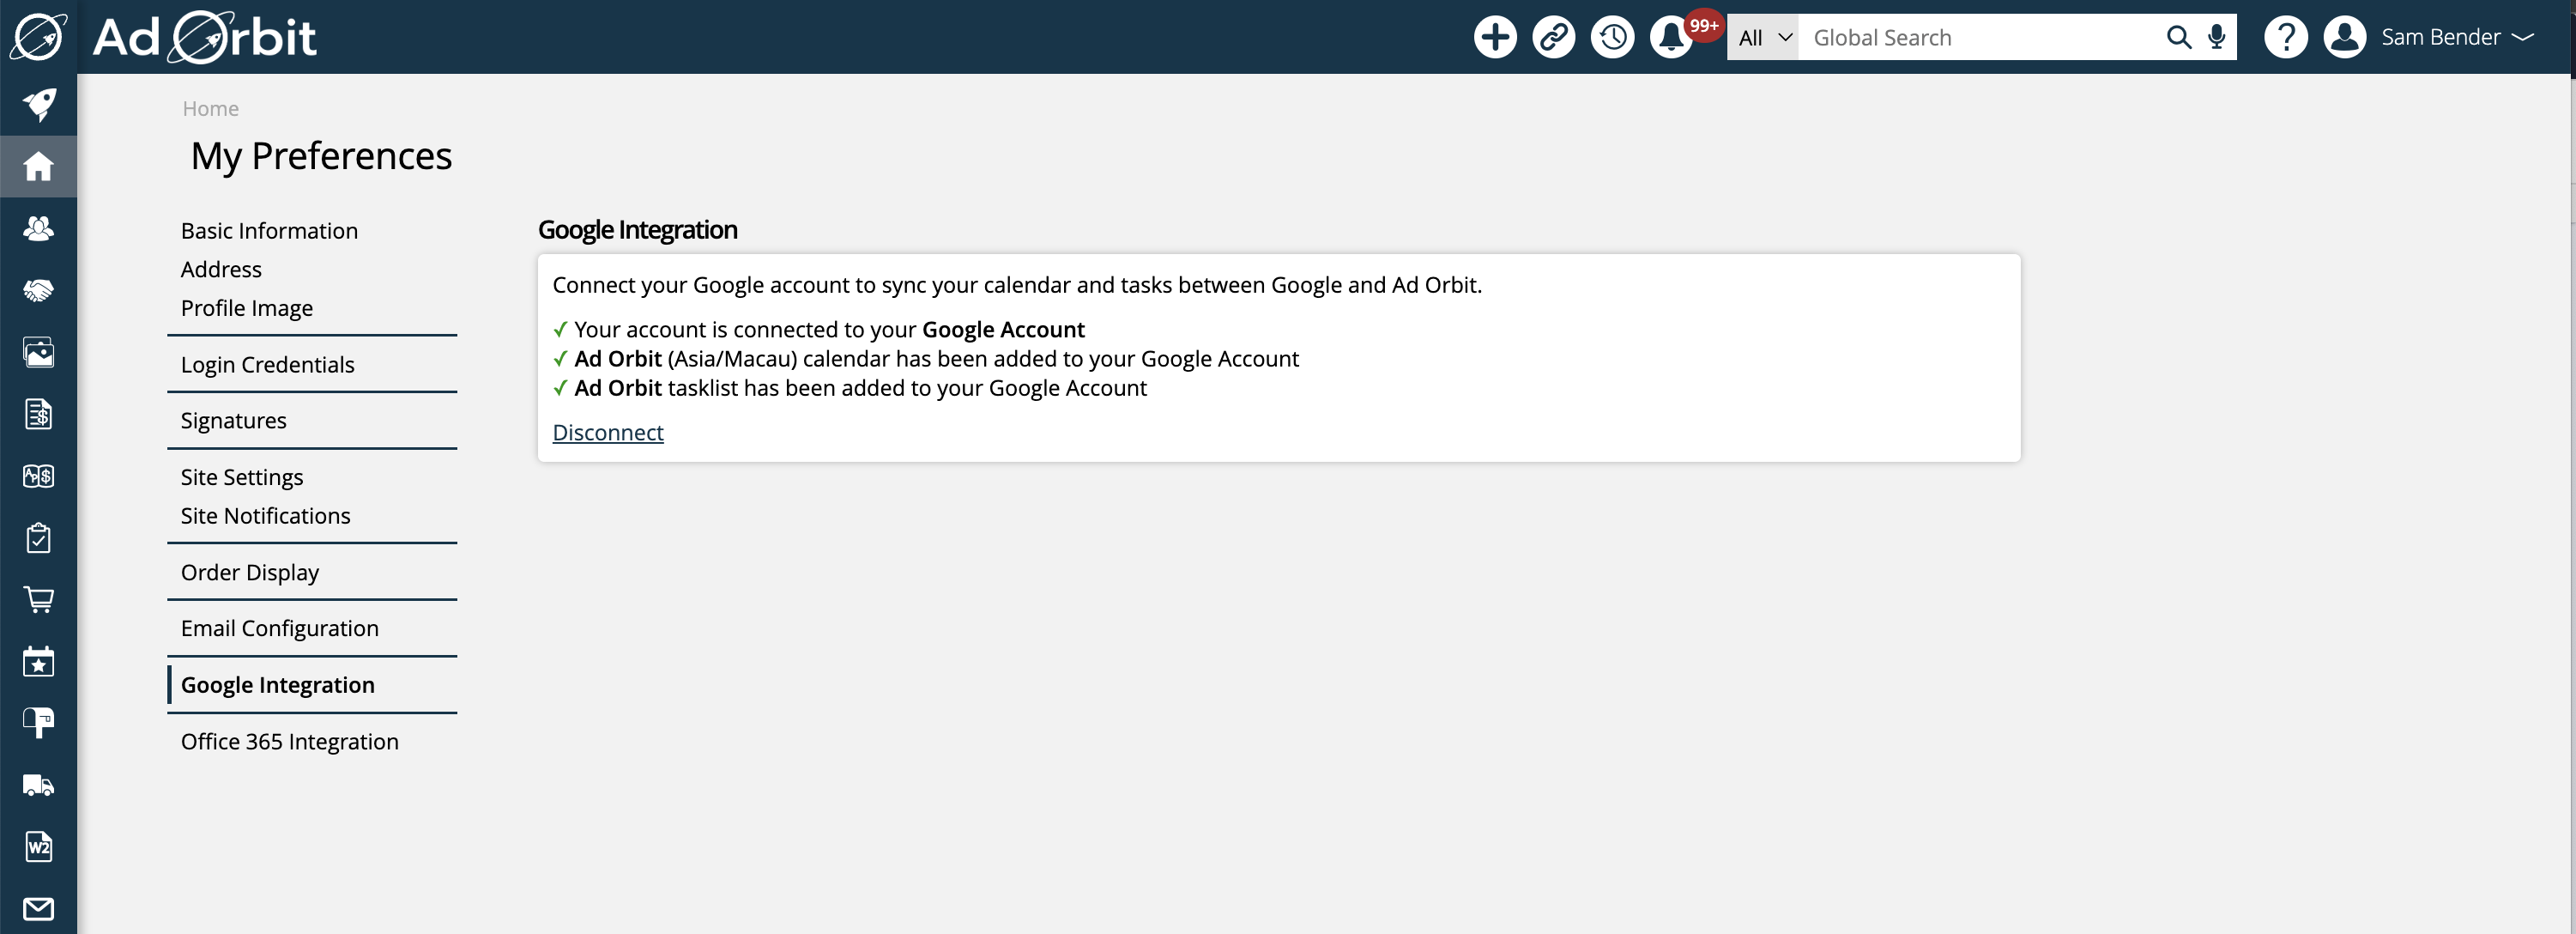
After you have connected, on the Google Integration page in Ad Orbit, you will see that your Google account is connected, with an option to disconnect the calendar.
Once your Google account is connected, you can add an appointment from either Google or Ad Orbit, and it will show up on both calendars. In Ad Orbit, you can create an appointment from various locations, including your Dashboard’s Agenda or Calendar widgets. Adding an appointment from any of these locations will sync to your Google calendar. For more information about creating Activities such as appointments in Ad Orbit, see the Activity Management page of the help center.
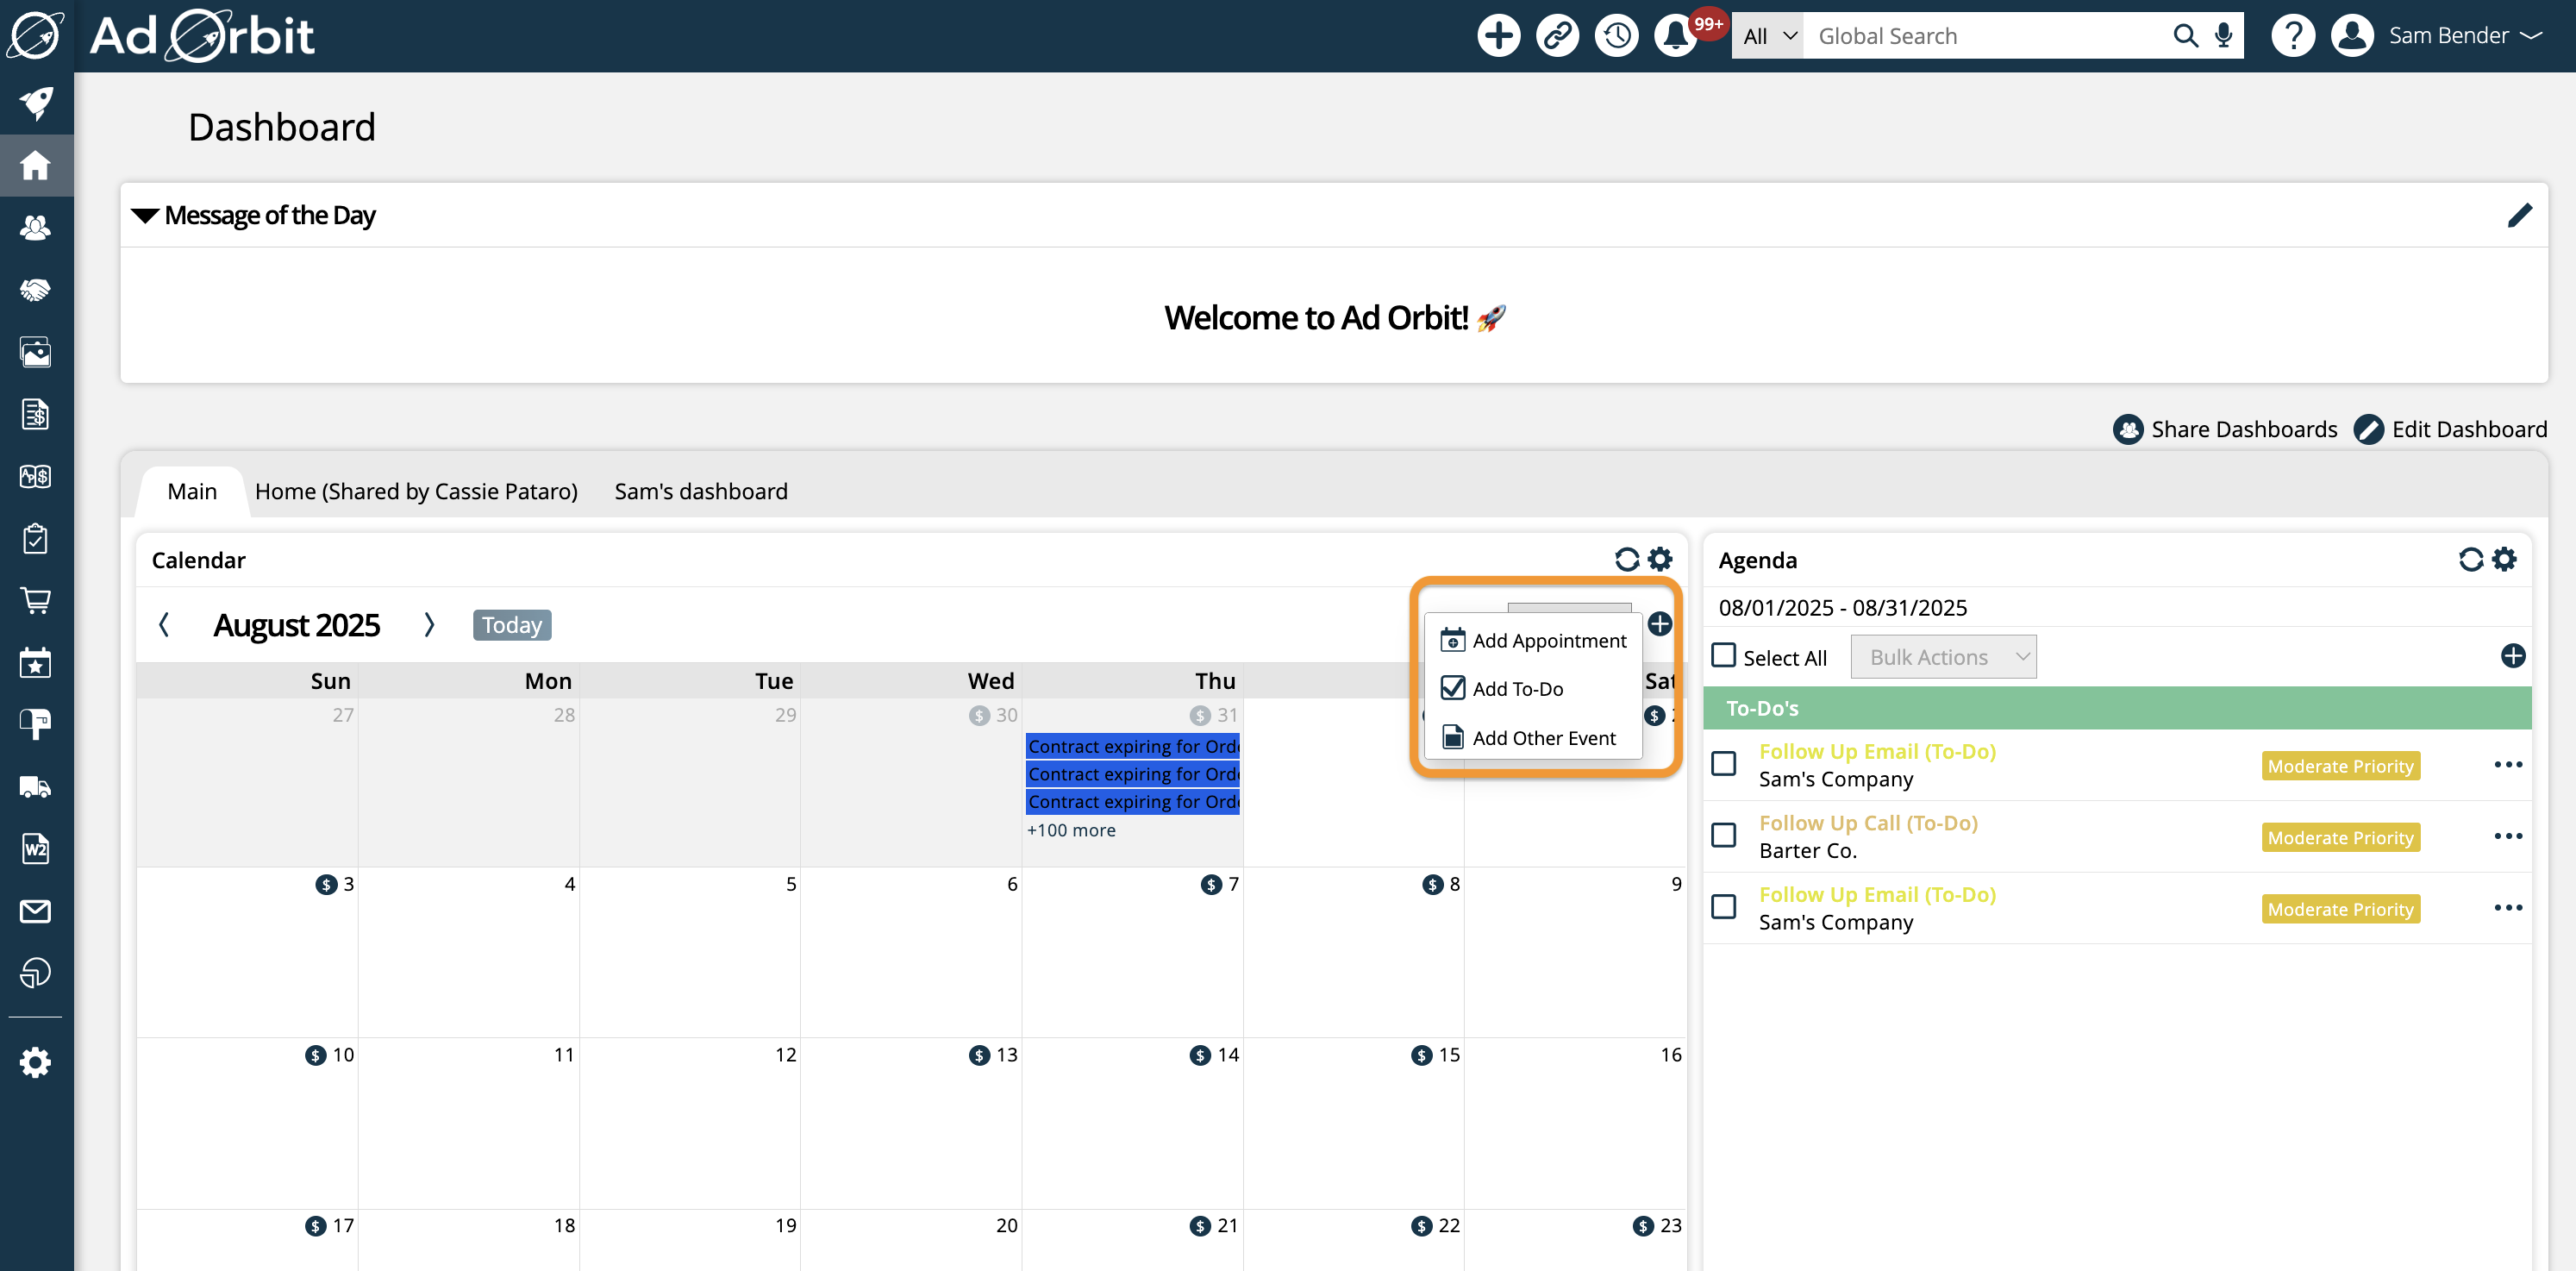

To-Do activities will also sync to and from Google, as Tasks. To-Dos can also be created from various locations, including your Dashboard’s Agenda or Calendar widgets. Adding a To-Do from any of these locations will sync to your Google calendar.
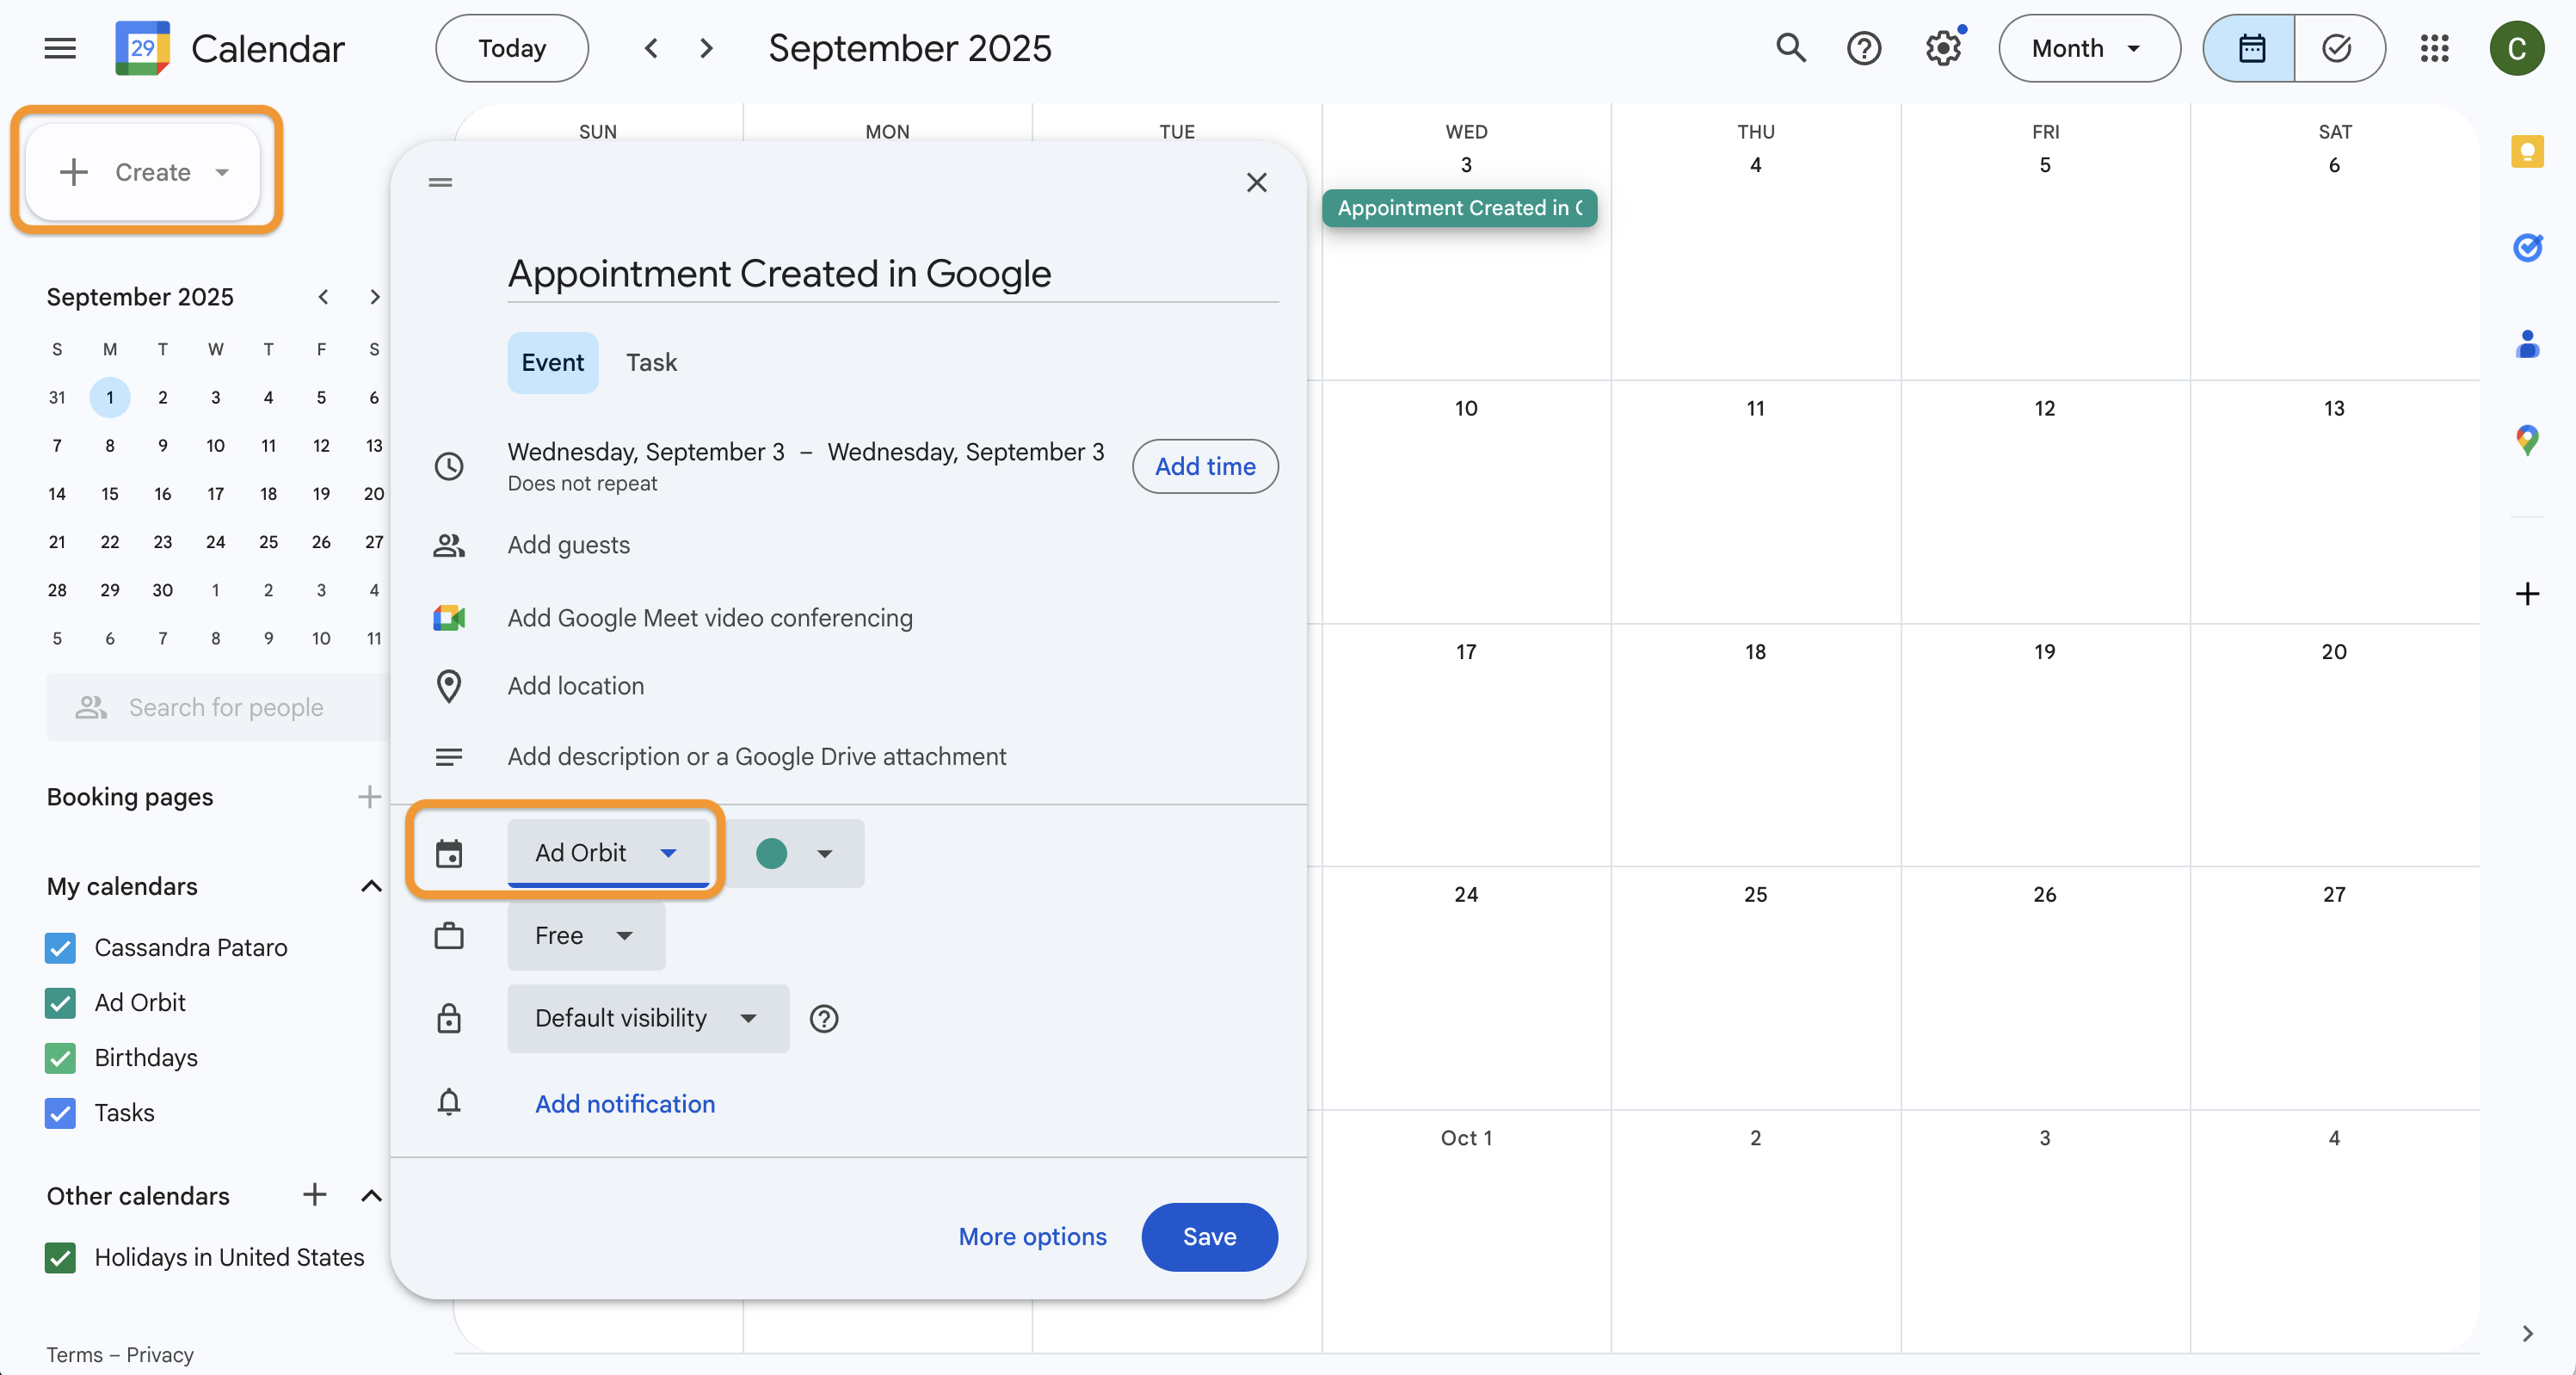
To add an appointment in your Google calendar, you will click on '+Create' New Event in the upper left corner. You can name and schedule the event, invite contacts, and set reminders. Make sure to select the Ad Orbit calendar. Events created in Google are not assigned a Category. To interact with the event the same way you would appointments created in Ad Orbit, it is a good idea to edit the event and add a Category once it is synced to Ad Orbit.
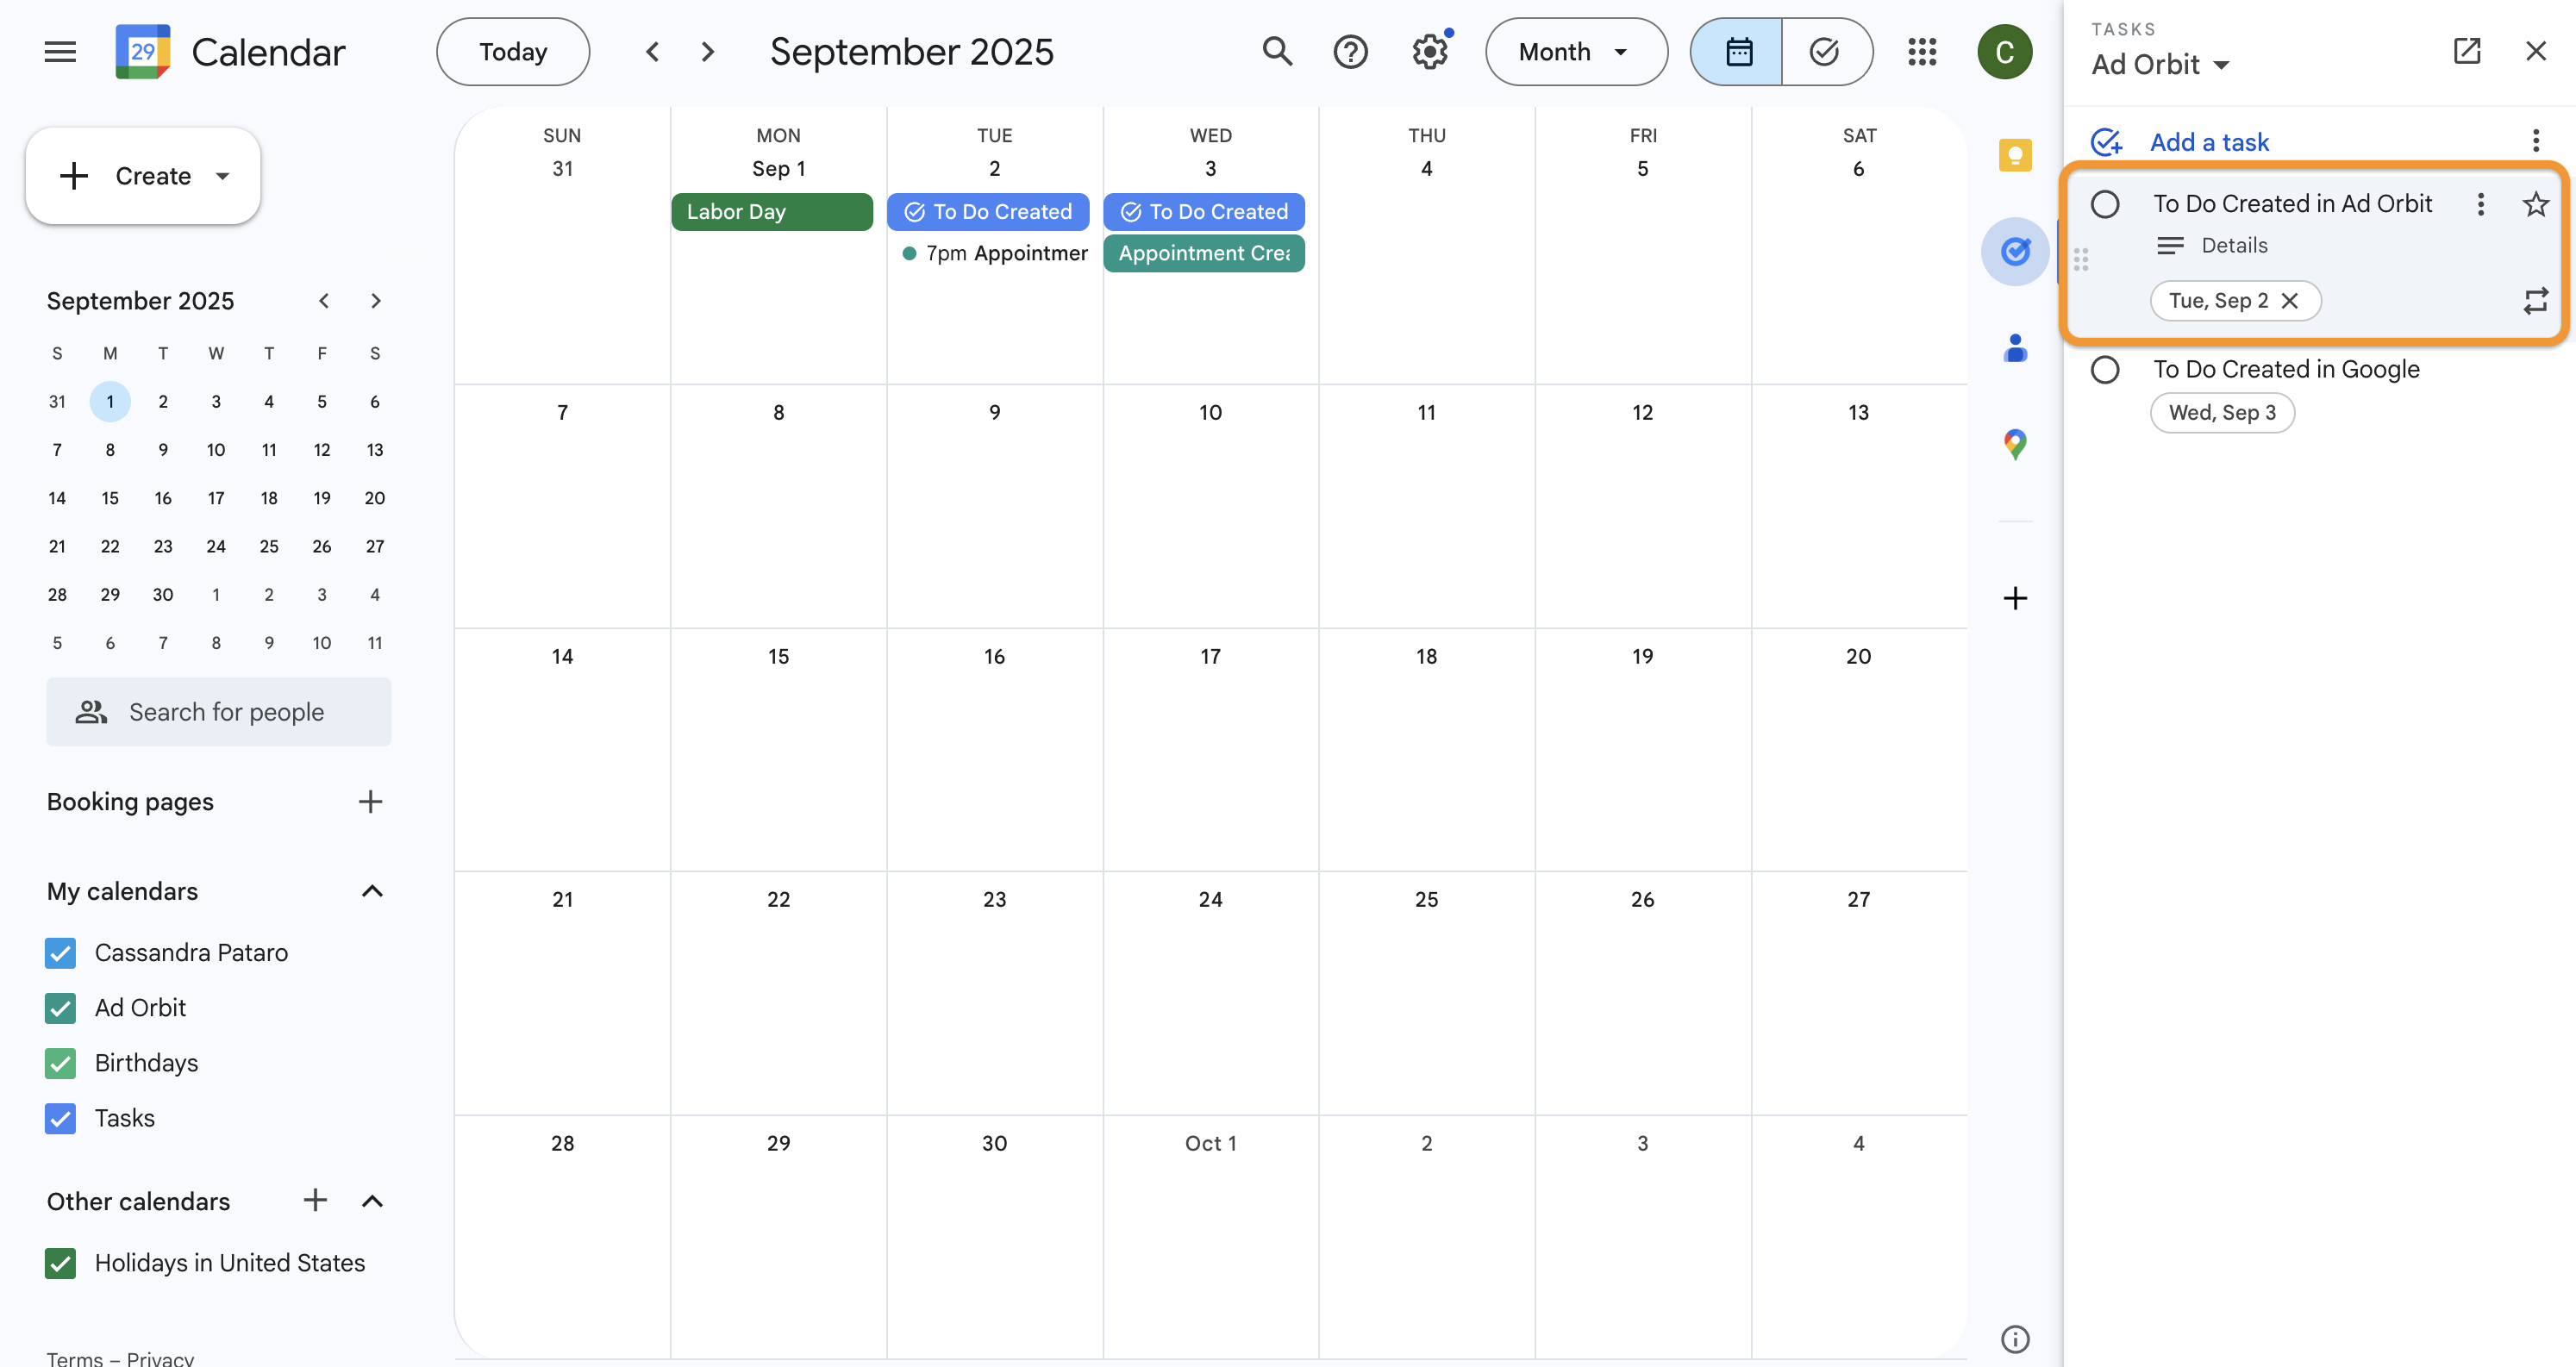
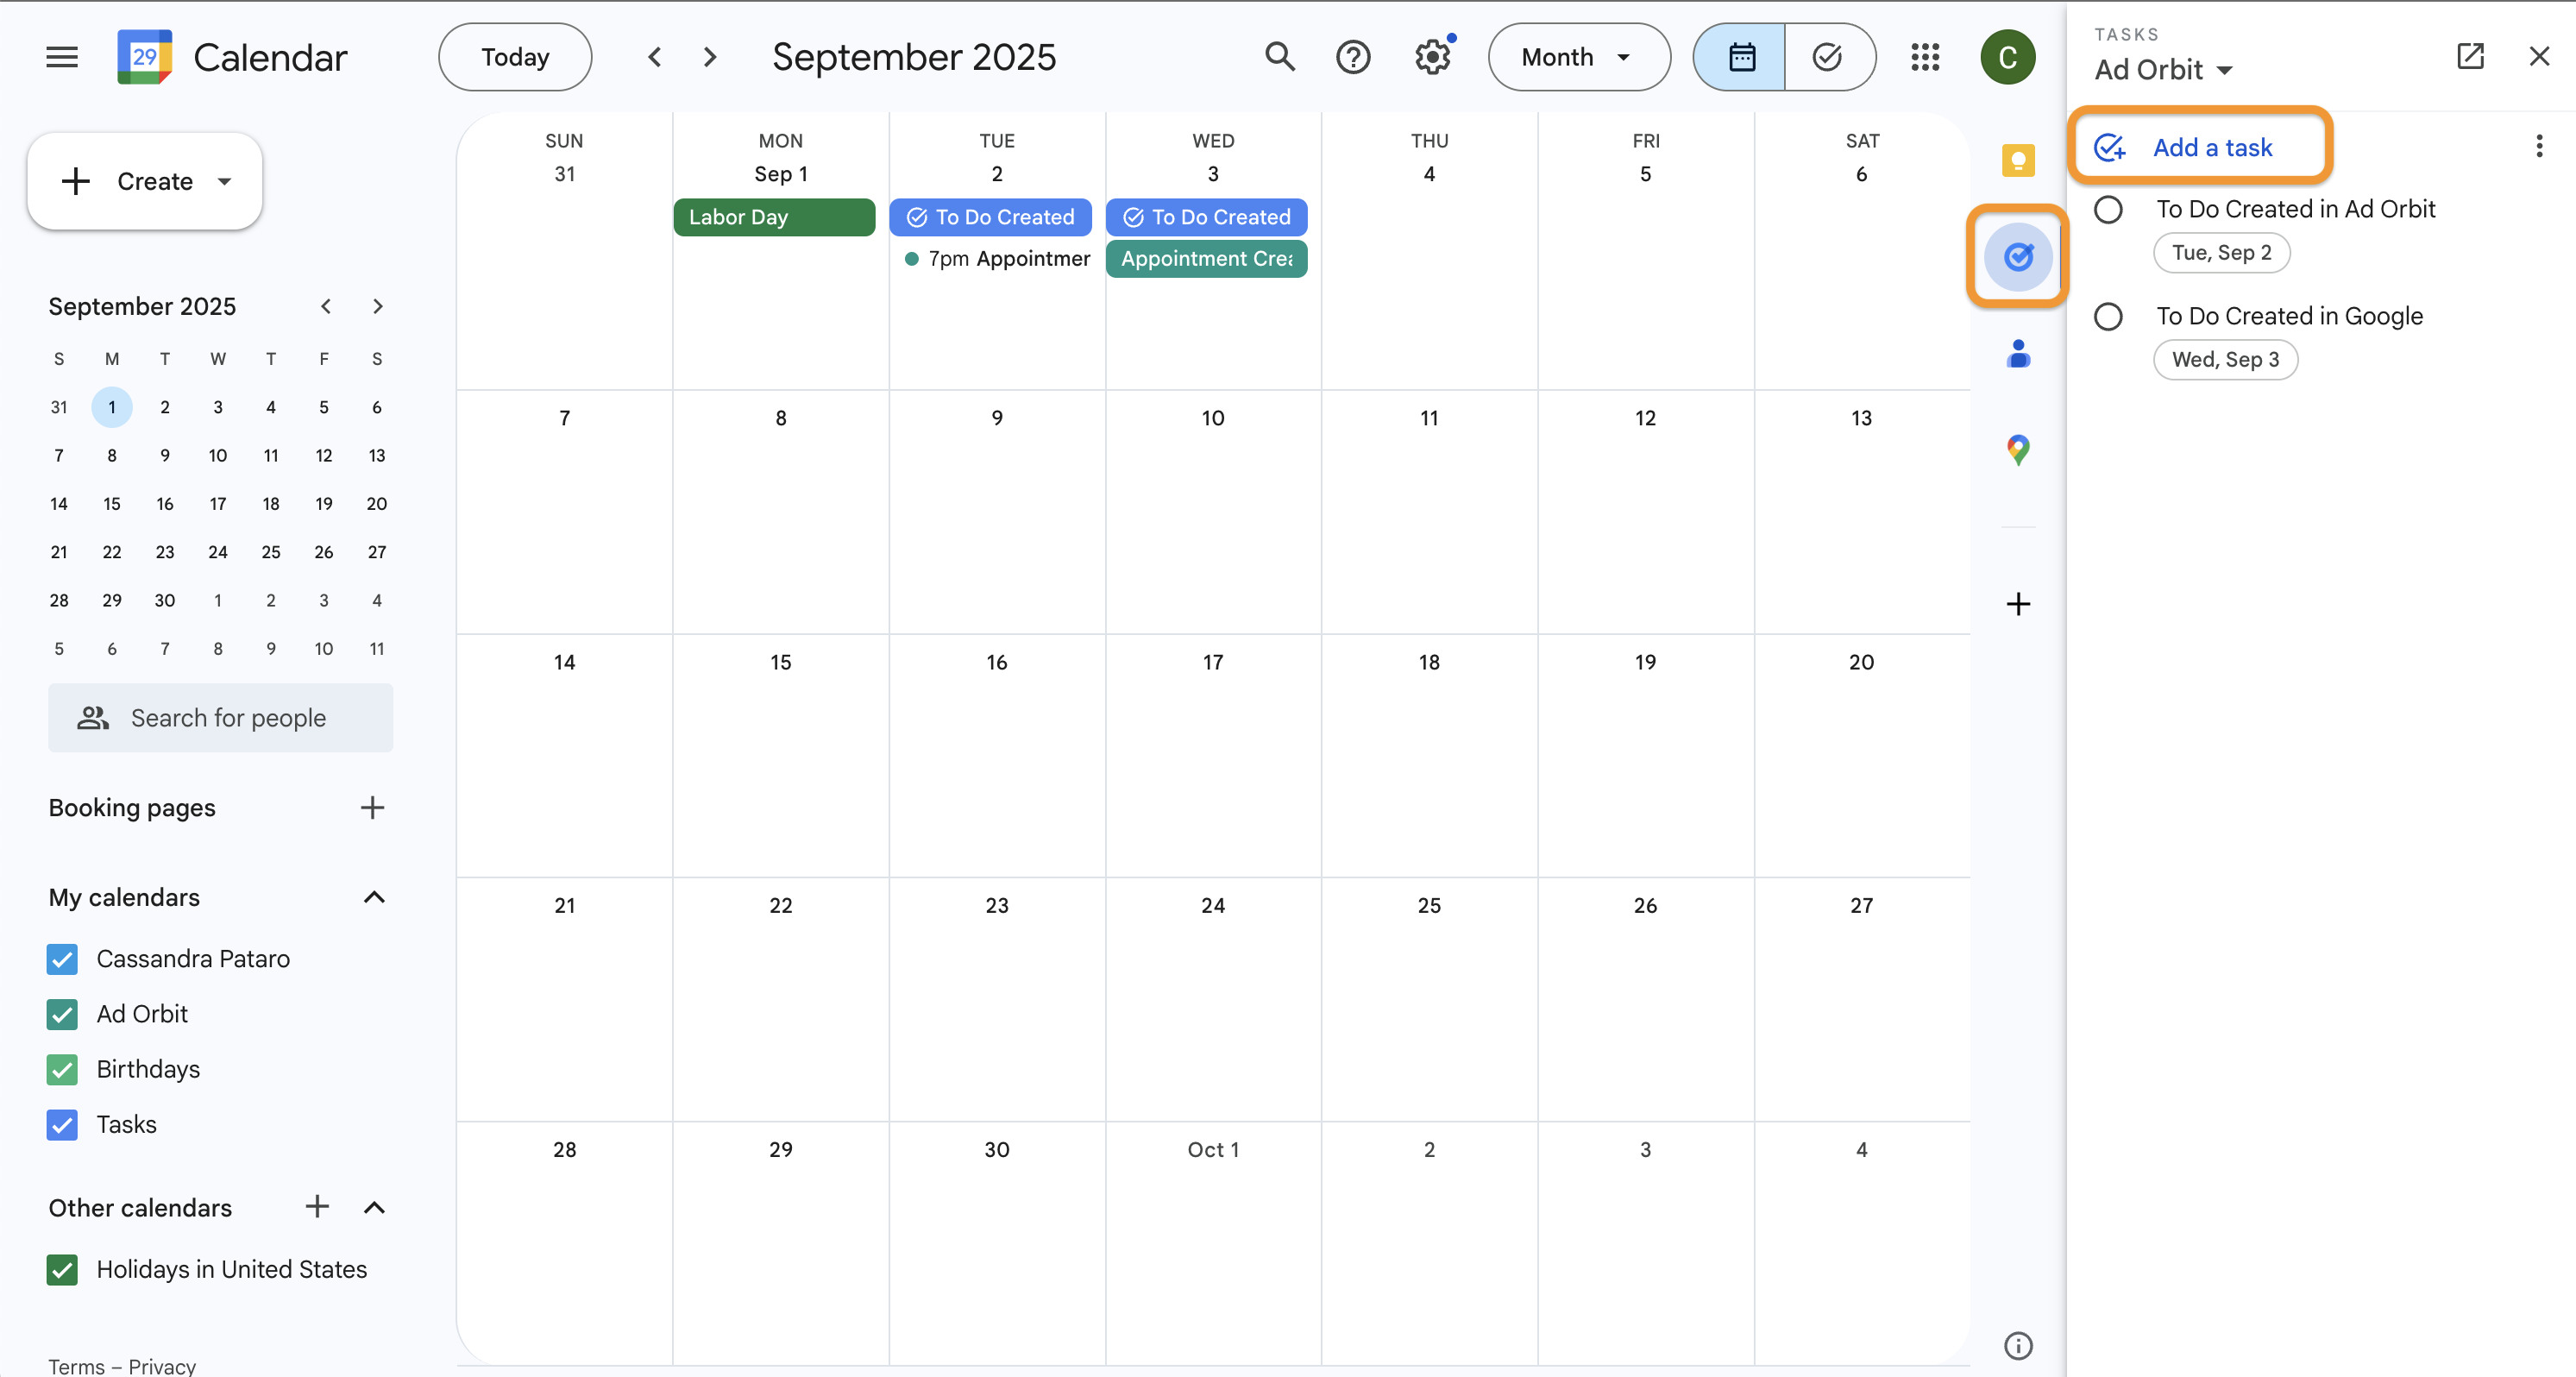
To add a task in your Google calendar, first open the Task list on the right side of the page, then make sure you are viewing the 'Ad Orbit' task list. Then, click the 'Add a task' button.
The event or task will show up in the Activity To-Do List, Calendar, and Agenda widgets in your Dashboard. You can navigate to your Dashboard by going to Home > New Dashboard.
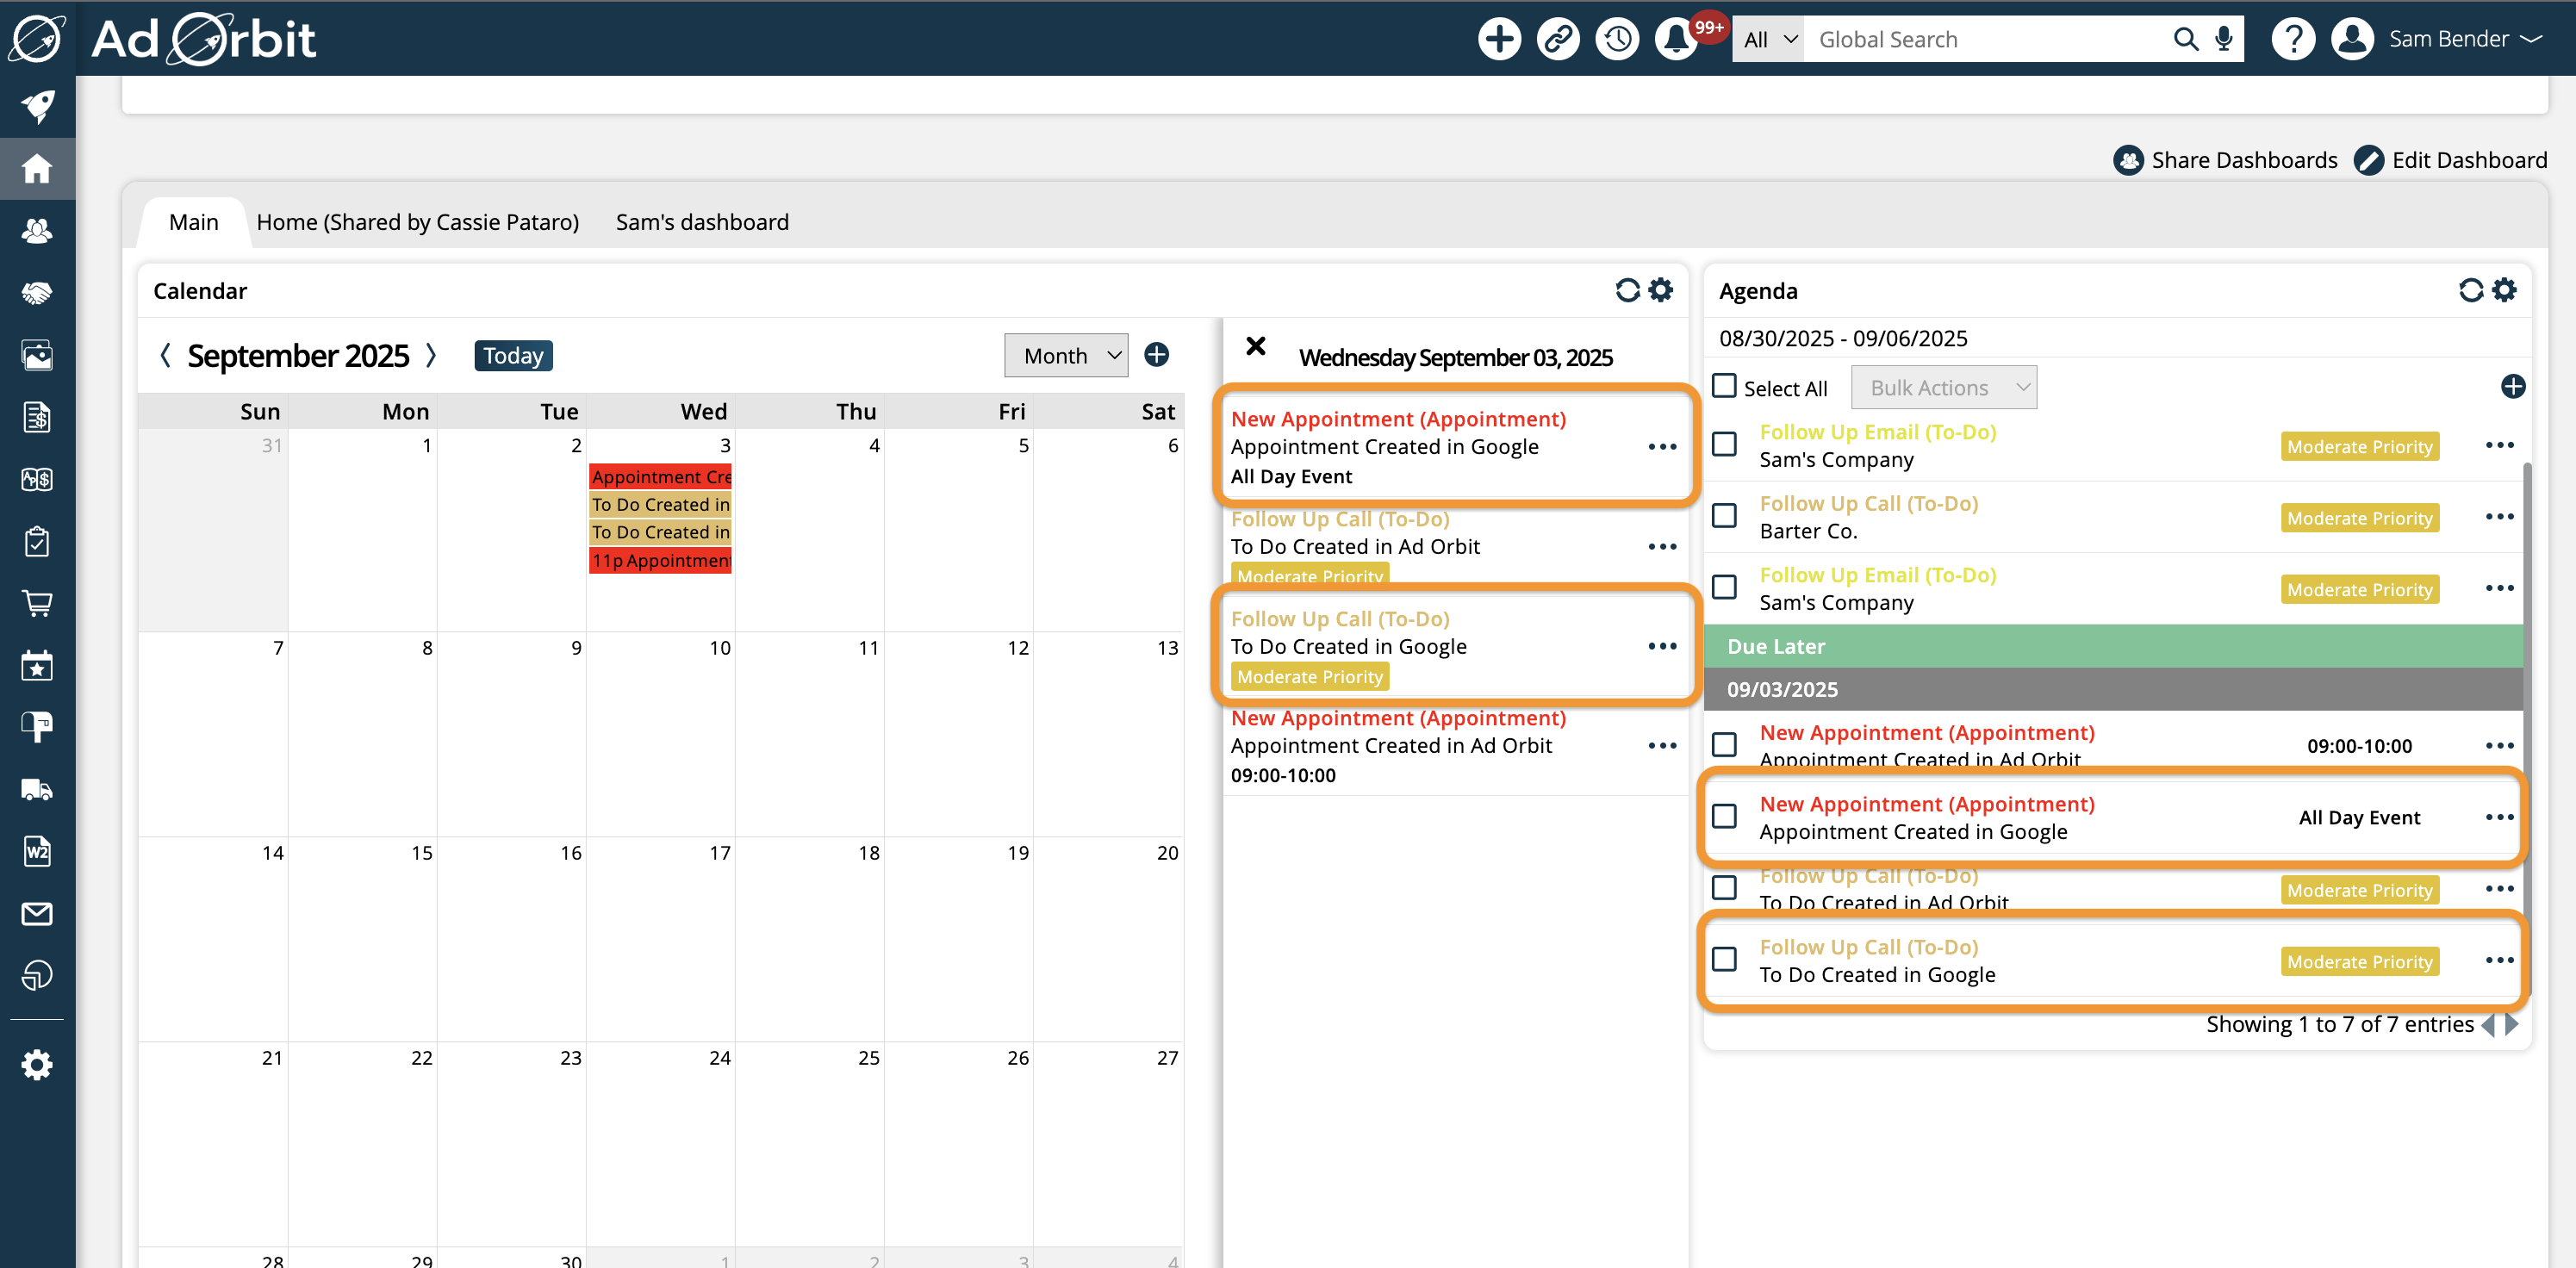
The Activity To-Do List widget shows all of your appointments and to-do's in an easy to read list, and you will see the event you created in Google will also show up here.
The Agenda widget is similar to the Activity To-Do List widget but is more interactive. By clicking on the event, you can see details about it such as the name of the event, the time, any description or notes, and contact information. You can interact with all of the contact information. Clicking on the contact or company name will take you to their page in the system, and by clicking on the email icon you can send an email directly from the widget. You can also edit the event by clicking on the ellipsis icon on the right side.
The Calendar widget will show all of your appointments and to-do's in a calendar view. You will see your event show up on the day and time. Clicking on the event will prompt a pop-up on the right side of the widget that shows a more detailed view. It will show the name of the event, the time, any contact information, and any description or notes. You can interact with all of the contact information. Clicking on the contact or company name will take you to their page in the system, and by clicking on the email icon you can send an email directly from the widget. You can also edit the event by clicking on the ellipsis icon on the right side.
Note
For more information about how to set up and configure your Dashboard and widgets, see help center page Using Your Dashboard
Updated 8/29/2025